|
funEZcrafts
New projects! |
Welcome! Come on in and visit awhile... |
|
| fun, easy and inexpensive craft projects for pleasure and profit |
Visit our funEZ Bazaar Celtic Mugs Section! |
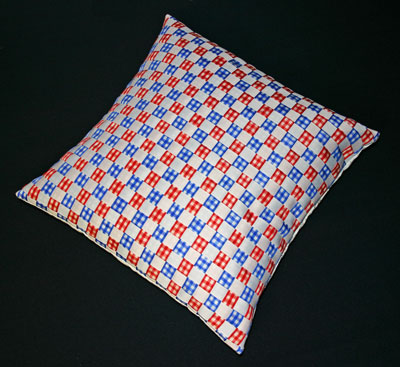
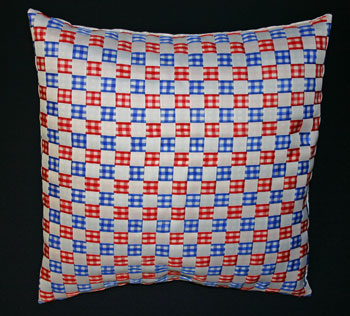
Frugal Fun Projects - Woven Ribbon PillowPillows add fun accents to a home's decor. With a few inexpensive materials and some time, this woven ribbon pillow enhances any room and becomes a conversation piece among family, friends and guests. Plus, the construction provides for an easy trade when you want to change your decorative pillow covers in the spring, the autumn or when the mood strikes. This version uses red and blue gingham ribbon in one direction and white in the other to form the woven checkerboard pattern.
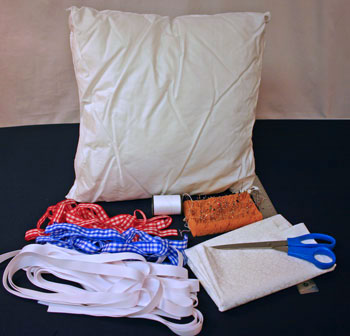
Frugal Fun Projects: Woven Ribbon Pillow Materials and Tools:
Note: You can find ribbon of many types and colors at Grosgrain Annie's Ribbonemporium.
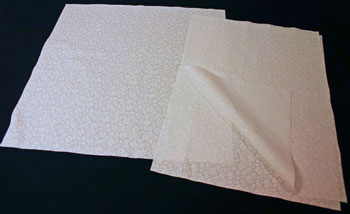
The Steps for How to Make the Frugal Fun Projects: Woven Ribbon Pillow:Cut the fabric shapes for the pillow. The front which forms the base for the ribbon weave should be 16 1/2 inches by 16 1/2 inches. Cut two pieces for the back. Each should be 12 1/2 inches by 16 1/2 inches.
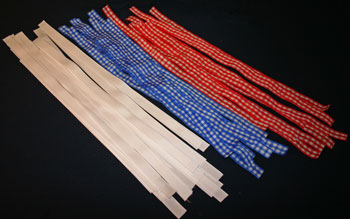
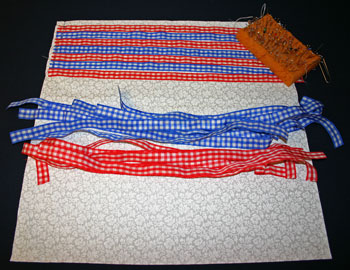
Cut the ribbon in lengths of 16 1/2 inches. Cut 26 white, 13 red and 13 blue lengths of ribbon. (Depending on your fabric and ribbon choices, you may have a ribbon left over.)
With the front fabric right side up, alternately lay the red and blue ribbons on top of the fabric. If your ribbon has a right and wrong side, make sure the right side faces up. Pin the ends of the red and blue ribbons to the left edge of the fabric.
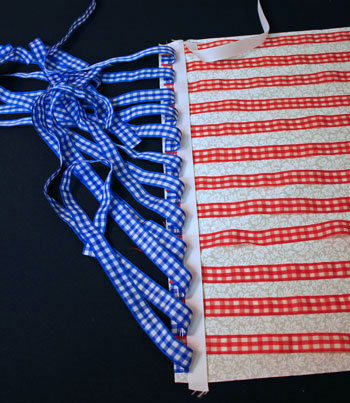
Fold the blue ribbons away from the fabric on the pinned edge. Pin the first white ribbon at the top corner of the fabric and lay the white ribbon over the red ribbons. Pin the bottom end of the white ribbon to the bottom fabric edge.
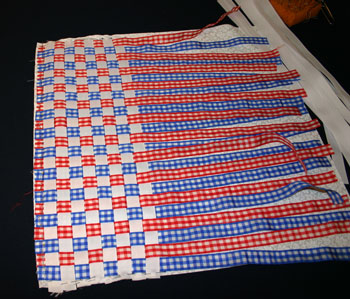
Move the blue ribbons over the first white ribbon in preparation for weaving the second white ribbon.
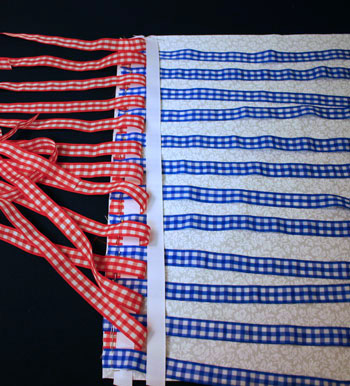
Next, fold the red ribbons over the first white ribbon and away from the fabric. With the second white ribbon pinned adjacent to the first, lay it over the blue ribbons and pin its bottom end to the fabric adjacent to the first white ribbon.
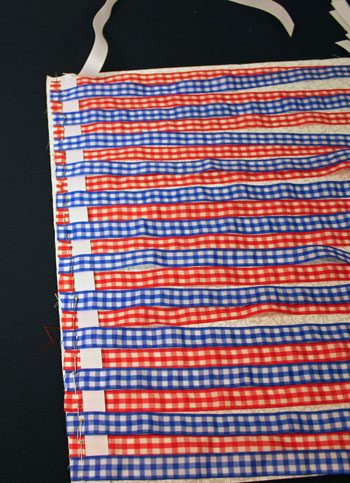
As you continue the weaving, frequently adjust the ribbons such that they form a straight and consistent weave.
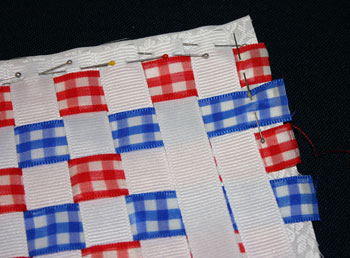
As you add the last white ribbons, begin pinning the ends of the red and blue ribbons to the fabric.
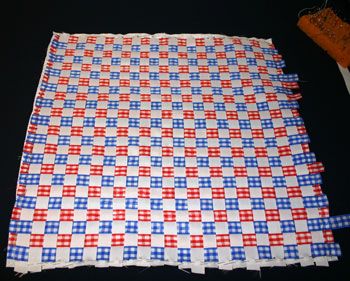
Here, the finished weave shows a consistent checkerboard pattern.
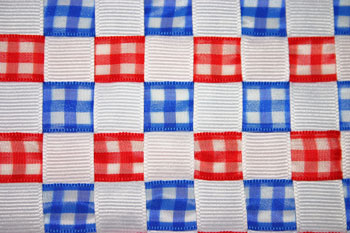
The close-up view shows how the ribbons lie close together to form the pattern.
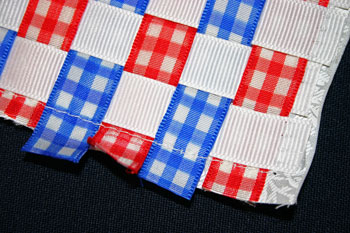
Sew the ends of the ribbon to the edges of the fabric at 1/4 to 3/8 inch from the edge of the fabric. Remove the pins as you sew around the form.
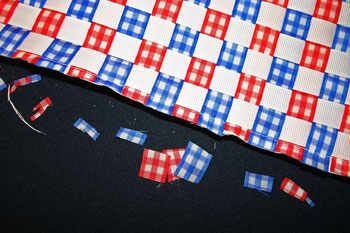
Trim the ends of the ribbon even with the edge of the fabric.
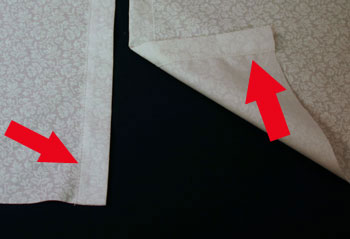
On each back piece, fold and press 1/4 inch of fabric along one of the long edges from the right side to the wrong side. Next, fold and press under one inch along that same edge.
Sew along the edge of the folded material on both back pieces to finish the edges. They will be in the middle back of the completed pillow cover.
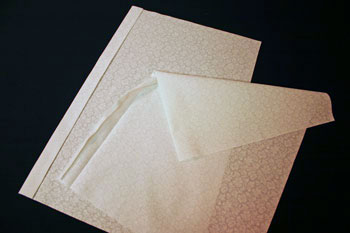
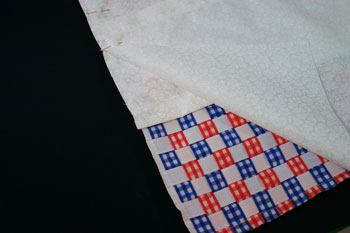
Position one back piece on top of the woven ribbon front, right sides together and match the unfinished edges. Place the folded, finished edge of the back piece toward the middle of the shape. Position the second back piece, right side to the woven ribbon, and match the raw edges.
The finished edge of the second back piece should overlap the first finished edge across the middle of the shape. The raw edges should match on all four sides.
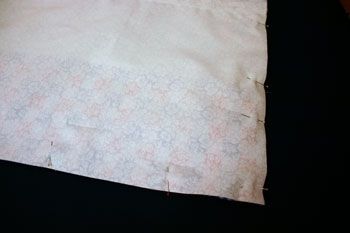
Sew around the pillow shape with at least a 3/8 inch seam. Make sure the seam is slightly larger than the earlier seam that captured the ribbon ends. The seam shown here is 5/8 inch to insure the woven ribbon pillow cover fits snugly over the pillow shape.
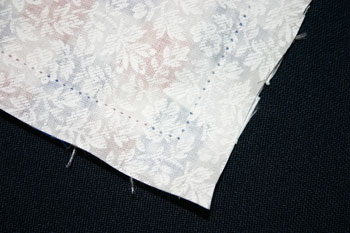
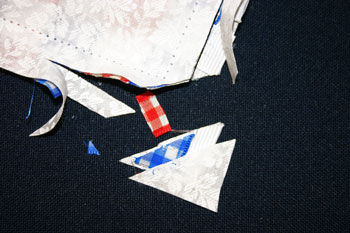
Trim the corners at an angle being careful not to cut the stitches. Trim the seam to 1/4 inch.
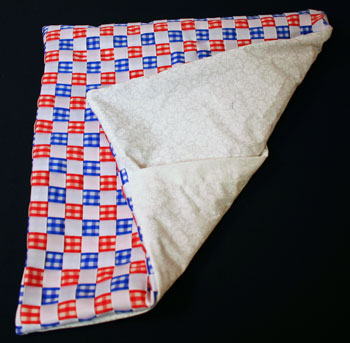
Turn the woven ribbon pillow cover right side out. Gently, but firmly, push the corners outward.
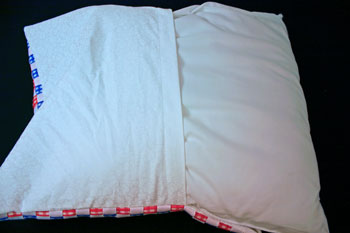
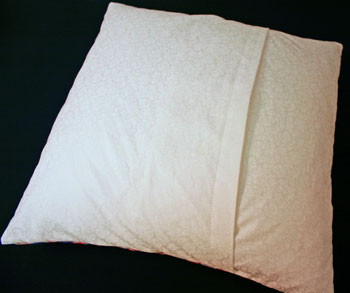
The back pieces overlap and provide the opening for the pillow form.
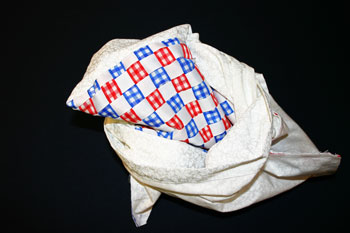
Insert the pillow form into the back of the woven ribbon pillow cover.
Push the pillow into the corners and smooth the overlapping edges over the back of the pillow shape.
The woven ribbon pillow is finished and ready to accent a chair, sofa, window seat, or bed.
With simple and inexpensive materials and tools, this woven ribbon pillow project adds a showpiece to your home or makes a wonderful gift for family and friends. Enjoy making this woven ribbon pillow! |
Visit our
funEZ Bazaar!
Sign up for our FREE newsletter and receive free access to a How to Sew Stitches downloadable e-book and a Cute Kitty project. Even fun for those who already know How to Sew Stitches!
funEZcrafts e-books!
Our fun felt Christmas Ornaments
Click on Sam the Siamese for access to our Cute Kitty project
|
© Copyright funEZcrafts, 2008-2015. All Rights Reserved.
Disclaimer: funEZcrafts includes advertisements and links to affiliate sites. By clicking through to an affiliate site, the prices do not increase. But, funEZcrafts receives a small percentage of the purchase amount. For that, thank you! Those funds help with the maintenance and addition of funEZcrafts projects.


