Easy Angel Crafts: Pinpoint Paper Angel
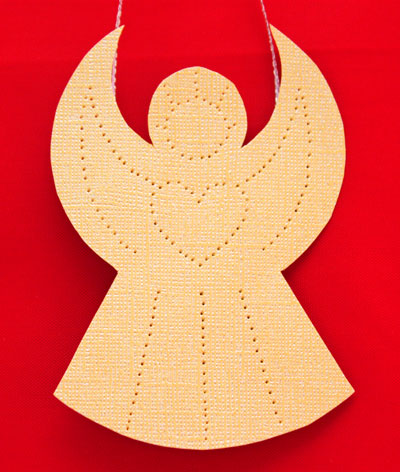
Paper, ribbon and glue along with the funEZcrafts pattern quickly become this pretty little Pinpoint Paper Angel.
Just look at how the little angel sparkles with her golden heart.
Just look at how the little angel sparkles with her golden heart.
Let's look at the materials and the steps for how to make this simple and pretty angel:
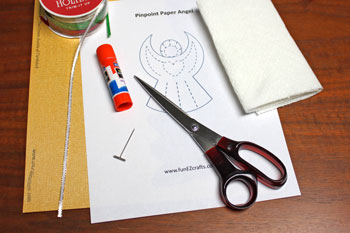
Easy Angel Crafts: Pinpoint Paper Angel Materials and Tools:
Card stock (or paper of your choice glued to poster board or chip board)
Ribbon
Glue
Scissors
Paper piercer (or pin, needle, thumbtack or t-pin)
Paper towels (to protect your table from the paper piercer)
Pinpoint Paper Angel pattern
Ribbon
Glue
Scissors
Paper piercer (or pin, needle, thumbtack or t-pin)
Paper towels (to protect your table from the paper piercer)
Pinpoint Paper Angel pattern
The Steps for How to Make the Easy Angel Crafts: Pinpoint Paper Angel:
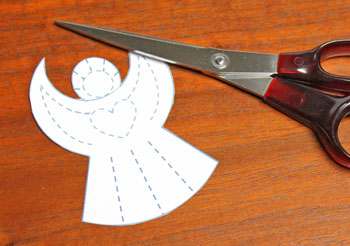
Print the Pinpoint Paper Angel pattern.
Cut around the outer edge of the pattern.
Cut around the outer edge of the pattern.
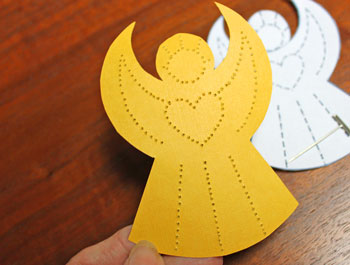
Using the pattern, cut the angel shape from the card stock.
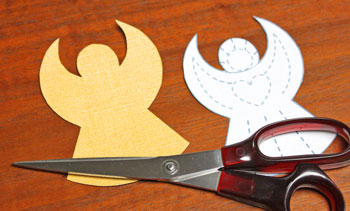
If your card stock has different sides (mine had a shiny gold side and a dull gold side), choose which side you want to be the "right" side.
Next, choose whether you want the smooth side or the braille side of the pinpoint holes to be on the right side.
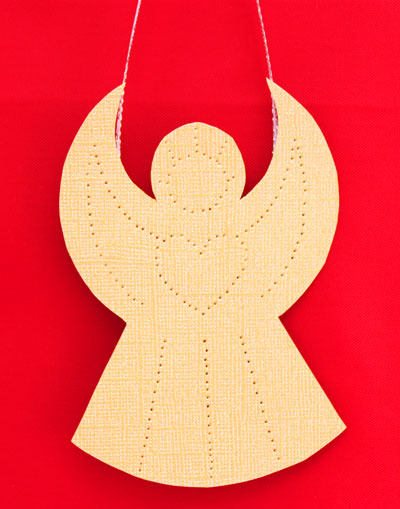
Place the angel shape right-side up under the pattern if you want smooth holes.
Otherwise, place the back-side up if you want the braille side visible.
For this example, I wanted the shiny side to be the right side and I wanted the smooth side of the holes to be visible.
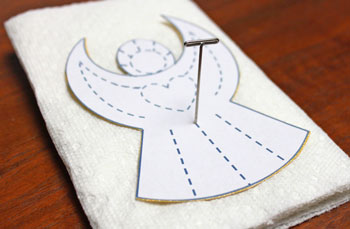
Match the pattern edges with the angel over the folded paper towels.
Hold the two shapes together with the edges matching while piercing the paper along the dotted lines.
Evenly space the pierced holes.
Make sure the holes are not too close together - too close and they cut the paper.
Next, choose whether you want the smooth side or the braille side of the pinpoint holes to be on the right side.
Place the angel shape right-side up under the pattern if you want smooth holes.
Otherwise, place the back-side up if you want the braille side visible.
For this example, I wanted the shiny side to be the right side and I wanted the smooth side of the holes to be visible.
Match the pattern edges with the angel over the folded paper towels.
Hold the two shapes together with the edges matching while piercing the paper along the dotted lines.
Evenly space the pierced holes.
Make sure the holes are not too close together - too close and they cut the paper.
Verify that all of the design lines have been pierced.
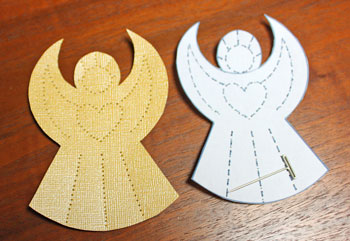
The next picture shows the braille side, which is also pretty.
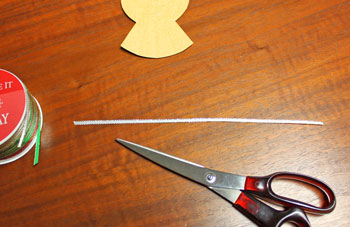
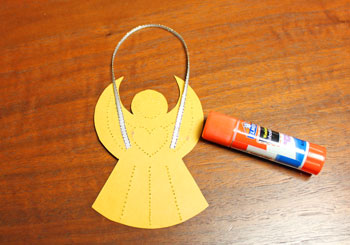
Cut a piece of narrow ribbon 8 to 10 inches in length for the hanging loop.
I used a narrow white ribbon with gold edges.
I used a narrow white ribbon with gold edges.
Glue the ends of the ribbon, one on each side of the pinpoint heart, on the back of the angel shape.
Allow the glue to dry, then hang the pretty Pinpoint Paper Angel to sparkle and add smiles.
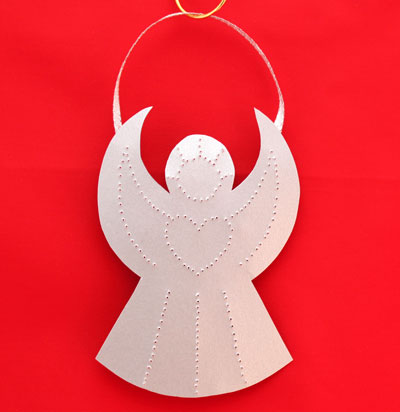
Here is a silver version.
This paper also had shiny and dull sides.
Again, I chose the shiny side to be the right side, but this time, I chose the braille side of the pinpoints to be visible.
This little angel's hanging loop used narrow silver ribbon with a wired edge.
Isn't she simple and pretty?
This paper also had shiny and dull sides.
Again, I chose the shiny side to be the right side, but this time, I chose the braille side of the pinpoints to be visible.
This little angel's hanging loop used narrow silver ribbon with a wired edge.
Isn't she simple and pretty?
Of course, this little angel would be pretty in any color.
Have fun!
Inexpensive, easy and fun, with careful positioning, several of the angels can be cut from one piece of paper.
The Pinpoint Paper Angel is also an enjoyable group project for families, church groups, craft parties or senior centers.
Have fun!
Inexpensive, easy and fun, with careful positioning, several of the angels can be cut from one piece of paper.
The Pinpoint Paper Angel is also an enjoyable group project for families, church groups, craft parties or senior centers.


funEZcrafts
Welcome
Come on in and stay awhile...

funEZcrafts
Welcome
Come on in and stay awhile...