Easy Christmas Crafts: Church Window Ornament
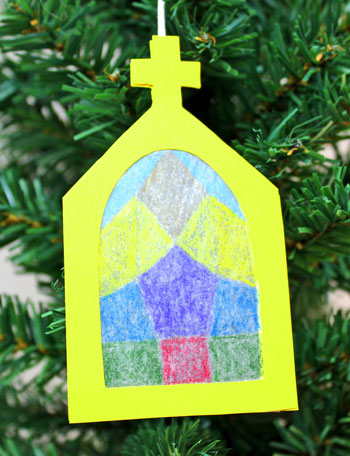
The pretty church window ornament uses paper, glue, yarn and coloring pencils or crayons to become a simple decoration for the holidays.
Put the little ornament in front of a light to really let its colors shine.
Put the little ornament in front of a light to really let its colors shine.
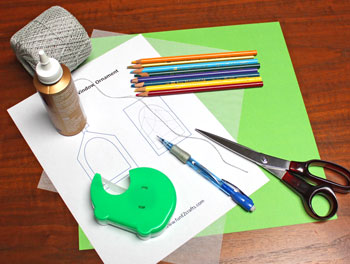
Easy Christmas Crafts: Church Window Ornament Materials and Tools:
Decorative card stock, (20 pound paper works, too, just not as sturdy)
Tracing paper (alternatively, use parchment or wax - see the Faux Stained Glass for comparison and how-to)
Yarn or thread
Coloring pencils or crayons
Pencil
Tape
Glue
Scissors
Church Window Ornament pattern
Tracing paper (alternatively, use parchment or wax - see the Faux Stained Glass for comparison and how-to)
Yarn or thread
Coloring pencils or crayons
Pencil
Tape
Glue
Scissors
Church Window Ornament pattern
The Steps for How to Make the Easy Christmas Crafts: Church Window Ornament:
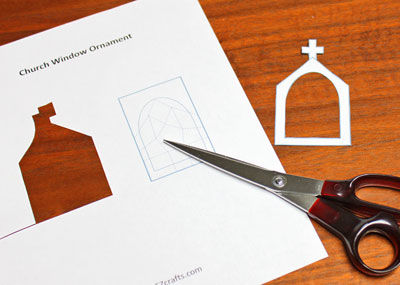
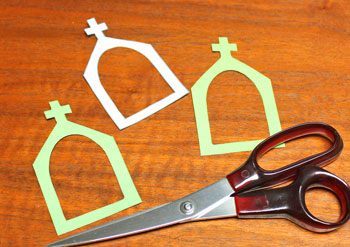
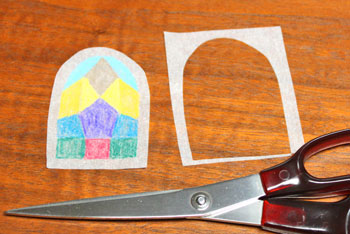
Print the Church Window Ornament pattern and cut out the window shape.
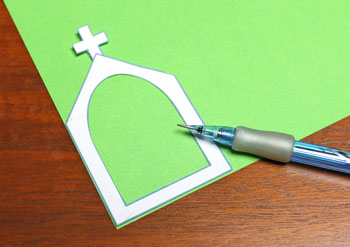
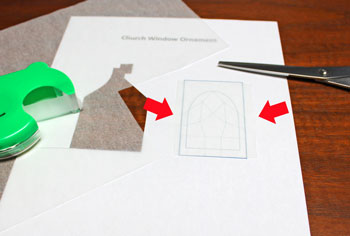
Place the window shape on the decorative paper.
Draw around the outer and inner sides of the shape.
Here, I used the paper's corner for two edges and drew around all the other sides.
Draw around the outer and inner sides of the shape.
Here, I used the paper's corner for two edges and drew around all the other sides.
Cut two of the window shapes from the decorative paper.
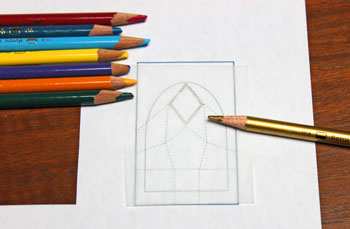
Cut a piece of tracing paper slightly larger than the arched window shape. (Visit the Faux Stained Glass page for how to use wax or parchment paper.)
Use small pieces of tape to hold the tracing paper over the lined window shape on the pattern.
Use small pieces of tape to hold the tracing paper over the lined window shape on the pattern.
With coloring pencils or crayons, color the tracing paper using the lines on the pattern as a guide.
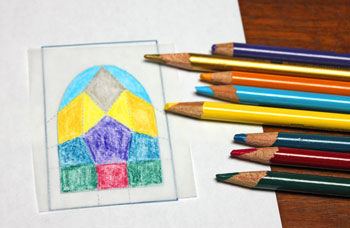
I used blues, greens, yellows, reds and gold for the colors.
I used blues, greens, yellows, reds and gold for the colors.
Finish coloring all of the blocks inside the arched window shape.
I chose to keep the colors symmetrical, but it would also be pretty with random colors.
I chose to keep the colors symmetrical, but it would also be pretty with random colors.
Remove the tape from the tracing paper and pattern.
Trim around the window shape leaving roughly 1/4-inch around the shape.
Trim around the window shape leaving roughly 1/4-inch around the shape.
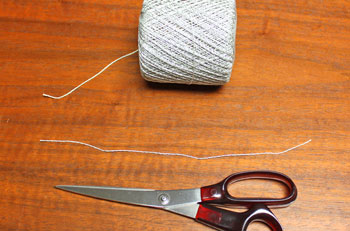
Cut a piece of yarn 8-10 inches long. (Can also use thread.)
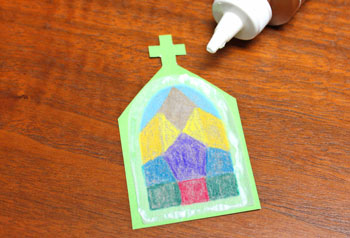
Position the window "glass" over one of the window shapes.
Make sure all of the visible area is colored.
Add glue to hold the window "glass" inside the window shape.
If there are pencil marks on the window shape, use that side for the glue.
Make sure all of the visible area is colored.
Add glue to hold the window "glass" inside the window shape.
If there are pencil marks on the window shape, use that side for the glue.
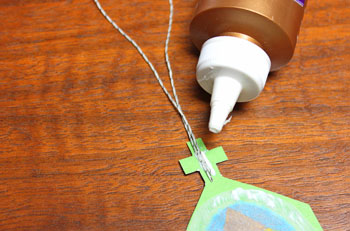
Fold the yarn in half.
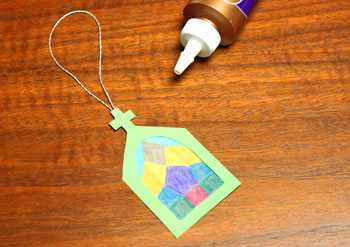
Position the ends of the yarn over the cross and add glue to hold the yarn.
Position the ends of the yarn over the cross and add glue to hold the yarn.
Add more glue around the window shape and position the second window over the first to sandwich the window "glass."
Match edges before the glue dries.
If the second window shape has any pencil marks, place that side toward the glue.
Match edges before the glue dries.
If the second window shape has any pencil marks, place that side toward the glue.
Allow the glue to dry and hang the pretty little Church Window Ornament to display its colors.
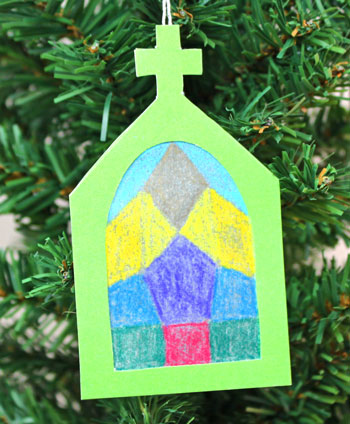
Simple paper turns into a pretty and colorful decoration for a tree, a window or wherever it can brighten an area.
Have fun!
This is a great project for a Sunday school class, church group or a family gathering.
Easy and inexpensive, you can make a few, several or many of the Church Window Ornament decorations in not a lot of time.
Have fun!
This is a great project for a Sunday school class, church group or a family gathering.
Easy and inexpensive, you can make a few, several or many of the Church Window Ornament decorations in not a lot of time.


funEZcrafts
Welcome
Come on in and stay awhile...

funEZcrafts
Welcome
Come on in and stay awhile...