Easy Angel Crafts: Paper Angel
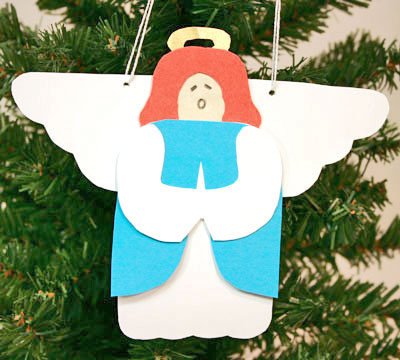
This Easy Angel Crafts Paper Angel needs only a few pieces of paper and a couple of short pieces of string along with scissors and tape or glue to become a hanging decoration or an addition to a gift.
Use different colors of paper for the different pieces of the Easy Angel Crafts Paper Angel or use crayons or colored pencils to color the different pattern pieces.
Use different colors of paper for the different pieces of the Easy Angel Crafts Paper Angel or use crayons or colored pencils to color the different pattern pieces.
Let's look at the materials and the steps for how to make the paper angel:
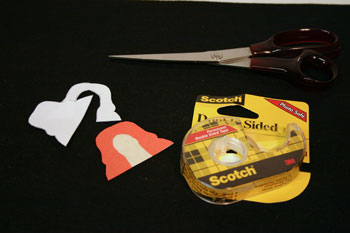
Easy Angel Crafts: Paper Angel Materials and Tools:
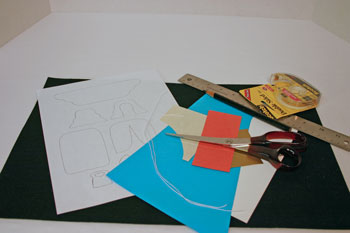
Four colors of paper of your choice (This angel uses white for the robe, arms and wings; cream for the face, orange for hair and gold for the halo.) Construction paper would be a good choice.
Tape or glue
String, two pieces, each 12 inches long
Ruler
Scissors
Pencil or pen
Paper angel pattern (click here for the Easy Angel Crafts Paper Angel pattern)
Tape or glue
String, two pieces, each 12 inches long
Ruler
Scissors
Pencil or pen
Paper angel pattern (click here for the Easy Angel Crafts Paper Angel pattern)
The Steps for How to Make the Easy Angel Crafts: Paper Angel:
Print a copy of the Easy Angel Crafts Paper Angel pattern to use as templates for cutting the various paper shapes.
As an alternative, children can use crayons to color the back of the printed shapes (not shown in the steps). Then cut the shapes and attach them together following the steps below.
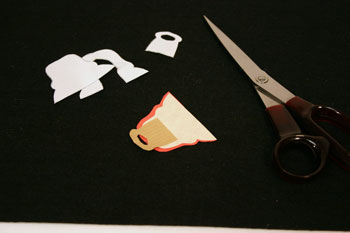
Cut the shapes from the pattern to use as templates for cutting the various papers.
As an alternative, children can use crayons to color the back of the printed shapes (not shown in the steps). Then cut the shapes and attach them together following the steps below.
Cut the shapes from the pattern to use as templates for cutting the various papers.
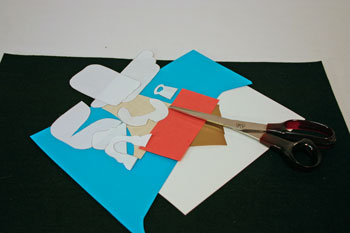
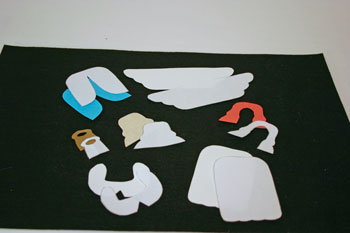
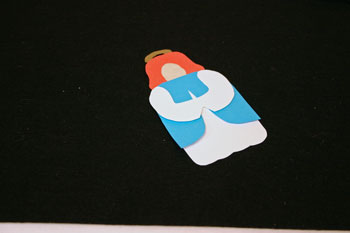
Cut one of each shape. This example uses a white paper slightly heavier than printer paper (it's actually a scrap of matte presentation paper) for the robe, the arms and the wings. The hair is orange construction paper, the halo is gold wrapping paper, the face and head is cream bond, and the cloak is blue printer paper.
Tape the hair to the face and head shape. I used double-sided tape rather than glue to avoid the drying time. Only a few small pieces of tape are needed to hold the pieces together.
You can also use one-sided tape by rolling a small piece with the sticky side outward. Put the small roll between the shapes to hold them in place.
You can also use one-sided tape by rolling a small piece with the sticky side outward. Put the small roll between the shapes to hold them in place.
Attach the halo to the back of the head shape of the Easy Angel Crafts Paper Angel. Position the opening in the halo just above the top of the hair.
Matching the top of each piece, tape the cloak over the robe.
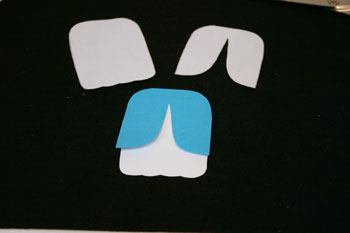
Matching the shoulders, tape the arms on top of the cloak.
Position the top of the body shape just below the curve for the hair and tape securely.
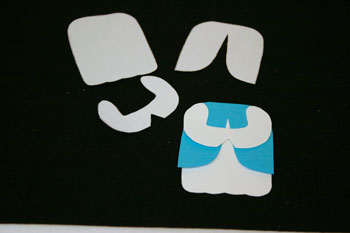
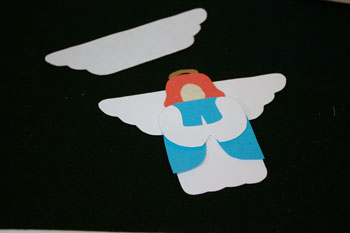
Center the wings behind the head and upper body. The bottom of the wings should be where the arms begin their curve inward. Securely attach the wings to the body and head of the Easy Angel Crafts Paper Angel.
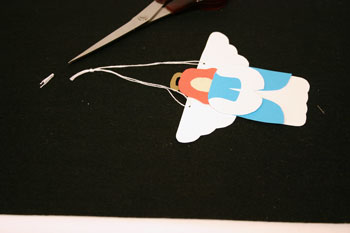
Using the point of the scissors, make small holes in the wings on either side of the head. The holes should be roughly 1/2 to 3/4 inch to either side of the hair and 1/4 inch from the top of the wings.
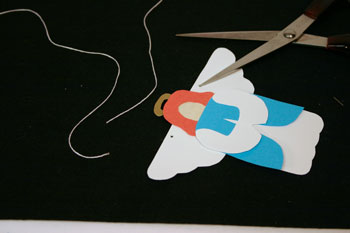
Thread a piece of string through each hole.
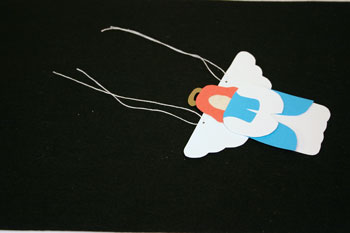
Bring the four ends of the string together and tie a knot to form the loop. Trim the ends of the string.
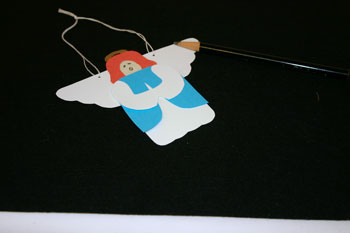
With a pencil, add eyes and a mouth to the Easy Angel Crafts Paper Angel.
This angel sings the heavenly chorus hanging on the tree.
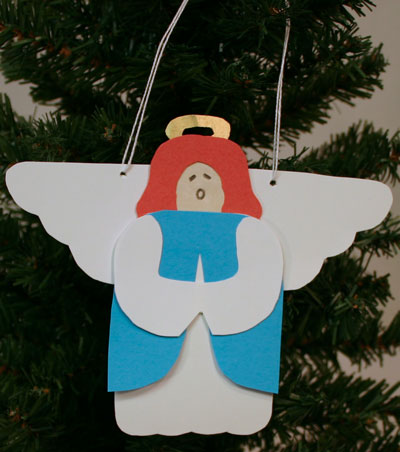
The Easy Angel Crafts Paper Angel can hang decorating a tree, a window, a drawer pull or anywhere an angel can be found.
Have fun!
This angel is both simple and inexpensive to make. She can embellish gifts or become place cards for a dinner party.
Whether you make one Easy Angel Crafts Paper Angel or several, the project provides fun for children and adults alike.
Have fun!
This angel is both simple and inexpensive to make. She can embellish gifts or become place cards for a dinner party.
Whether you make one Easy Angel Crafts Paper Angel or several, the project provides fun for children and adults alike.


funEZcrafts
Welcome
Come on in and stay awhile...

funEZcrafts
Welcome
Come on in and stay awhile...