Easy Christmas Crafts: Star Box Ornament
The Star Box Ornament uses a piece of paper or vellum, a short piece of ribbon and some yarn to become an interesting ornament that can also hide small, folded treasures inside.
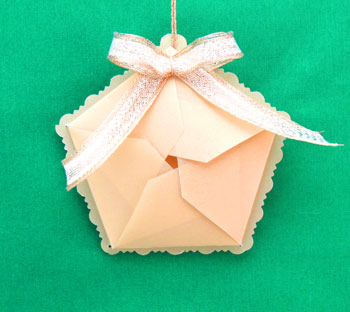
Take a look at this gold version made with gold vellum and gold wire-edged ribbon.
Take a look at this gold version made with gold vellum and gold wire-edged ribbon.
Let's make a silver and blue version.
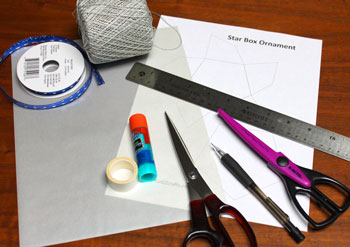
Easy Christmas Crafts: Star Box Ornament Materials and Tools:
Paper or vellum
Ribbon - wire edged holds shape better; 1/2 to 3/4-inch wide
Yarn
Scissors
Decorative edge scissors (optional)
Glue
Pencil
Ruler
Double-sided tape (with patience, can just use glue)
Pattern - Star Box Ornament pattern (click to open Adobe PDF)
Ribbon - wire edged holds shape better; 1/2 to 3/4-inch wide
Yarn
Scissors
Decorative edge scissors (optional)
Glue
Pencil
Ruler
Double-sided tape (with patience, can just use glue)
Pattern - Star Box Ornament pattern (click to open Adobe PDF)
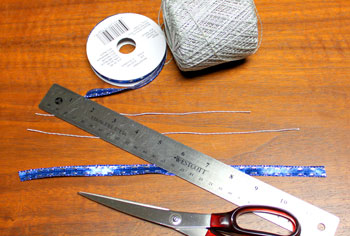
Take a look at the simple materials and tools.
The Steps for How to Make the Easy Christmas Crafts: Star Box Ornament:
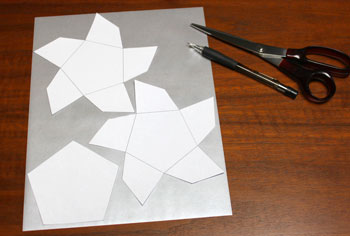
Print the Star Box Ornament pattern.
Cut out the shapes.
It's not necessary to print two copies of the pattern, but it certainly helps in positioning the shapes to get them all on one sheet of 8 1/5 by 11-inch paper.
Draw around the shapes with a pencil.
If your paper has a "right" and "wrong" side, draw the outlines on the "wrong" side.
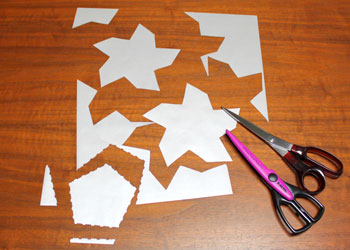
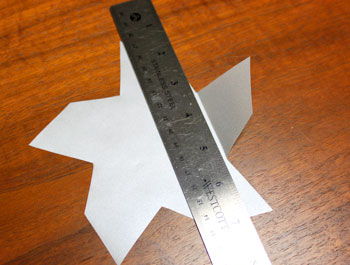
Cut around the star shapes with the regular scissors.
Cut around the pentagon with the decorative-edge scissors.
Cut around the pentagon with the decorative-edge scissors.
Use a straight edge to help fold the points of the star.
Begin the folds inward toward the side with the pencil outline such that any remaining pencil marks will be hidden inside.
Begin the folds inward toward the side with the pencil outline such that any remaining pencil marks will be hidden inside.
Begin overlapping the folded points with the short edge over the long edge.
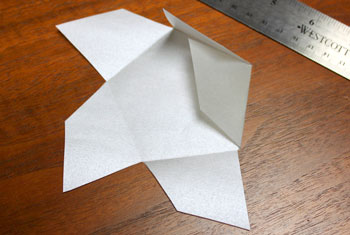
As the last two points are folded inward, tuck their points under the first folded section.

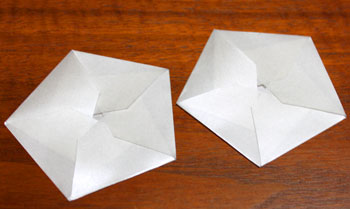
Fold the second star shape the same way.
Cut two lengths of yarn, one 8 inches and one 10 inches.
Cut 11 inches of the ribbon.
Cut 11 inches of the ribbon.
Center and glue one of the folded shapes over the decorative-edged pentagon.
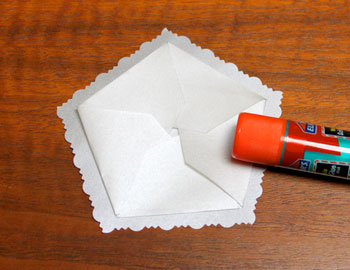
Turn the shape over.
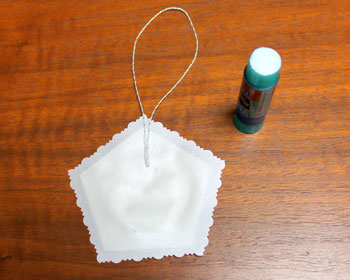
Fold the 10-inch piece of yarn in half and glue the cut ends to the back of the decorative-edged pentagon.
Fold the 10-inch piece of yarn in half and glue the cut ends to the back of the decorative-edged pentagon.
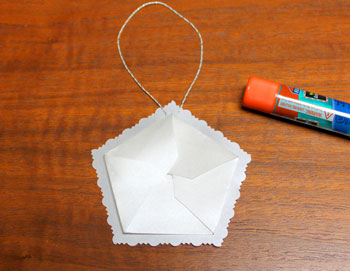
Center and glue the second folded shape over the pentagon.
Fold the ribbon to form a bow shape.
Use the 8-inch piece of yarn to tie around the ribbon to form the bow.
Use the 8-inch piece of yarn to tie around the ribbon to form the bow.

Securely knot the yarn to hold the ribbon in the bow shape.
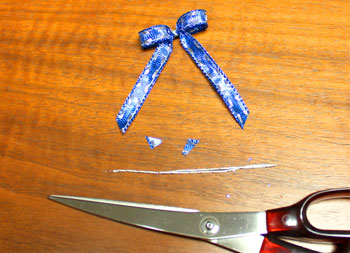
Trim the yarn ends.
Trim the ribbon ends at an angle.
Trim the yarn ends.
Trim the ribbon ends at an angle.
Cut small pieces of double-sided tape (or you can just use glue).
Place the tape on the back of the ribbon bow.
Place the tape on the back of the ribbon bow.

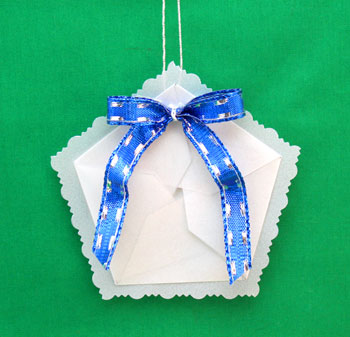
Position the bow on the Star Box Ornament just beneath the point near the hanging loop.
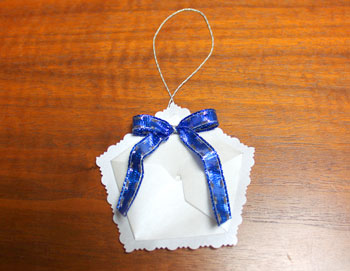
The Star Box Ornament is finished and ready to display.
Here's another version - this one is white on white.
The paper is 48-pound matte presentation paper.
The ribbon is a sheer white - not wire edged.
The yarn is a simple white crochet yarn.
The paper is 48-pound matte presentation paper.
The ribbon is a sheer white - not wire edged.
The yarn is a simple white crochet yarn.
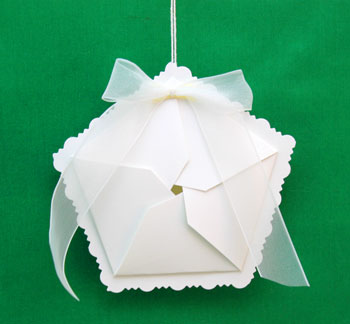
Plus, the ornament really is a box and can hold small folded gifts such as money or notes promising a gift of time, chores or another future gift.
Add more bling to make your own unique ornaments.
The choices are many!
The Star Box Ornament is a fun project for anyone wanting something different for the decorations this year.
Add more bling to make your own unique ornaments.
The choices are many!
The Star Box Ornament is a fun project for anyone wanting something different for the decorations this year.


funEZcrafts
Welcome
Come on in and stay awhile...

funEZcrafts
Welcome
Come on in and stay awhile...