Easy Christmas Crafts: Calico Semi Circles Christmas Tree
The Calico Semi Circles Christmas Tree uses small pieces of fabric, a bit of felt, a short piece of yarn, a decorative bead and some glue to become a fun little ornament for the holidays.
The project is fun, fast, easy and inexpensive - and, it could be made with paper instead, if you prefer.
The project is fun, fast, easy and inexpensive - and, it could be made with paper instead, if you prefer.
Easy Christmas Crafts: Calico Semi Circles Christmas Tree Materials and Tools:
Small fabric scraps, or a fat quarter (could also use paper)
Craft felt (if using paper, substitute thick paper or cardstock)
Yarn - 14 inches
Decorative bead - 10mm
Scissors
Pinking shears (optional)
Glue
Chalk pencil (or anything that can mark the points)
Calico Semi Circles Christmas Tree pattern
Craft felt (if using paper, substitute thick paper or cardstock)
Yarn - 14 inches
Decorative bead - 10mm
Scissors
Pinking shears (optional)
Glue
Chalk pencil (or anything that can mark the points)
Calico Semi Circles Christmas Tree pattern
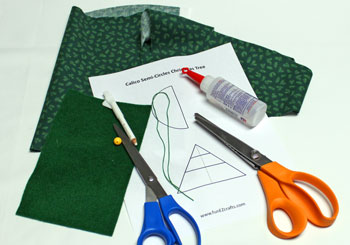
Take a look at the simple materials and tools shown here.
The Steps for How to Make the Easy Christmas Crafts: Calico Semi Circles Christmas Tree:
Print the Calico Semi Circles Christmas Tree pattern.
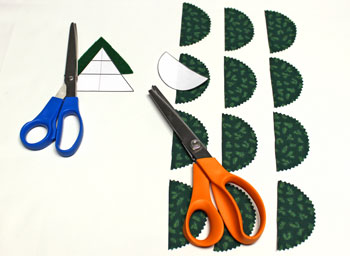
Cut around each of the pattern shapes.
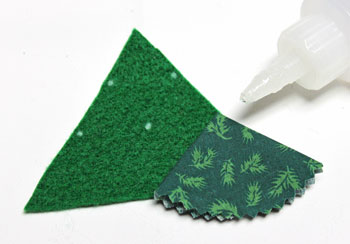
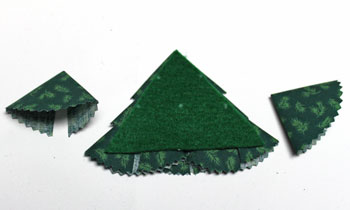
Cut the craft felt using the triangle pattern.
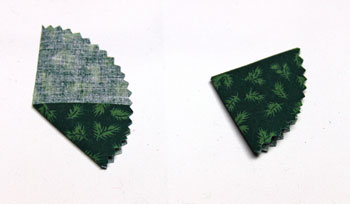
Cut 12 semi circular shapes. These were cut with regular scissors on the straight edge and with pinking shears on the semi circular shape.
If your fabric has a directional design, be consistent in how you cut each of the semi circles.
Cut around each of the pattern shapes.
Cut the craft felt using the triangle pattern.
Cut 12 semi circular shapes. These were cut with regular scissors on the straight edge and with pinking shears on the semi circular shape.
If your fabric has a directional design, be consistent in how you cut each of the semi circles.
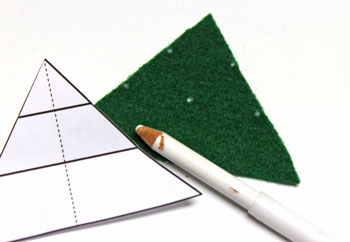
Mark the points where the horizontal lines touch the sides of the triangle and the center point on the longer line where the dotted line crosses it.
Mark these points on both sides of the triangle.
Mark these points on both sides of the triangle.
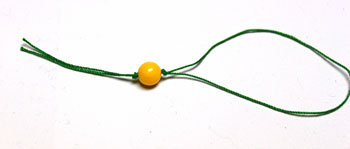
Fold the yarn in half and thread the two cut ends through the hole in the bead.
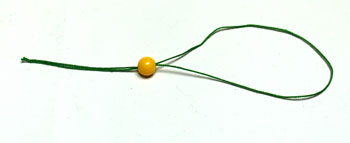
Tie knots in the yarn above and below the bead.
Tie two knots above the bead to keep it from coming off the yarn loop.
Tie one knot below the bead.
Tie two knots above the bead to keep it from coming off the yarn loop.
Tie one knot below the bead.
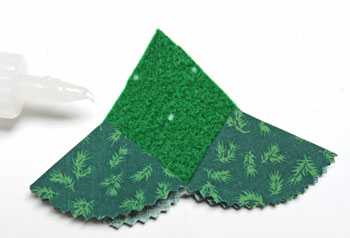
Fold the semi circular shapes.
Find the center point of the straight edge.
Fold the end of the straight edge to the center of the semi circle.
Do this for both sides to form a cone shape.
Find the center point of the straight edge.
Fold the end of the straight edge to the center of the semi circle.
Do this for both sides to form a cone shape.
Fold all of the semi circles into cone shapes.
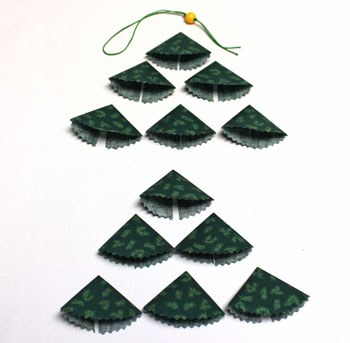
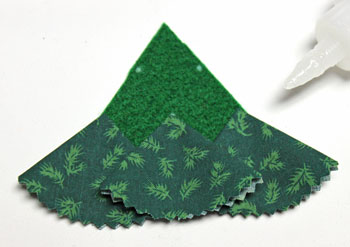
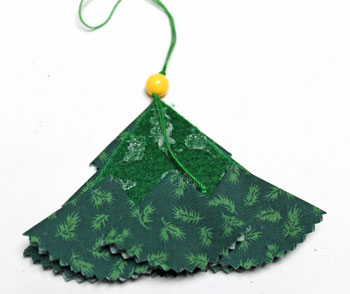
Apply glue to the right most bottom dot on the felt triangle.
Position the folded point on the glue with the curved portion of the cone extending below the felt triangle.
The right edge of the folded shape should extend to the right of the felt - it should not match the angle of the triangle.
Position the folded point on the glue with the curved portion of the cone extending below the felt triangle.
The right edge of the folded shape should extend to the right of the felt - it should not match the angle of the triangle.
Add glue to the leftmost bottom dot on the felt triangle.
Position the second shape over the glue.
Position the second shape over the glue.
Add glue to the middle dot on the triangle.
Position the third shape on the glue.
Position the third shape on the glue.
Continue adding the folded shapes to the felt triangle.
Add a spot of glue to the top of the felt triangle to secure the topmost folded shape on the first side.
Add a spot of glue to the top of the felt triangle to secure the topmost folded shape on the first side.
Turn the felt triangle over to add the folded semi circles to the second side.
Glue the first three shapes to the second side.
Add glue to the remaining three points.
Position the bead just above the point of the triangle with the loop above.
Place the cut ends of yarn across the glue.
Add glue to the remaining three points.
Position the bead just above the point of the triangle with the loop above.
Place the cut ends of yarn across the glue.
Add the three remaining shapes to the second side.
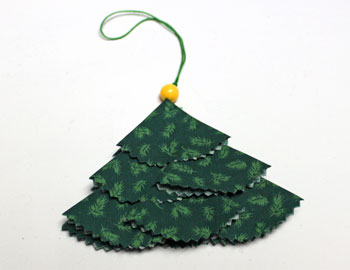
Hang the Calico Semi Circles Christmas Tree to display.
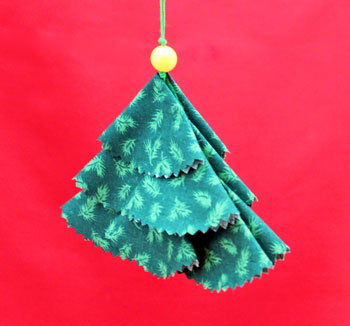
This view shows where the front and back meet at the edges.
This view shows where the front and back meet at the edges.
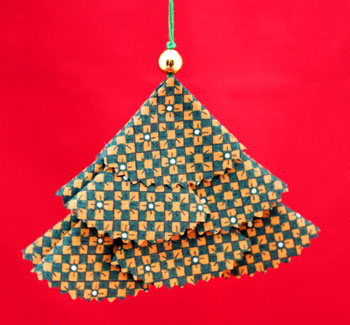
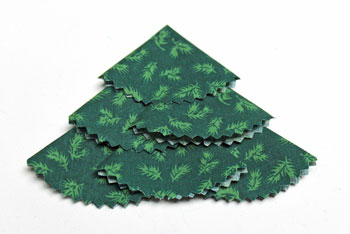
Here's a front view of the pretty little tree.
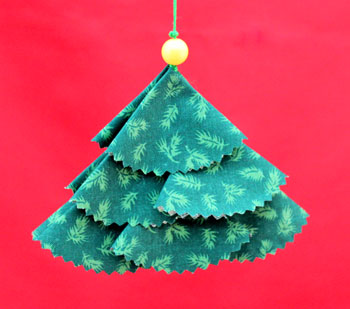
This ornament can be made quickly, easily and inexpensively with either fabric scraps or with paper.
Have fun making one or many!
Use this Easy Christmas Crafts Calico Semi Circles Christmas Tree as a decoration on a tree, as an extra gift on a package or as a simple keepsake gift.
Have fun making one or many!
Use this Easy Christmas Crafts Calico Semi Circles Christmas Tree as a decoration on a tree, as an extra gift on a package or as a simple keepsake gift.


funEZcrafts
Welcome
Come on in and stay awhile...

funEZcrafts
Welcome
Come on in and stay awhile...