Easy Christmas Crafts: Pyramid Box Ornament
The pyramid box ornament made of paper, ribbon and beads becomes an interesting decoration, or it could even hold and hide a small gift.
Let's take a look at a couple of examples.
This one in pink with pink net ribbon used the smallest pattern.
Let's take a look at a couple of examples.
This one in pink with pink net ribbon used the smallest pattern.

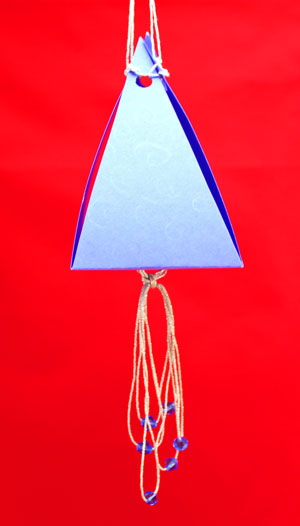
Here's a blue one based on the largest pattern that used loops of yarn instead of ribbon.
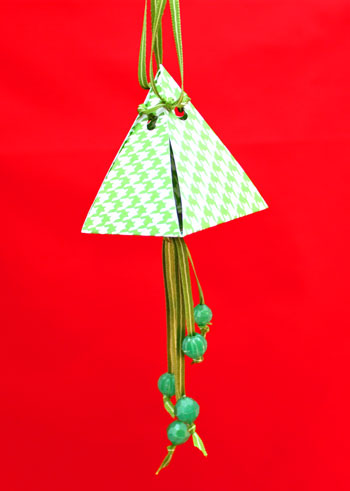
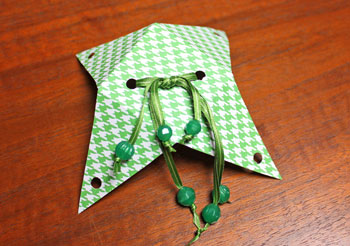
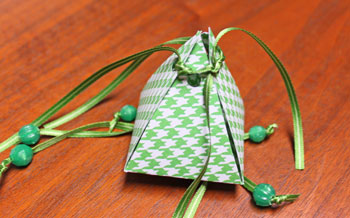
And, this is the one I am making - green with green ribbon and beads.
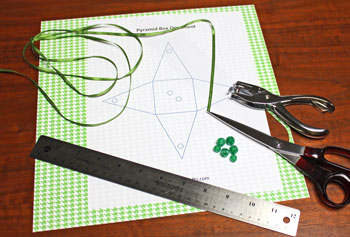
Easy Christmas Crafts: Pyramid Box Ornament Materials and Tools:
Decorative card stock, (20 pound paper works, too, just not as sturdy)
Ribbon (1/4-inch wide by ~1 1/2 yards long)
Six beads with holes large enough for ribbon to pass through
Hole punch
Ruler
Glue (not shown - optional - you may want to add a touch of glue to hold the bead on the ribbon)
Scissors
Pyramid Box Ornament pattern
Ribbon (1/4-inch wide by ~1 1/2 yards long)
Six beads with holes large enough for ribbon to pass through
Hole punch
Ruler
Glue (not shown - optional - you may want to add a touch of glue to hold the bead on the ribbon)
Scissors
Pyramid Box Ornament pattern
The Steps for How to Make the Easy Christmas Crafts: Pyramid Box Ornament:
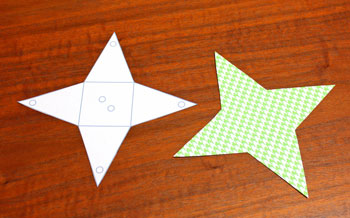
Print the Pyramid Box Ornament pattern.
Select the size and cut out the pattern.
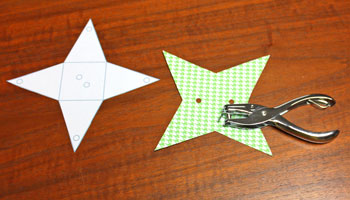
Position the pattern on the card stock and cut around the shape.
Select the size and cut out the pattern.
Position the pattern on the card stock and cut around the shape.
Punch two holes in the base of the pyramid.
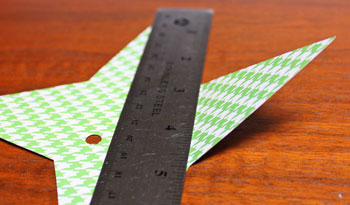
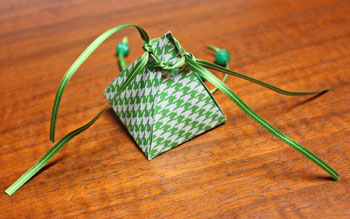
Using the ruler as a straight edge, begin folding up the sides of the pyramid.
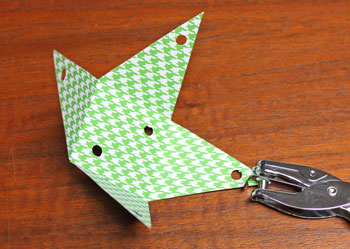
Punch holes in each of the pyramid's points.
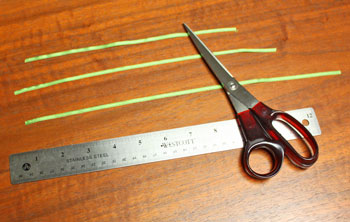
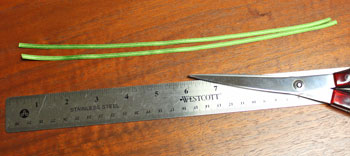
Cut three different lengths of ribbon, one each of 9 inches, 11 inches and 13 inches.
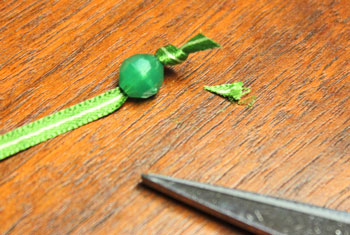
Thread one ribbon end through one bead.
Tie a knot in the end of the ribbon.
If the bead could easily slip over the knot, a drop of glue can be added to hold the bead above the knot.
Trim the ribbon end at an angle.
Tie a knot in the end of the ribbon.
If the bead could easily slip over the knot, a drop of glue can be added to hold the bead above the knot.
Trim the ribbon end at an angle.
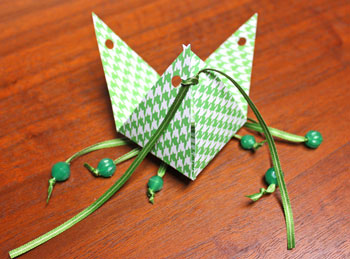
Thread the ribbon through the base of the pyramid.
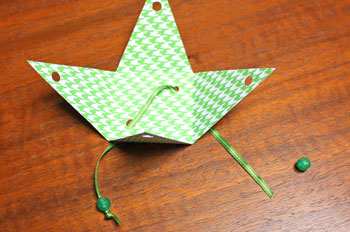
Add a bead to the other end of the ribbon, tie a knot (glue, if necessary) and trim the ribbon end.
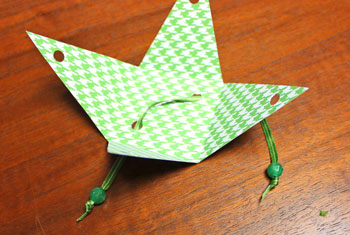
Add the other two ribbons and remaining beads in the same way.
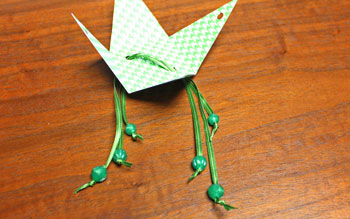
Pull the ribbons together and tie a knot at the base of the pyramid.
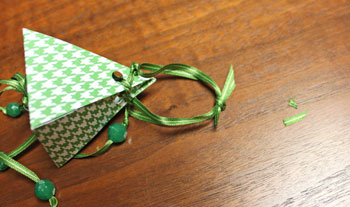
Cut two lengths of ribbon 12 inches long.
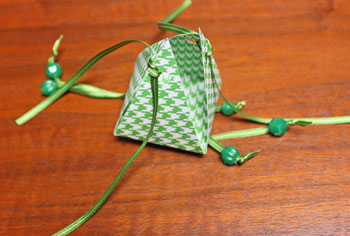
Pull two adjacent pyramid sides together.
Push one of the ribbons through the two holes in the points.
Loosely tie the points together with a half knot.
Push one of the ribbons through the two holes in the points.
Loosely tie the points together with a half knot.
With the second ribbon, tie the opposite two pyramid points together the same way.
Use a full knot to tie one end of each ribbon together to close one of the remaining open sides of the pyramid.
Do the same for the remaining open side of the pyramid.
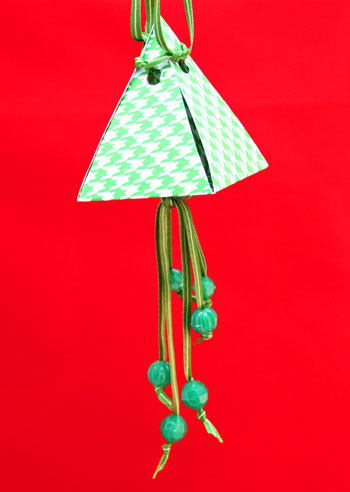
Collect the ribbon ends at the pyramid points and tie a knot to form the hanging loop.
Trim the ends of the ribbon at an angle.
Trim the ends of the ribbon at an angle.
The pyramid box ornament is ready to display.
For some additional fun - add a small gift wrapped in pretty tissue paper before closing the pyramid's sides.
Or, the little pyramid could also hold fragrant potpourri in a room or a closet any time of the year.
For some additional fun - add a small gift wrapped in pretty tissue paper before closing the pyramid's sides.
Or, the little pyramid could also hold fragrant potpourri in a room or a closet any time of the year.
Just paper, ribbon and beads become a simple and interesting decoration.
Have fun!
The Pyramid Box Ornament is a fun and easy project that allows you to make a few, several or many of the decorations quickly.
Have fun!
The Pyramid Box Ornament is a fun and easy project that allows you to make a few, several or many of the decorations quickly.


funEZcrafts
Welcome
Come on in and stay awhile...

funEZcrafts
Welcome
Come on in and stay awhile...