Easy Christmas Crafts: Joyful Star Ornament
Three colors of paper, a short piece of ribbon and some glue become a pretty little Joyful Star Ornament.
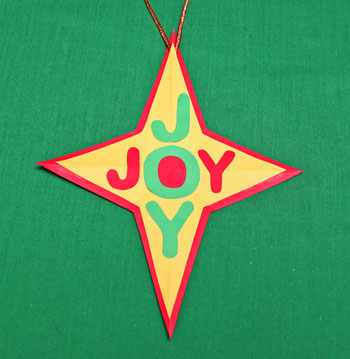
Just look at how the star spells joy in seasonal colors.
Just look at how the star spells joy in seasonal colors.

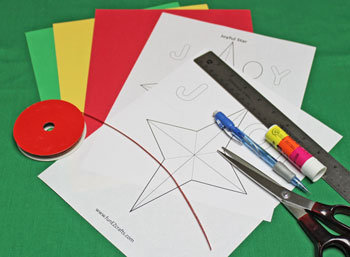
Easy Christmas Crafts: Joyful Star Ornament Materials and Tools:
Paper - three different colors - this used red, green and goldenrod
Ribbon - 8 inches of 1/4 inch wide
Ruler
Glue
Scissors
Pencil
Pattern - Joyful Star Ornament
Ribbon - 8 inches of 1/4 inch wide
Ruler
Glue
Scissors
Pencil
Pattern - Joyful Star Ornament
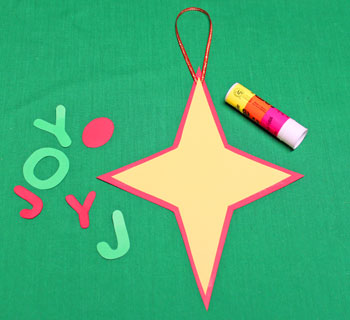
Take a look at the simple materials and tools.
The Steps for How to Make the Easy Christmas Crafts: Joyful Star Ornament:
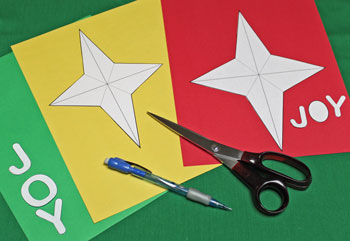
Print the Joyful Star Ornament pattern.
Cut around the pattern shapes.
Position the larger star and the smaller J, Y and solid oval on the red paper or the background color you choose.
Position the smaller star on the contrasting foreground paper - here it's goldenrod.
Place the large J, O and Y on the green paper or the paper of your choice.
I used 24 pound paper, which is just slightly heavier than normal printer/copy paper.
A slightly thinner paper would actually work better, and a heavier paper would be too stiff. If you want to use a really thin paper (for example, a pretty tissue paper), you may need to re-enforce the background.
Draw around each of the shapes (or you can just print the pattern on the paper of your choice).
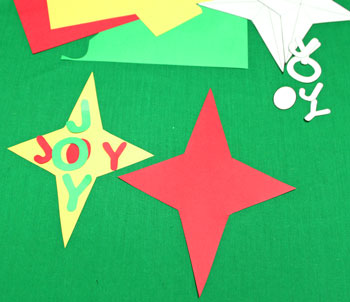
Cut around each of the shapes.
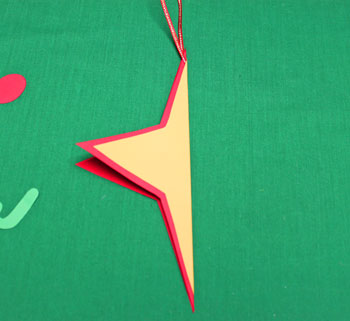
Measure and cut an 8-inch piece of narrow ribbon.
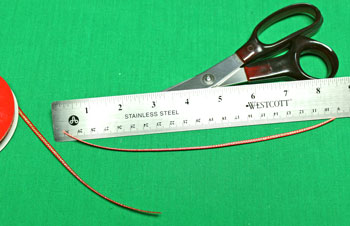
Position the ends of the ribbon between the two stars at the end of one of the longer points.
Center the two stars and glue them together.
Make sure the ribbon ends are securely attached between the stars and that each ribbon end is on opposite sides of the center of the points.
Center the two stars and glue them together.
Make sure the ribbon ends are securely attached between the stars and that each ribbon end is on opposite sides of the center of the points.
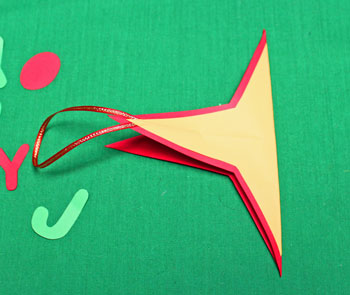
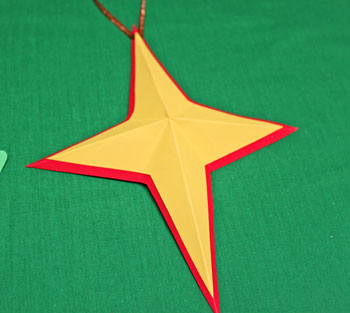
To give the star dimension, fold the star along the lengthwise center with the fold facing outward.
Next, fold the star across the width, again with the fold facing outward.
Next, make the "valley" folds between each star point.
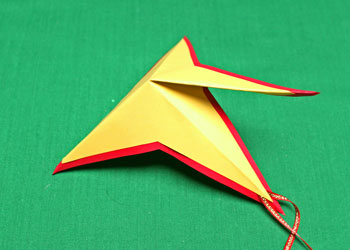
The "mountain" folds form a "t," and the "valley folds form an "X" with the folds meeting at the center point of the star.
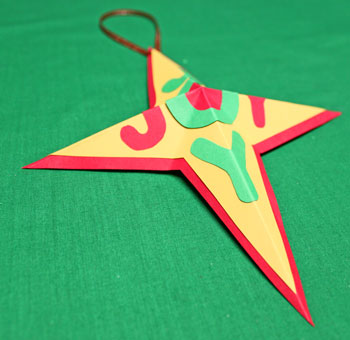
Flatten the star to glue the letters.
First, center and glue the solid red oval over the star's center point.
Next, glue the large, green "O" over the red oval.
Position and glue the large, green "J" above the "O" and the large, green "Y" under the "O."
Last, position and glue the small, red "J" to the left of the "O" and the small, red "Y" to the right.
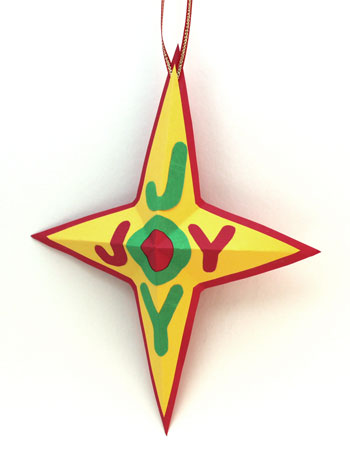
Let the glue set, then re-fold the star along the same lines as before creasing the letters as you go.
The Joyful Star Ornament is ready to display hanging on a tree, in a window or wherever you want to remind people of joy for the season.
Use a variety of paper to make different joyful ornaments. Add some with sparkles or shine to make the ornament reflect in the season's lights.
Have fun!
The Joyful Star Ornament can be a fun and easy group project for families, churches, and senior centers.
Have fun!
The Joyful Star Ornament can be a fun and easy group project for families, churches, and senior centers.


funEZcrafts
Welcome
Come on in and stay awhile...

funEZcrafts
Welcome
Come on in and stay awhile...