Easy Christmas Crafts: Stuffed Felt Snowman Ornament
This fun and easy stuffed felt snowman ornament has a huge smile for adding merriment to holiday and winter decorations.
Look at how he smiles! Maybe he's laughing.
Look at how he smiles! Maybe he's laughing.
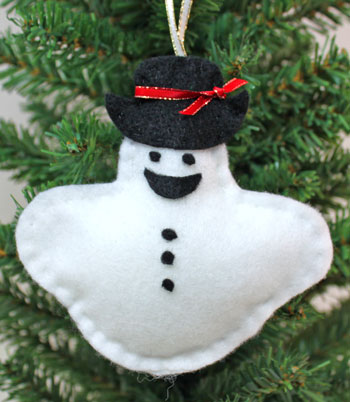
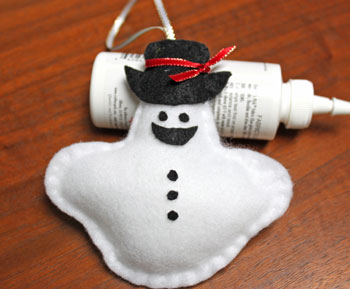
The Stuffed Felt Snowman Ornament is fun and easy to make.
He can decorate a tree, hang in an office or kitchen and even be a small gift for holiday guests to take home as a keepsake
He can decorate a tree, hang in an office or kitchen and even be a small gift for holiday guests to take home as a keepsake
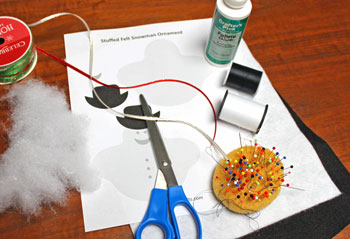
Easy Christmas Crafts: Stuffed Felt Snowman Ornament Materials and Tools:
Stuffed Felt Snowman Ornament pattern (click to open PDF file)
Craft felt - white and black
Ribbon, 1/4-inch wide
Thread - black and white
Needle
Pins
Poly fiberfill (can also use cotton balls)
Glue
Scissors
Craft felt - white and black
Ribbon, 1/4-inch wide
Thread - black and white
Needle
Pins
Poly fiberfill (can also use cotton balls)
Glue
Scissors
Take a look at the simple materials and tools shown here.
The Steps for How to Make the Easy Christmas Crafts: Stuffed Felt Snowman Ornament:
Print the Stuffed Felt Snowman Ornament pattern.
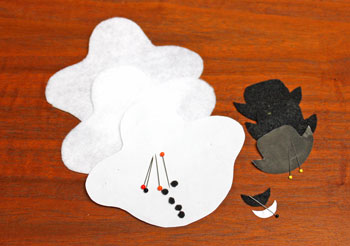
Cut out the pattern pieces for the snowman shape, the hat and the big smile.
Cut out the pattern pieces for the snowman shape, the hat and the big smile.

Cut two of the snowman shape from the white craft felt. I folded the white felt in half, pinned the pattern to the folded felt and cut both shapes at one time.
Cut two of the hat shape from the black felt. I pinned the hat shape to two layers of black felt to cut both shapes together.
Cut one of the big smile from the black felt.
Cut five small shapes for the eyes and buttons. Try for a round shape, but don't worry if they're not perfect. Coal doesn't have perfect shapes either.
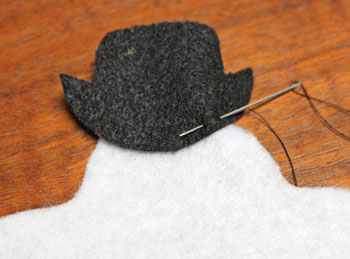
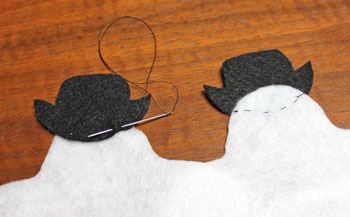
Thread the needle with black thread, tie a knot in one end of the thread.
Hide the knot on the backside of the shape and begin sewing the bottom edge of the hat to the snowman's head using running stitches.
The running stitch is an easy and fundamental stitch. If you would like more help with the running stitch, go to the funEZ How to sew stitches page to get your own free e-book.
Finish sewing the first hat and tie off the thread.
Using the first hat as a guide, position the second hat shape on the second snowman shape in the same way.
Sew the bottom edge of the hat to the snowman shape.
Using the first hat as a guide, position the second hat shape on the second snowman shape in the same way.
Sew the bottom edge of the hat to the snowman shape.
At the edge of the snowman shape, position the first snowman shape with its hat behind the current shape with wrong sides together and matching edges.
Continue stitching along the outer edges of the hat shape.
Continue stitching along the outer edges of the hat shape.

Finish sewing the hat shapes together.
The inside of the hat shape should be open for stuffing fiberfill into the hat later.
The inside of the hat shape should be open for stuffing fiberfill into the hat later.

Thread the needle with white thread.
Begin sewing the snowman shapes together with the running stitches.
Begin sewing the snowman shapes together with the running stitches.
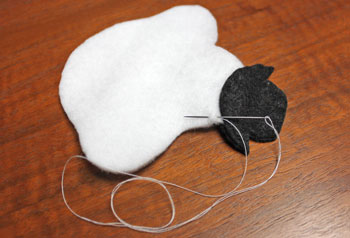
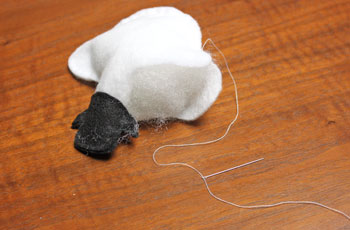
At two-thirds the way around the shape, stop to push fiberfill into the hat and the snowman shape.
Continue sewing the edges of the snowman shape together around the fiberfill.
Continue sewing the edges of the snowman shape together around the fiberfill.
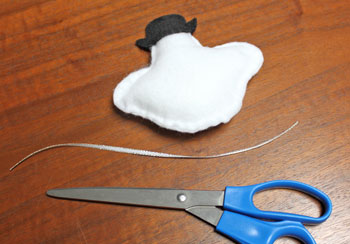
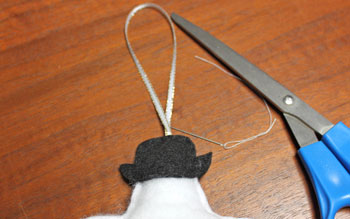
Cut a piece of ribbon 8 to 10 inches long.
Fold the ribbon in half and sew the ends of the ribbon between the top edges of the hat.
Note: I chose to add the ribbon after I sewed the hat, however it would be easier to insert the ends of the ribbon into the hat when sewing the hat together.
Note: I chose to add the ribbon after I sewed the hat, however it would be easier to insert the ends of the ribbon into the hat when sewing the hat together.
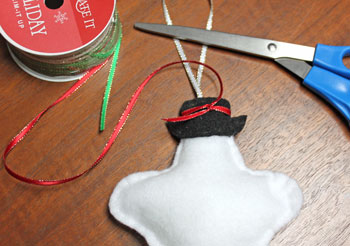
Tie the end of a contrasting ribbon to the hat for a hat band.
I tie the ribbon before cutting it from the spool.
I tie the ribbon before cutting it from the spool.
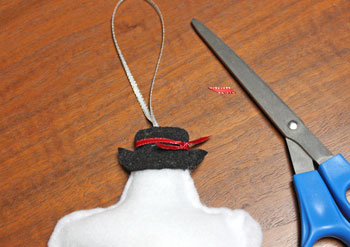
Trim the ribbon ends on the hat band at an angle.
Glue the eyes, big smile and buttons to the front of the snowman shape.
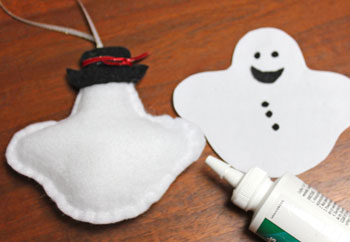
Allow the glue to set.
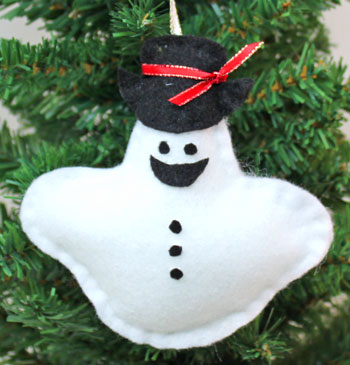
The stuffed felt snowman ornament is finished and ready to hang on display.
Inexpensive craft felt, basic tools and simple steps makes this a fun and easy sewing project - even for the novice sewers.
(Note: I did try making this using glue to hold the edges of the shape. I didn't have the patience to let the glue dry.)
Have fun!
The stuffed felt snowman ornament can be fun addition to an office, a winter wonderland window or anywhere his smile could brighten someone's day.
(Note: I did try making this using glue to hold the edges of the shape. I didn't have the patience to let the glue dry.)
Have fun!
The stuffed felt snowman ornament can be fun addition to an office, a winter wonderland window or anywhere his smile could brighten someone's day.


funEZcrafts
Welcome
Come on in and stay awhile...

funEZcrafts
Welcome
Come on in and stay awhile...