Easy Christmas Crafts: Stuffed Bow Decoration
A scrap of pretty fabric, easy sewing steps and a little poly fiberfill become a versatile stuffed bow that can be an ornament, a door knob decoration, an addition to a gift or whatever the imagination chooses.
The first example was made using a blue woven cotton and polyester blend fabric:
The first example was made using a blue woven cotton and polyester blend fabric:

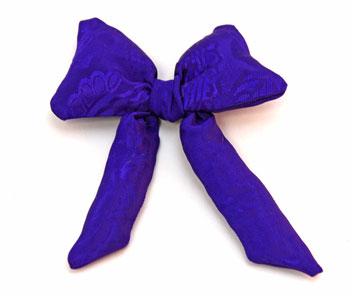
The next example is a purple version made with a shiny woven synthetic fabric:
The Stuffed Bow Decoration is not just for the winter holidays. It can be a fun decoration any time of the year.
The bow could be made with seasonal colors and used at place settings for a dinner party. Or, several bows could be scattered about a party buffet.
Or, perhaps add the bow to chairs or to cabinets pulls.
The bow could be made with seasonal colors and used at place settings for a dinner party. Or, several bows could be scattered about a party buffet.
Or, perhaps add the bow to chairs or to cabinets pulls.
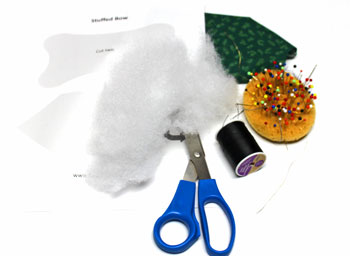
Easy Christmas Crafts: Stuffed Bow Decoration Materials and Tools:
Fabric scrap
Thread, matching or a neutral color
Poly fiberfill (can also use cotton balls)
Needle
Pins
Scissors
Iron
Sewing machine (optional, can also make this by hand using simple running stitches)
Ribbon, 1/4-inch wide (not shown, optional for hanging as ornament)
Stuffed Bow Decoration pattern (click to open PDF file)
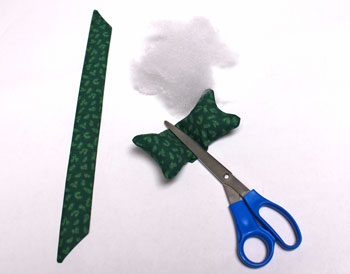
Take a look at the simple materials and tools shown here.
The Steps for How to Make the Easy Christmas Crafts: Stuffed Bow Decoration:
Print the Stuffed Bow Decoration pattern.
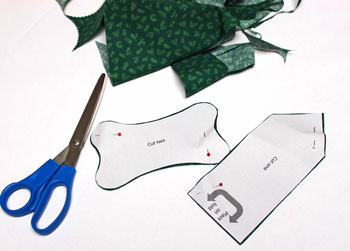
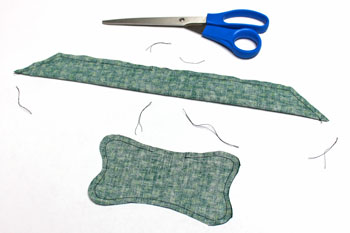
Cut out the pattern pieces for the bow and the ribbon.
Cut two of the bow shape.
Cut one of the ribbon shape with the straight end placed on the folded edge of the fabric.
Cut out the pattern pieces for the bow and the ribbon.
Cut two of the bow shape.
Cut one of the ribbon shape with the straight end placed on the folded edge of the fabric.
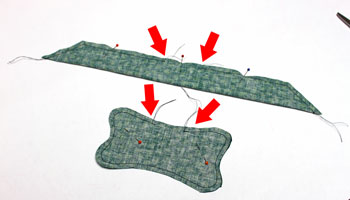
For the bow, place the right sides together and sew around the shape leaving a small opening to turn the shape.
Use 1/4-inch seams on the bow and the ribbon.
For the ribbon, fold the shape in half lengthwise with the right sides together. Sew the edges leaving a small opening in the middle to turn the shape.
Use 1/4-inch seams on the bow and the ribbon.
For the ribbon, fold the shape in half lengthwise with the right sides together. Sew the edges leaving a small opening in the middle to turn the shape.
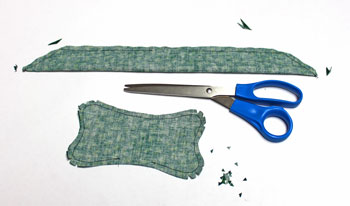
Cut off any extra threads.
Clip curves and trim corners to help the seam lie flat when the shape is turned right side out.
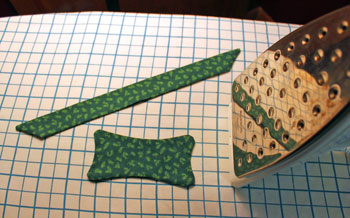
Turn the shapes right side out.
Carefully use the points on the scissors to push out the corners of the ribbon ends.
Carefully use the points on the scissors to push out the corners of the ribbon ends.
Smooth the seams and press with an iron set on proper temperature for your fabric.
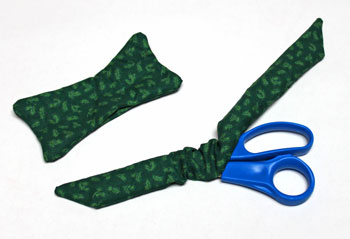
Take small amounts of the poly fiberfill and gently stuff the ends of the bow.
Do not stuff the middle shown under the scissors.
Do not stuff the middle shown under the scissors.
Next, gently push a small amount of poly fiberfill into the ends of the ribbon.
Only stuff the ends from the point up roughly four inches toward the middle.
The middle of the ribbon remains unstuffed to be able to tie it around the unstuffed portion of the bow.
Only stuff the ends from the point up roughly four inches toward the middle.
The middle of the ribbon remains unstuffed to be able to tie it around the unstuffed portion of the bow.
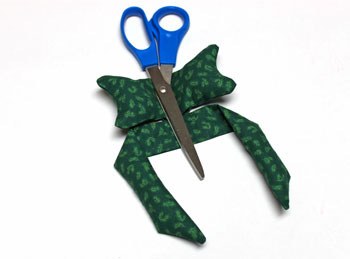
Wrap the ribbon around the middle of the bow and tie in a half knot.
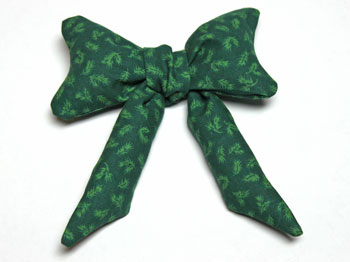
Since the opening in the bow would be covered by the ribbon, I did not stitch it closed.
The same for the ribbon since the opening would be in the half knot.
At this point, the Stuffed Bow Decoration is finished and can be used wherever the imagination desires.
Since the opening in the bow would be covered by the ribbon, I did not stitch it closed.
The same for the ribbon since the opening would be in the half knot.
At this point, the Stuffed Bow Decoration is finished and can be used wherever the imagination desires.
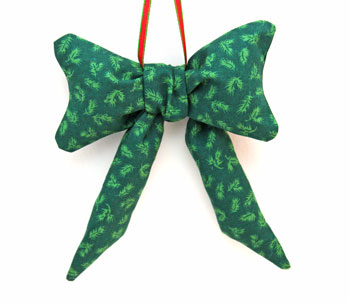
However, if you want to hang the little bow on a Christmas tree, a door knob or other place, a ribbon loop can be added.
Cut a narrow ribbon 12 to 14 inches long.
Thread the narrow ribbon between the bow and ribbon on the Stuffed Bow Decoration.
Pull the ends even and tie a knot.
Trim the ends of the narrow ribbon at an angle if desired.
Cut a narrow ribbon 12 to 14 inches long.
Thread the narrow ribbon between the bow and ribbon on the Stuffed Bow Decoration.
Pull the ends even and tie a knot.
Trim the ends of the narrow ribbon at an angle if desired.
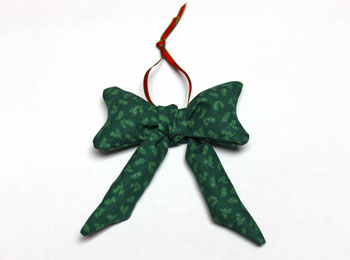
Now, the Stuffed Bow Decoration can be hung on display.
This little bow can be a great way to use those scraps of fabric that are too big to throw away but too small for most projects.
Have fun!
The Stuffed Bow Decoration can be made in many fun and interesting colors for variety or make several in the same color to continue a color theme.
Have fun!
The Stuffed Bow Decoration can be made in many fun and interesting colors for variety or make several in the same color to continue a color theme.


funEZcrafts
Welcome
Come on in and stay awhile...

funEZcrafts
Welcome
Come on in and stay awhile...