Easy Christmas Crafts: Sled Ornament
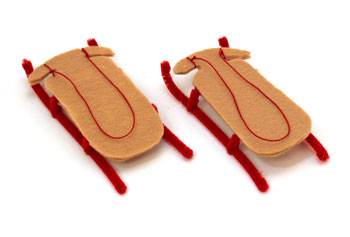
This fun and easy sled ornament made with felt and chenille wires reminds us of the fun in the snow riding downhill on the tan colored sled with its red runners.
Easy Christmas Crafts: Sled Ornament Materials and Tools:
Craft felt (camel tan, cashmere tan or similar tan color)
Yarn (red)
Chenille wires (2 red 12-inch wires)
Poster board, chip board or card stock
Glue
Ruler
Scissors
Needle nose pliers
Pencil (not shown)
Pattern - Sled Ornament pattern
Yarn (red)
Chenille wires (2 red 12-inch wires)
Poster board, chip board or card stock
Glue
Ruler
Scissors
Needle nose pliers
Pencil (not shown)
Pattern - Sled Ornament pattern
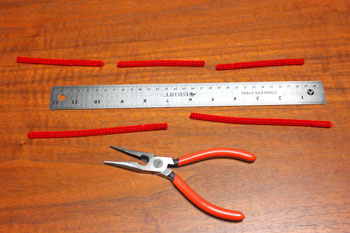
Take a look at the simple materials and tools shown here.

The Steps for How to Make the Easy Christmas Crafts: Sled Ornament:
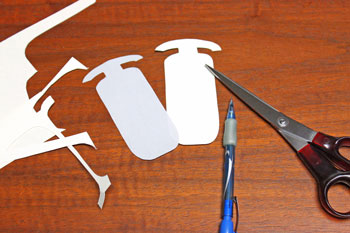
Print the Sled Ornament pattern.
Cut out the sled shaped pattern.
Draw around the pattern on the poster board (or chip board or card stock).
Cut out the poster board sled shape.
Cut out the sled shaped pattern.
Draw around the pattern on the poster board (or chip board or card stock).
Cut out the poster board sled shape.
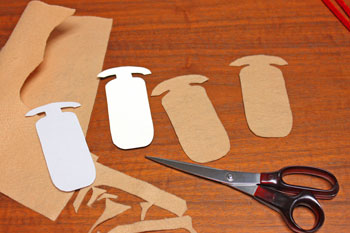
Cut the two sled shapes from the felt.
Cut the felt sled shapes just slightly larger than the pattern.
This keeps the poster board from showing around the edges.
Cut the felt sled shapes just slightly larger than the pattern.
This keeps the poster board from showing around the edges.
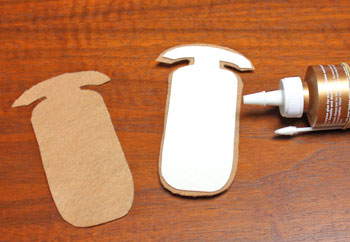
Glue one of the felt sled shapes to the poster board sled.
Cut one of the 12-inch chenille wires in half.
Cut the second wire into three 4-inch lengths.
Cut the second wire into three 4-inch lengths.
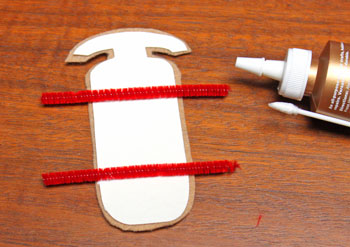
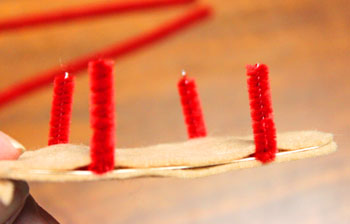
Glue two of the 4-inch chenille wires to the poster board sled.
Center each wire across the sled shape and roughly 1/4 of the way from each end of the sled base not counting the "steering" arm.
Center each wire across the sled shape and roughly 1/4 of the way from each end of the sled base not counting the "steering" arm.
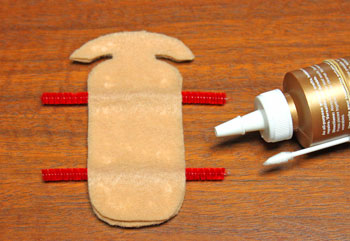
Place glue on the poster board and the two chenille wires.
Position the second felt sled shape over the glue matching the sled edges.
Position the second felt sled shape over the glue matching the sled edges.
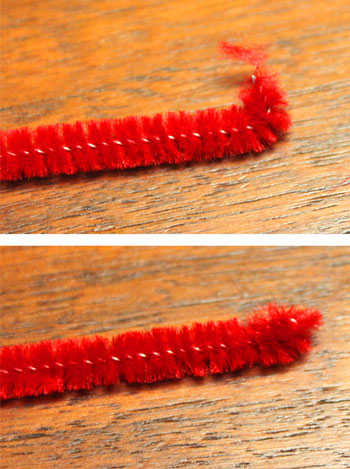
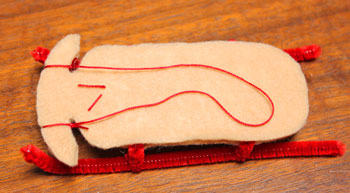
For each of the two 6-inch chenille wires, bend each end by 1/8 inch and crimp back onto itself to hide the sharp wires.
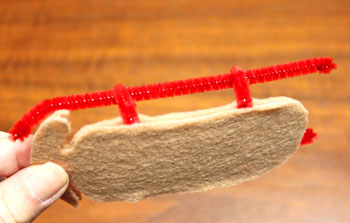
Bend each of the wires on the sled at right angles with the sled.
On each side, bend the ends of the sled wires around a 6-inch chenille wire to form the sled's "runners."
Crimp the sled wires to hold the 6-inch chenille wires in place.
At the front of the sled, bend each 6-inch chenille wire at an angle to make it easier for the "runners" to "slide on the snow."
Crimp the sled wires to hold the 6-inch chenille wires in place.
At the front of the sled, bend each 6-inch chenille wire at an angle to make it easier for the "runners" to "slide on the snow."
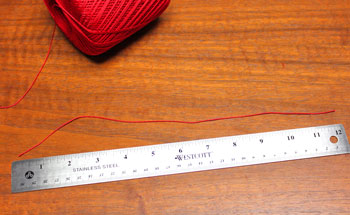
Cut a 12-inch piece of yarn.
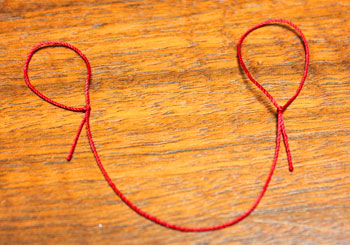
Make a slip knot in each end of the yarn.
The yarn should slip on itself not on the short ends of the slip knot.
The yarn should slip on itself not on the short ends of the slip knot.
Hook the slip knots over the steering arm one on each side.
If necessary, trim the short ends of the slip knot.
If necessary, trim the short ends of the slip knot.
The little sled ornament is finished and ready to display.
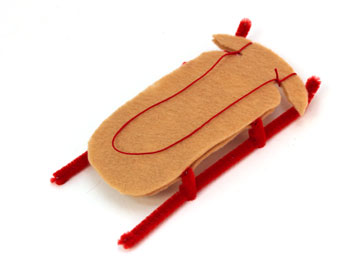
Just a few materials and tools turn into a fun reminder of those winter days racing down a snow covered hill on a red and tan sled.
Have fun!
The little sled ornament can be a tree decoration or be part of a snowy display on a table, mantle or bookcase.
Have fun!
The little sled ornament can be a tree decoration or be part of a snowy display on a table, mantle or bookcase.


funEZcrafts
Welcome
Come on in and stay awhile...

funEZcrafts
Welcome
Come on in and stay awhile...