Easy Christmas Crafts: Circles Christmas Tree Ornament
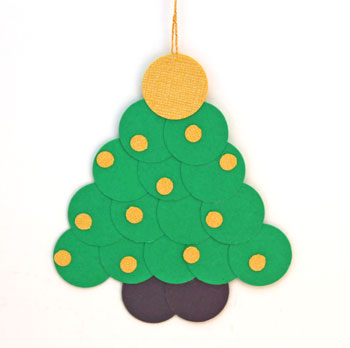
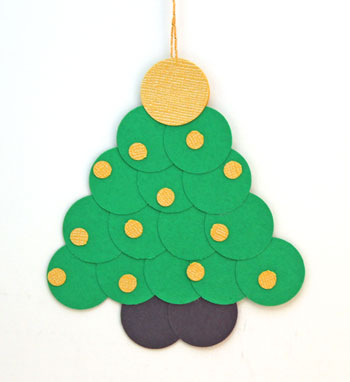
Three colors of paper, some yarn and some glue make a fun and simple - yet attractive - Circles Christmas Tree Ornament.
Circles of one inch diameter make the tree and hole punch "holes" form the decorations.
Circles of one inch diameter make the tree and hole punch "holes" form the decorations.
Easy Christmas Crafts: Circles Christmas Tree Ornament Materials and Tools:
Paper - Green for the tree, brown or black for the base, yellow or gold for the topper
Yarn - 8 to 10 inches (or thread)
Glue
Scissors
Circles Christmas Tree Ornament pattern (optional)
Hole punch 1-inch or use scissors
Hole punch 1/4-inch for the decorations
Yarn - 8 to 10 inches (or thread)
Glue
Scissors
Circles Christmas Tree Ornament pattern (optional)
Hole punch 1-inch or use scissors
Hole punch 1/4-inch for the decorations
Side hint: A nail file or emery board can be used to smooth the edges of the paper circles.
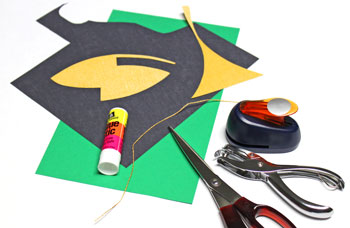
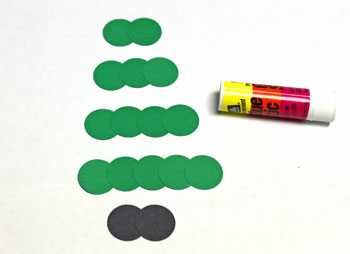
Take a look at the simple materials and tools.
Take a look at the simple materials and tools.
The Steps for How to Make the Easy Christmas Crafts: Circles Christmas Tree Ornament:
Print the Circles Christmas Tree Ornament pattern if you need the circle pattern and want to view how to overlap the circles.
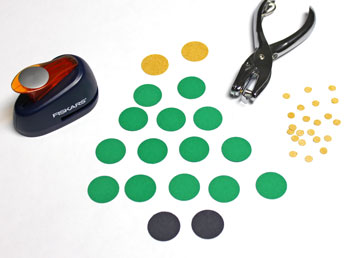
Cut all of the circles.
Cut two 1-inch circles of the brown or black for the base.
Cut 14 1-inch circles of the green for the tree.
Cut two 1-inch circles of the yellow or gold for the topper.
Cut several 1/4-inch circles of the yellow or gold for the decorations.
Cut all of the circles.
Cut two 1-inch circles of the brown or black for the base.
Cut 14 1-inch circles of the green for the tree.
Cut two 1-inch circles of the yellow or gold for the topper.
Cut several 1/4-inch circles of the yellow or gold for the decorations.
Begin gluing the circles together.
The circles should overlap by 1/4 inch at their horizontal diameters.
The circles should overlap by 1/4 inch at their horizontal diameters.
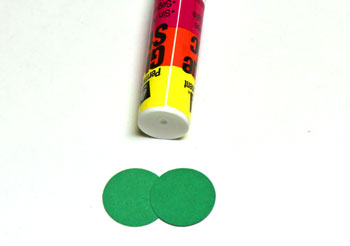
Glue the circles for each row together.
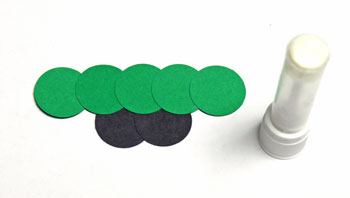
The two brown or black circles glued together form the base.
The bottom row of green circles includes five shapes overlapped and glued.
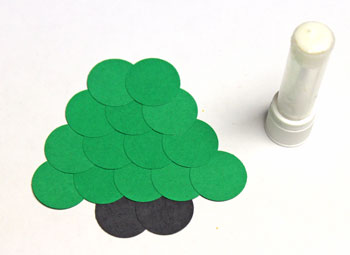
The next rows of the tree decrease by one to include four, three and two circles.
The two brown or black circles glued together form the base.
The bottom row of green circles includes five shapes overlapped and glued.
The next rows of the tree decrease by one to include four, three and two circles.
Overlap the bottom green row of circles over the two base circles.
Add glue to the shapes at their overlapping points.
Add glue to the shapes at their overlapping points.
Overlap and glue the tree rows - 4 circles over 5, 3 over 4 and 2 over 3.
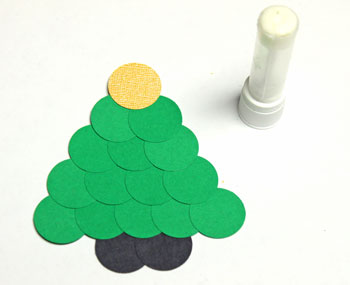
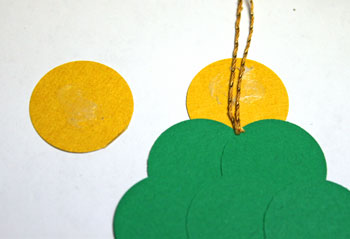
Overlap and glue one of the gold circles over the top tree layer to form the front tree topper.
Apply a generous amount of glue to the back of the gold circle.
Fold the yarn in half and position the ends on the glue.
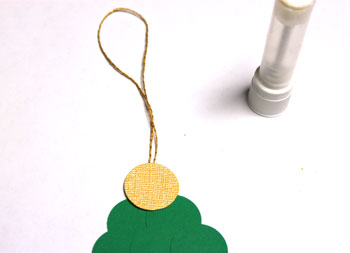
Add glue to the back of the second gold circle.
Fold the yarn in half and position the ends on the glue.
Add glue to the back of the second gold circle.
Position the second gold circle over the first, which sandwiches the yarn ends in the glue between the two circles.
Add the ornaments to the front of the tree.
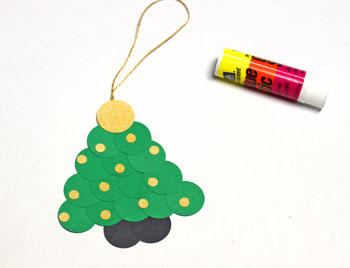
Allow the glue to dry and hang the simple Circles Christmas Tree Ornament wherever a reminder of the holiday would be fun.
In a short amount of time there could be a whole forest of these little trees in a variety of fun colors from green to red to teal to fuchsia.
Use sequins for ornaments and thin gold or silver braid for a garland.
Be creative and have fun!
The Circles Christmas Tree Ornament can be a fun decoration added to the beauty of a simply decorated tree or a bit of whimsy tucked into the glitter and glitz of sophisticated decorations.
Use sequins for ornaments and thin gold or silver braid for a garland.
Be creative and have fun!
The Circles Christmas Tree Ornament can be a fun decoration added to the beauty of a simply decorated tree or a bit of whimsy tucked into the glitter and glitz of sophisticated decorations.


funEZcrafts
Welcome
Come on in and stay awhile...

funEZcrafts
Welcome
Come on in and stay awhile...