Easy Christmas Crafts: Layered Christmas Tree
The Layered Christmas Tree is a fun and easy project using paper with sequins as ornaments, a piece of ribbon and glue.
Instead of sequins, you could easily substitute colorful hole-punch holes for the ornaments.
The project is also fast and useful when several small and inexpensive Christmas trees are needed.
Instead of sequins, you could easily substitute colorful hole-punch holes for the ornaments.
The project is also fast and useful when several small and inexpensive Christmas trees are needed.
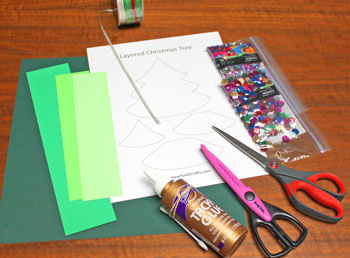
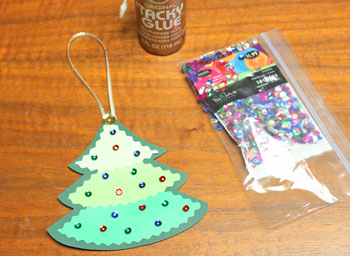
Easy Christmas Crafts: Layered Christmas Tree Materials and Tools:
Paper - green card stock in two or four colors
Ribbon
Sequins (or colorful hole-punch holes) 10 mm for stars and 5 mm for ornaments
Glue
Scissors straight; decorative edge (optional)
Pencil (not shown in picture)
Layered Christmas Tree pattern (click to open PDF)
Ribbon
Sequins (or colorful hole-punch holes) 10 mm for stars and 5 mm for ornaments
Glue
Scissors straight; decorative edge (optional)
Pencil (not shown in picture)
Layered Christmas Tree pattern (click to open PDF)
Take a look at the simple materials and tools.
The Steps for How to Make the Easy Christmas Crafts: Layered Christmas Tree:
Print the Layered Christmas Tree pattern.
Cut around the pattern pieces.
Use a pencil to trace the shapes on the paper.
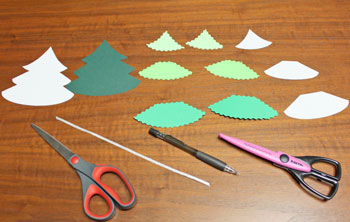
Trace and cut one of the full tree pattern using straight edge scissors.
Trace and cut two each of the tree sections using decorative edge scissors (optional).
Cut a length of ribbon 8 to 10 inches long.
Cut around the pattern pieces.
Use a pencil to trace the shapes on the paper.
Trace and cut one of the full tree pattern using straight edge scissors.
Trace and cut two each of the tree sections using decorative edge scissors (optional).
Cut a length of ribbon 8 to 10 inches long.
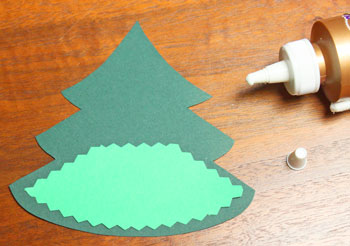
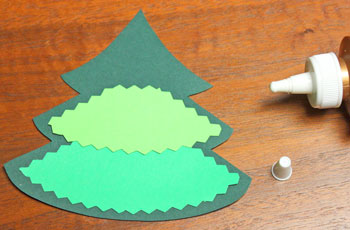
On one side of the full tree shape, glue one of the largest tree shapes leaving a margin along the sides and bottom.
Glue one of the mid-sized tree shapes in the middle of the tree overlapping the previous shape and leaving a margin along the sides.
Glue one of the top tree pieces to the full tree overlapping the middle piece and leaving margins on each side.
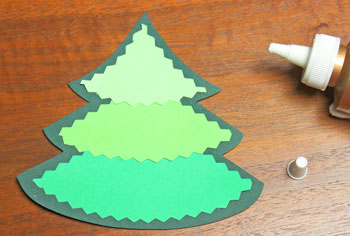
Turn the tree shape over.
Glue the bottom and middle shapes to this side of the tree.
Before gluing the top of the tree, fold the ribbon in half to form a loop.
Position the cut ends over the glue before placing the top portion of the tree.
Glue the bottom and middle shapes to this side of the tree.
Before gluing the top of the tree, fold the ribbon in half to form a loop.
Position the cut ends over the glue before placing the top portion of the tree.
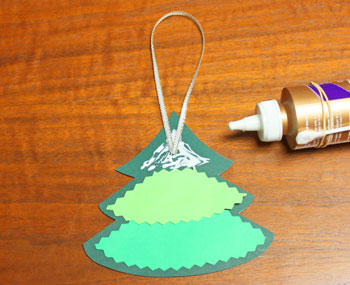
Position the top tree shape over the ribbon ends and the glue.
Select 10 mm sequins (gold or silver) for the stars.
Glue one of the sequins to one side of the tree over the top point of the tree.
Glue one of the sequins to one side of the tree over the top point of the tree.

Select several 5 mm sequins to be the "ornaments" on the Layered Christmas Tree.
I used red, blue and green sequins in a random pattern.
Glue the sequins to the layers of the tree.
(HINT: Use a paper clip as shown in the Stacked Doily Christmas Tree instructions rather than fingers like I did for this one. Works better and not as sticky!)
I used red, blue and green sequins in a random pattern.
Glue the sequins to the layers of the tree.
(HINT: Use a paper clip as shown in the Stacked Doily Christmas Tree instructions rather than fingers like I did for this one. Works better and not as sticky!)
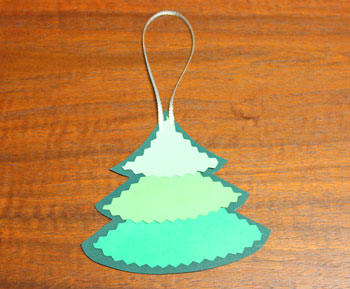
Turn the tree shape over and add a 10 mm sequin star and the 5 mm sequin ornaments to the other side.
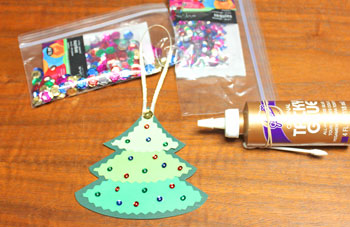
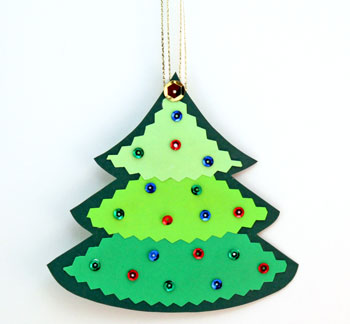
The Layered Christmas Tree is finished and ready to display.

Simple and fun, this little tree adds a touch of sparkle and whimsy wherever it is displayed.
Have fun making one, a few or many!
Fast, fun and easy, the Layered Christmas Tree can be a great group project - especially when lots of decorations are needed.
Have fun making one, a few or many!
Fast, fun and easy, the Layered Christmas Tree can be a great group project - especially when lots of decorations are needed.


funEZcrafts
Welcome
Come on in and stay awhile...

funEZcrafts
Welcome
Come on in and stay awhile...