Easy Christmas Crafts: Stacked Doily Christmas Tree
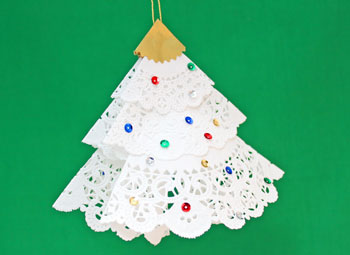
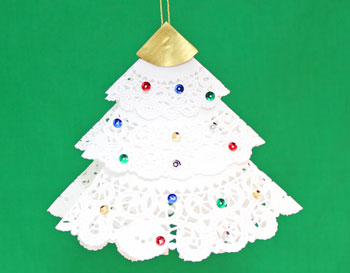
The Stacked Doily Christmas Tree is a fun and easy project using paper doilies and a small piece of foil or colorful paper.
These are decorated with shiny sequins, but you could easily substitute colorful hole-punch holes.
The project is also fast and useful when several small and inexpensive decorations are needed.
Take a look at this one with its topper cut out with decorative scissors:
These are decorated with shiny sequins, but you could easily substitute colorful hole-punch holes.
The project is also fast and useful when several small and inexpensive decorations are needed.
Take a look at this one with its topper cut out with decorative scissors:
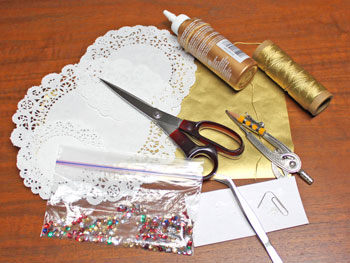
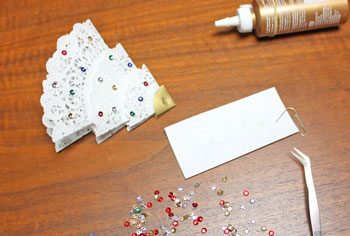
Easy Christmas Crafts: Stacked Doily Christmas Tree Materials and Tools:
Paper doilies - three in graduated sizes: 4-inch, 6-inch and 8-inch in diameter
Topper paper - foil or other decorative paper
Yarn
Sequins (or colorful hole-punch holes)
Glue
Compass or round object to make 2-inch diameter circle
Scissors
Scrap paper and bent paper clip to apply glue to sequins
Tweezers (not necessary, but helpful)
Topper paper - foil or other decorative paper
Yarn
Sequins (or colorful hole-punch holes)
Glue
Compass or round object to make 2-inch diameter circle
Scissors
Scrap paper and bent paper clip to apply glue to sequins
Tweezers (not necessary, but helpful)
Take a look at the simple materials and tools.
The Steps for How to Make the Easy Christmas Crafts: Stacked Doily Christmas Tree:
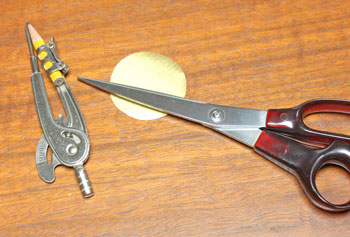
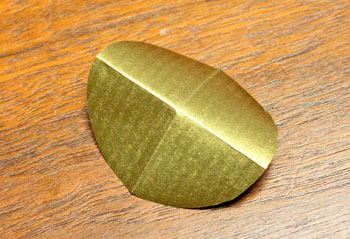
Use a compass or a round object with a 2-inch diameter to draw a circle on the foil or topper paper.
Cut around the circle with scissors - either plain or decorative edge scissors.
Cut around the circle with scissors - either plain or decorative edge scissors.
Fold the circle in half with the decorative side facing outward.
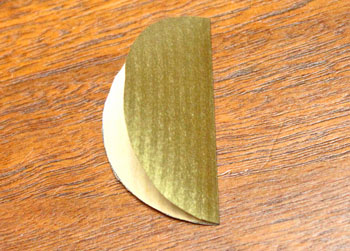
Open the circle and fold in half again perpendicular to the first fold with the decorative side facing outward.
Open the circle and fold in half again halfway between the two earlier folds.
This time the decorative side should be facing inward.
This time the decorative side should be facing inward.
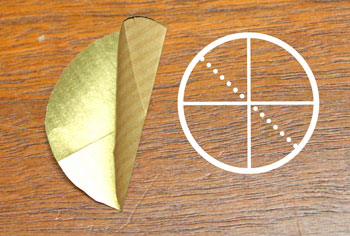
Open the circle and with the decorative side facing outward, fold the circle along the previous fold lines to form a triangular shape.
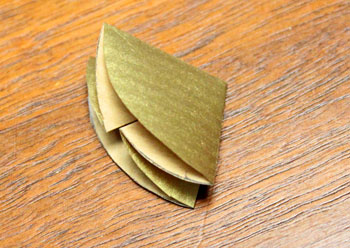
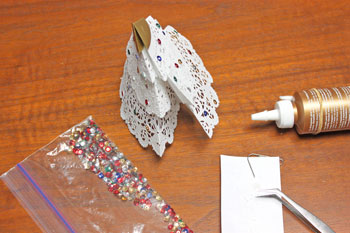
Fold each of the doilies in the same way.
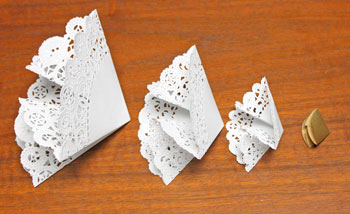
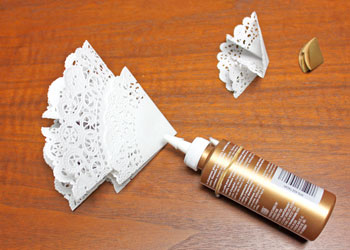
Place a small amount of glue on the top point of the largest doily.
Slide the middle-sized doily's folds over the large doily's folds.
For the illusion of tree branches, don't push the middle doily all the way down the large doily.
Press the middle-sized doily onto the glue.
Slide the middle-sized doily's folds over the large doily's folds.
For the illusion of tree branches, don't push the middle doily all the way down the large doily.
Press the middle-sized doily onto the glue.
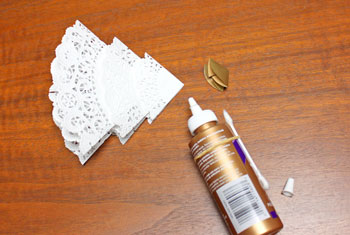
Place a small amount of glue at the top point of the middle-sized doily.
Slide the small doily's folds over the middle-sized doily's folds and press into the glue.
Don't push the small doily all the way down the middle-sized doily.
Slide the small doily's folds over the middle-sized doily's folds and press into the glue.
Don't push the small doily all the way down the middle-sized doily.
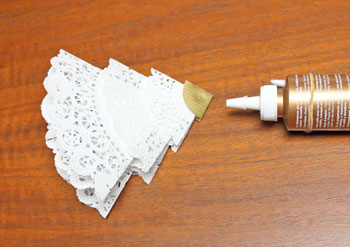
Add the tree-topper circle in the same way over the point of the small doily.
Prepare the tree's decorations - either sequins or colorful hole-punch holes.
Squeeze a small amount of glue onto a piece of scrap paper.
Squeeze a small amount of glue onto a piece of scrap paper.
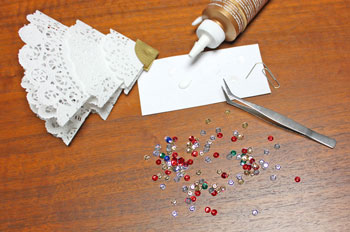
Using the point of the bent paper clip, apply a small amount of glue to the back of a sequin and position it on the first side of the tree.
Glue as many or as few "ornaments" as you prefer to the tree.
Glue as many or as few "ornaments" as you prefer to the tree.
Turn the tree to the opposite side and glue more ornaments to the second side.
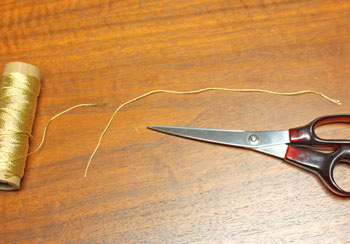
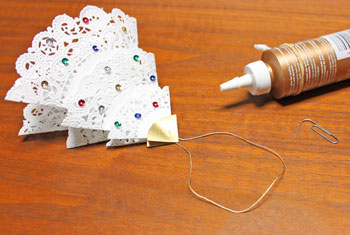
Cut a piece of yarn 8-10 inches long.
This is gold lamé yarn, but it could be any type yarn or thread you have on hand.
This is gold lamé yarn, but it could be any type yarn or thread you have on hand.
Glue one end of the yarn in each side fold of the topper.
The bent paper clip helps position the glue and the ends of the yarn into the folds.
The bent paper clip helps position the glue and the ends of the yarn into the folds.
The Stacked Doily Christmas Tree is finished and ready to display.
Simple yet elegant, this little tree adds a touch of fun wherever it is displayed.
Have fun making one, a few or many!
The Stacked Doily Christmas Tree is fast, fun and easy and can be a great group project - especially when lots of decorations are needed.
Have fun making one, a few or many!
The Stacked Doily Christmas Tree is fast, fun and easy and can be a great group project - especially when lots of decorations are needed.


funEZcrafts
Welcome
Come on in and stay awhile...

funEZcrafts
Welcome
Come on in and stay awhile...