Easy Paper Crafts: Cut Paper Circle Ornament
Paper and scissors turn into a fun cut paper circle ornament that can add smiles any time of the year.
Just fun and easy.
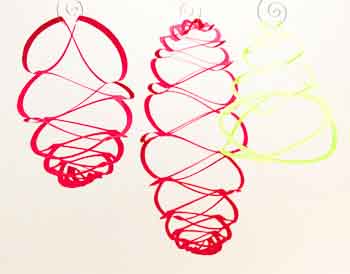
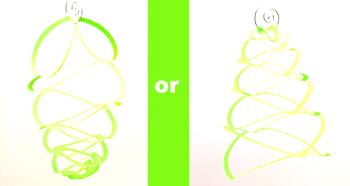
Yes, they are all three made using the same circle pattern.
The left and right are exactly the same. One hangs from the small end, the other from the large end.
The one in the middle uses two circles to form one ornament.
Just fun and easy.
Yes, they are all three made using the same circle pattern.
The left and right are exactly the same. One hangs from the small end, the other from the large end.
The one in the middle uses two circles to form one ornament.
Take a look at the simple steps below for how to make this fun ornament.
Easy Paper Crafts: Cut Paper Circle Ornament Materials and Tools:
Paper, 20 or 24-pound
Scissors
Cut Paper Circle Ornament pattern (click to open an Adobe PDF)
Glue (optional for the two-circle ornament)
Scissors
Cut Paper Circle Ornament pattern (click to open an Adobe PDF)
Glue (optional for the two-circle ornament)
The Steps for How to Make the Easy Paper Crafts: Cut Paper Circle Ornament:
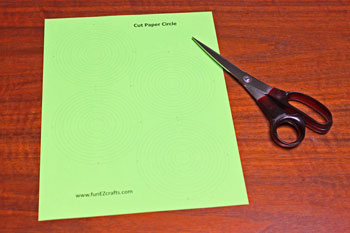
Print the Cut Paper Circle Ornament Pattern on the paper color of your choice.
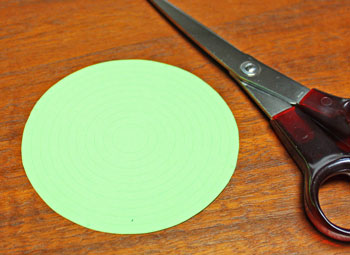
Cut around the outer edge of one of the circles.
Cut around the outer edge of one of the circles.
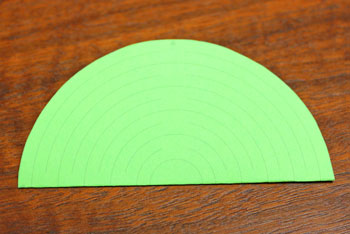
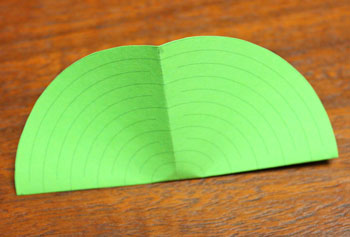
Fold the circle in half with the gray circle lines on the outside.
Match the small points at the outer circle.
Match the small points at the outer circle.
Open the circle and fold in half again opposite the first fold matching the points.
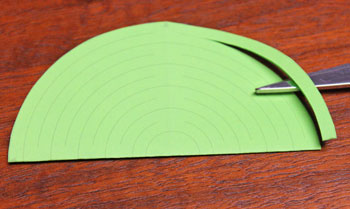
Fold in half with the line nearest the edge touching the fold.
Begin cutting on the line from the fold.
Cut just to the end of the line.
Begin cutting on the line from the fold.
Cut just to the end of the line.
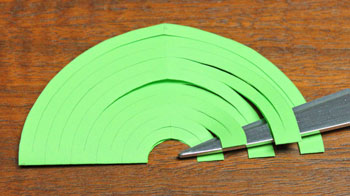
Continue cutting the lines that touch the folded edge.
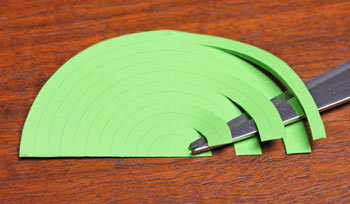
Cut the lines on either side of the half circle.
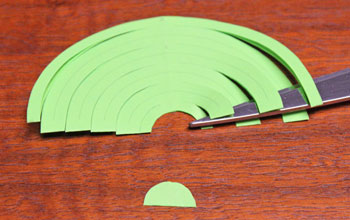
Cut out the innermost circle and discard.
Cut out the innermost circle and discard.
Unfold the circle and refold along the opposite fold.

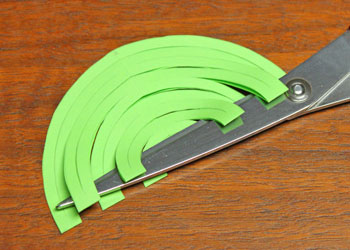
Begin cutting the lines that touch the folded edge.
Cut just to the end of the gray lines.
Cut just to the end of the gray lines.
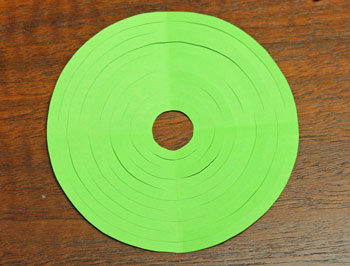
Finish cutting all of the lines.
Open the circle and flatten the folds by bending them backwards slightly.
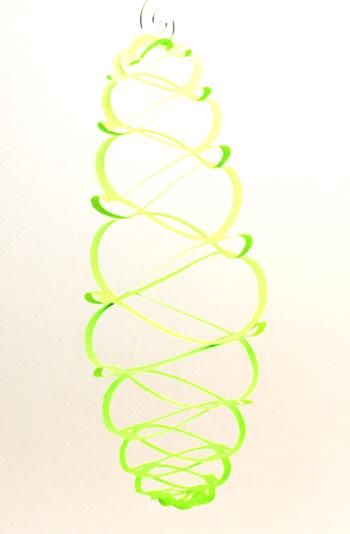
Pull the ornament gently apart by holding the edges of the smallest circle and the edges of the largest circle.
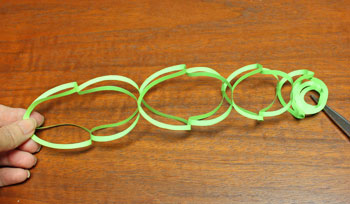
The simple ornament is ready to display hanging from either the large circle or from the small circle.
To make the larger ornament with two circles follow the steps to cut two circles.
Match the two large circles at the folds.
Match the two large circles at the folds.
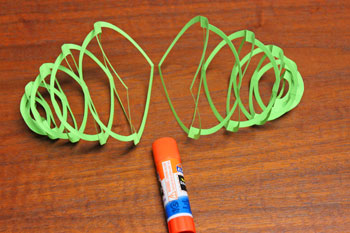
Add glue at just the two points for 1/4 inch on either side of the small arrow heads.
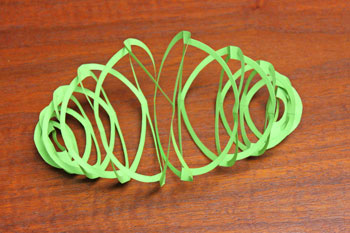
The two-circle ornament is finished and ready to display.
Colorful paper and scissors quickly turn into a fun ornament that can be used any time of the year.
Have fun!
The Cut Paper Circle Ornament could also be a fun coloring project for children and be interesting with a different color on each side of the paper.
Have fun!
The Cut Paper Circle Ornament could also be a fun coloring project for children and be interesting with a different color on each side of the paper.


funEZcrafts
Welcome
Come on in and stay awhile...

funEZcrafts
Welcome
Come on in and stay awhile...