Easy Angel Crafts: Christmas Angel Ornament
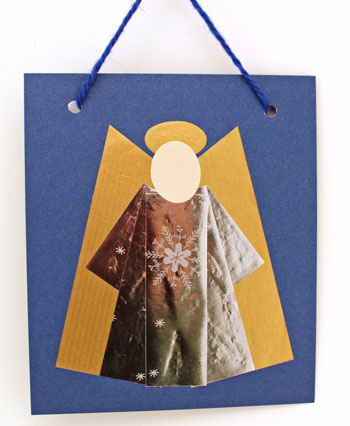
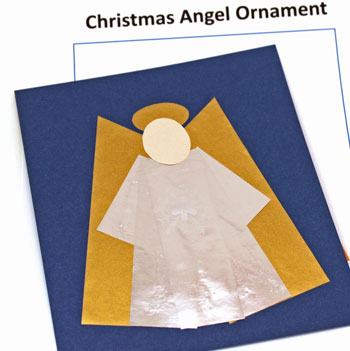
This Easy Angel Crafts Christmas Angel Ornament hangs prettily just about anywhere. In a small amount of time, you can make the angel using a few simple and inexpensive materials and tools.
Let's look at the materials and the steps for how to make the doily angel:
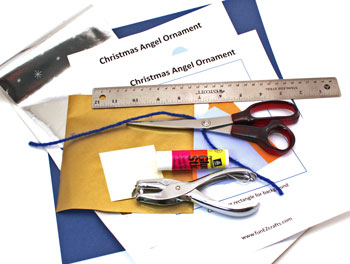
Easy Angel Crafts: Christmas Angel Ornament Materials and Tools:
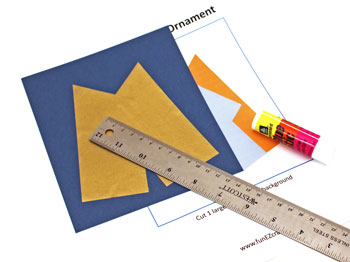
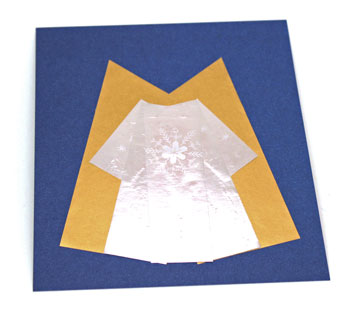
Paper for background (6 inches by 7 inches - I used blue card stock in this version.)
Paper for wings and halo (gold wrapping paper)
Paper for body and arms (silver wrapping paper)
Paper for face (letter paper or construction paper)
Yarn or string for hanging (10 to 12 inches)
Glue
Hole punch
Ruler
Scissors
Christmas Angel Ornament Pattern (click to open)
Paper for wings and halo (gold wrapping paper)
Paper for body and arms (silver wrapping paper)
Paper for face (letter paper or construction paper)
Yarn or string for hanging (10 to 12 inches)
Glue
Hole punch
Ruler
Scissors
Christmas Angel Ornament Pattern (click to open)
The Steps for How to Make the Easy Angel Crafts: Christmas Angel Ornament:
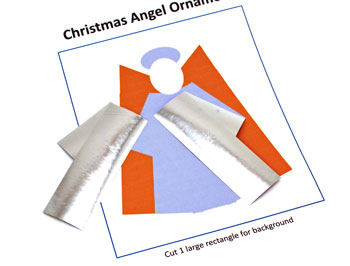
Print the two pages of the Christmas Angel Ornament pattern.
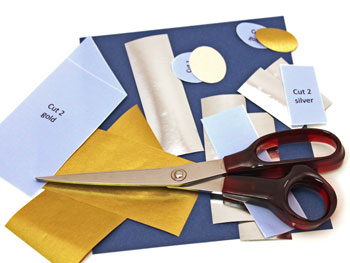
Cut the shapes from your chosen paper:
2 wings
3 body shapes
2 arms
1 halo
1 face
1 background
Remember to hold the scissors and feed the paper into the cutting blades with the other hand. This insures a more evenly cut edge.
I'm right handed. I lock my right elbow next to my side to remind myself not to move the scissors.
Use the shape on the pattern to determine how the wing shapes should overlap.
Glue the overlapped area first.
Then, glue the wings to the background.
Use the ruler to help position the wings from the edges of the background.
Glue the overlapped area first.
Then, glue the wings to the background.
Use the ruler to help position the wings from the edges of the background.
Next, use the pattern shape to identify how to overlap one body rectangle over each arm rectangle.
Glue the overlapped area together.
Glue the overlapped area together.
Next, position the remaining body rectangle over the two sides using the pattern as a guide.
Glue the pieces together where they overlap.
Glue the pieces together where they overlap.
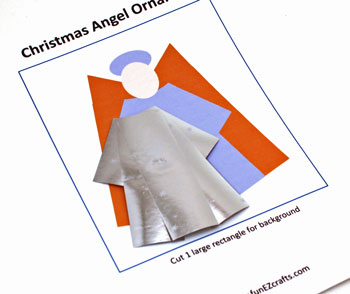
Glue the body shape over the wings on the background.
The bottom edges on each side rectangle should match the bottom edges of the wings.
The bottom edges on each side rectangle should match the bottom edges of the wings.
Glue the face over the halo.
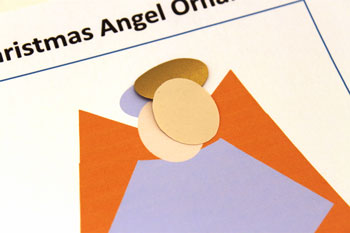
Glue the face and halo over the wings and body shape.
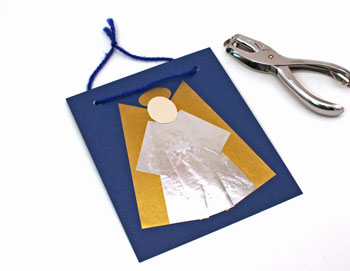
Punch holes in the background shape 1 inch from the side and 3/4 inch from the top.
Thread the yarn through the holes from the front to the back.
Tie a knot in the ends of the yarn.
Thread the yarn through the holes from the front to the back.
Tie a knot in the ends of the yarn.
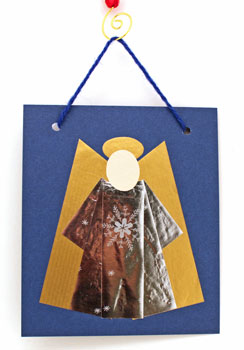
Hang the pretty little Christmas Angel Ornament on a wall, a door knob, a cabinet pull or where you want to see an angel.
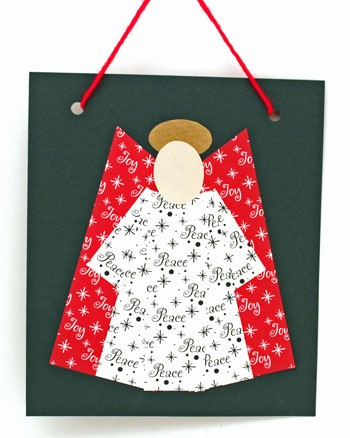
For a different Christmas Angel Ornament, this next version uses Christmas scrapbook paper for the wings and body with green card stock for the background. A construction paper face and a gold wrapping paper halo completes the angel. Red yarn forms the hanging loop.
This little angel would also be pretty made with ribbon. The wings need 2 1/4 inch wide ribbon, the body shapes need 1 1/4 inch width and the arms need 1 inch wide ribbon.
Use the Christmas Angel Ornament Pattern to determine the lengths and placement of the ribbons.
Whether made with paper or with ribbon, this Easy Angel Crafts Christmas Angel Ornament can be made quickly and inexpensively.
Have fun!
This Christmas Angel Ornament provides fun for children and adults and offers a fun project for church groups and senior centers too.


funEZcrafts
Welcome
Come on in and stay awhile...

funEZcrafts
Welcome
Come on in and stay awhile...