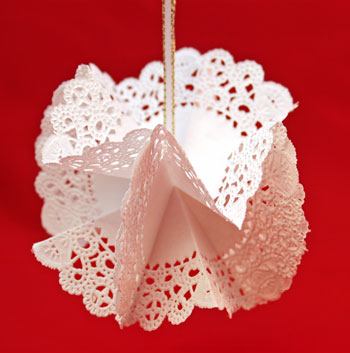
Easy Paper Crafts: Folded Paper Doily Ornament
The folded paper doily ornament is so easy, it can almost be done in less time than it takes to read the instructions below.
Like the Folded Heart Ornament, this little ornament can be an interesting decoration at Christmas, for Valentine's Day, at a baby or wedding shower, for an anniversary party or for most celebrations around the year.
These folded paper doily ornaments require only few simple tools.
They are so fast and easy that you can make one, a few or many of the decorations very quickly.
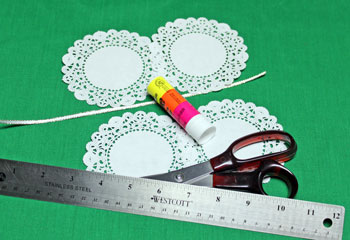
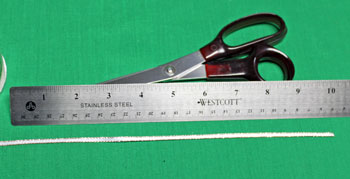
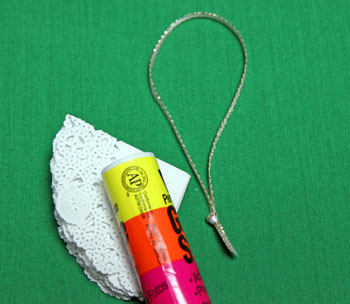
Easy Paper Crafts: Folded Paper Doily Ornament Materials and Tools:
Paper doilies (four) - these are 4 inches in diameter
Ribbon - 10 inches of 1/4 inch to 3/8 inch wide
Scissors
Ruler
Glue
Ribbon - 10 inches of 1/4 inch to 3/8 inch wide
Scissors
Ruler
Glue
The Steps for How to Make the Easy Paper Crafts: Folded Paper Doily Ornament:
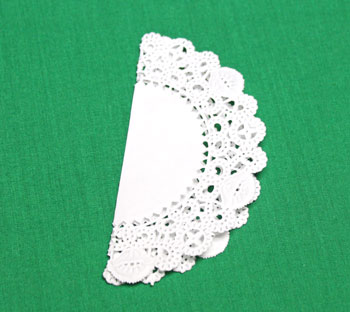
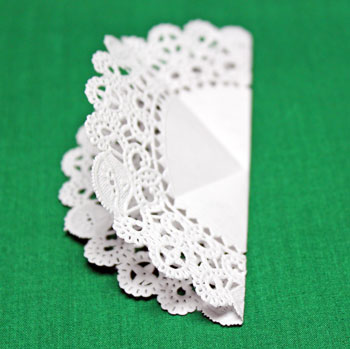
Fold the first paper doily in half.
Paper doilies have a "wrong" side and a "right" side.
Both sides are pretty and both will be seen.
But, be consistent when folding each doily.
This first fold has the "right" side folded inside.
Paper doilies have a "wrong" side and a "right" side.
Both sides are pretty and both will be seen.
But, be consistent when folding each doily.
This first fold has the "right" side folded inside.
Open the shape and fold in half again with the second fold perpendicular to the first.
The right side is again in the inside.
The right side is again in the inside.
Next, open and turn the shape over.
Fold in half again halfway between the first two folds.
The "wrong" side is folded on the inside for the third fold.
Fold in half again halfway between the first two folds.
The "wrong" side is folded on the inside for the third fold.
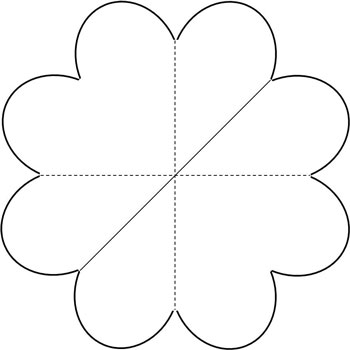
Using the diagram from the Folded Heart Ornament, the folds should be made similarly for the folded paper doily ornament.
Fold the shape forwards on the dotted lines and backwards on the solid line.
Fold the shape forwards on the dotted lines and backwards on the solid line.
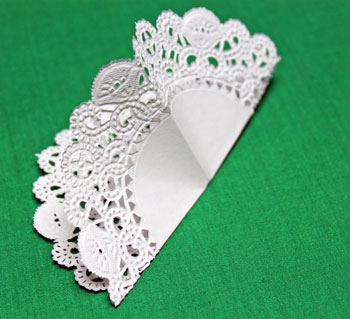
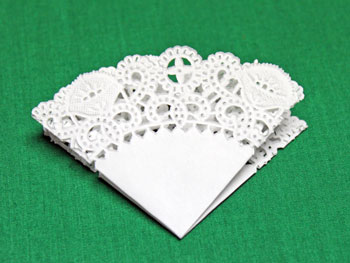
Using the folds, collapse the paper doily into its folded form.
The right side will be on the outside.
The right side will be on the outside.
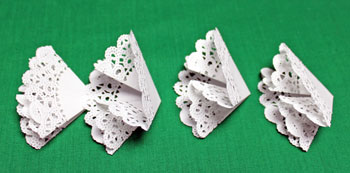
Perform the same folding process for the other three doilies.
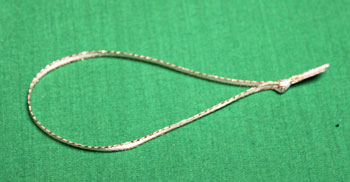
Measure and cut the ribbon.
I used 10 inches for a larger hanging loop.
I used 10 inches for a larger hanging loop.
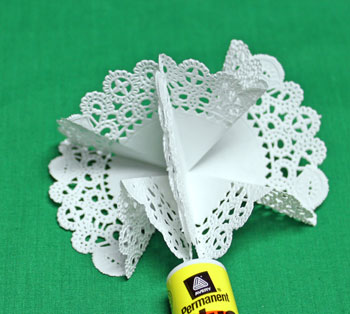
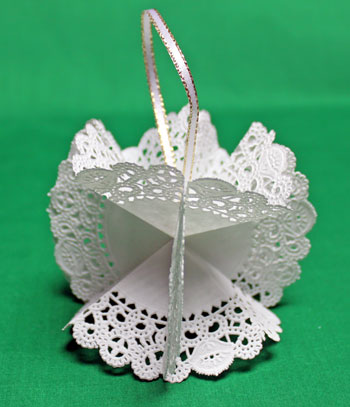
Apply glue to one side of the first folded doily.
Match one side of the second folded doily to the first doily to glue them together.
Match one side of the second folded doily to the first doily to glue them together.
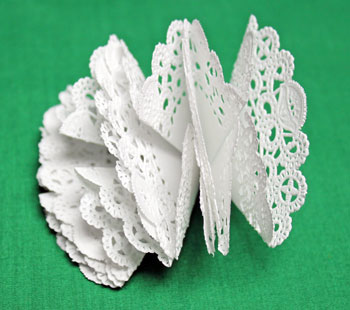
Glue the third shape to the second and the fourth shape to the third.
Form the hanging loop by tying a knot in the ribbon ends.
Place the ribbon at the points of the folded doilies with the loop at the top and the knot below.
Glue the fourth shape to the first shape around the ribbon loop in the middle.
I did not add any glue to the ribbon loop - just depended on the knot to hold the ornament.
You may want to add some glue to the knot underneath to insure it stays in place - especially if you plan to transport the ornaments.
I did not add any glue to the ribbon loop - just depended on the knot to hold the ornament.
You may want to add some glue to the knot underneath to insure it stays in place - especially if you plan to transport the ornaments.

Adjust the folds and the hanging loop.
Hang the easy folded paper doily ornament to display its fun shape.
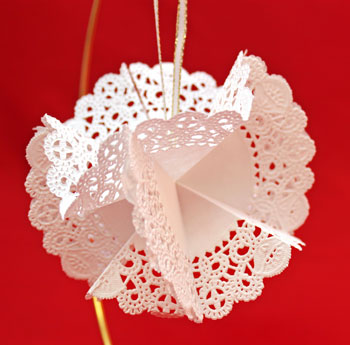
The decoration is fast, fun and easy.
You can quickly make one, a few, several or many with inexpensive materials and tools.
Have fun making your own!
The easy paper crafts Folded Paper Doily Ornament can be used for parties and celebrations any time of the year.
You can quickly make one, a few, several or many with inexpensive materials and tools.
Have fun making your own!
The easy paper crafts Folded Paper Doily Ornament can be used for parties and celebrations any time of the year.


funEZcrafts
Welcome
Come on in and stay awhile...

funEZcrafts
Welcome
Come on in and stay awhile...