Easy Christmas Crafts: Geometric Icicle Ornament
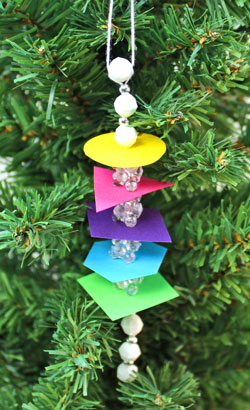
This geometric icicle ornament uses a few scraps of paper, some beads and a piece of yarn to become a fun and colorful addition to the holiday decorations.
This example used five different and bright colors along with white, silver and clear beads.
This example used five different and bright colors along with white, silver and clear beads.
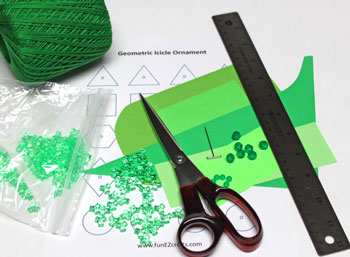
Easy Christmas Crafts: Geometric Icicle Ornament Materials and Tools:
Paper - heavy paper or cardstock
Yarn (must be able to pass through the beads)
Beads - 7 larger size, 5 smaller and 16 tri-corner
Scissors
Ruler
T-pin or similar pointed tool
Geometric Icicle Ornament pattern
Optional - Yarn or beading needle (I did not use one.)
Yarn (must be able to pass through the beads)
Beads - 7 larger size, 5 smaller and 16 tri-corner
Scissors
Ruler
T-pin or similar pointed tool
Geometric Icicle Ornament pattern
Optional - Yarn or beading needle (I did not use one.)
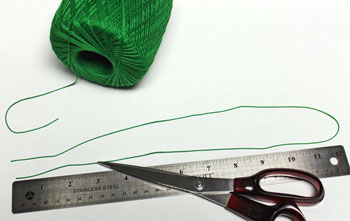
Take a look at the simple materials and tools shown here.
The Steps for How to Make the Easy Christmas Crafts: Geometric Icicle Ornament:
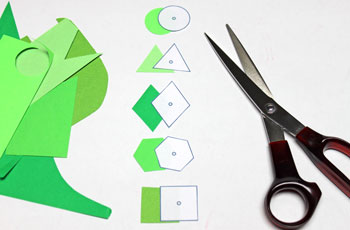
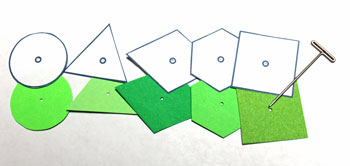
Print the Geometric Icicle Ornament pattern either on regular paper to use as a pattern or on colorful card stock to cut out the geometric shapes.
Choose the color or colors and the order for the shapes to be added to the ornament. Cut one of each of the shapes.
I chose different shades of green with the order starting from the top: circle, triangle, diamond, hexagon and square.
Choose the color or colors and the order for the shapes to be added to the ornament. Cut one of each of the shapes.
I chose different shades of green with the order starting from the top: circle, triangle, diamond, hexagon and square.
Make a small hole in the center of the geometric shapes for the yarn to pass through.
Rotate the tool several times to make the hole just big enough for the yarn.
Rotate the tool several times to make the hole just big enough for the yarn.
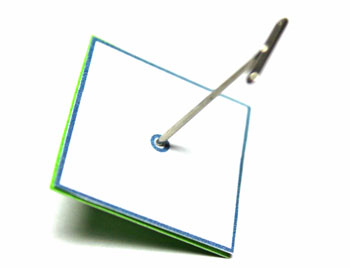
Make the center holes in each of the geometric shapes.
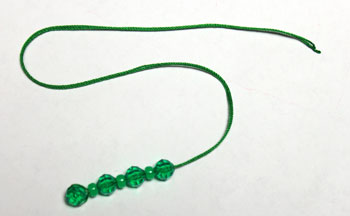
Cut a length of yarn 24 inches long.
You can also use all-purpose thread. Cut a length twice as long and use a double strand.
You can also use all-purpose thread. Cut a length twice as long and use a double strand.
Push the yarn through the first of the larger beads.
Pull the bead to the center of the yarn.
Pull the bead to the center of the yarn.
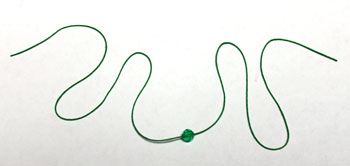
Push both ends of the yarn through one of the smaller beads.
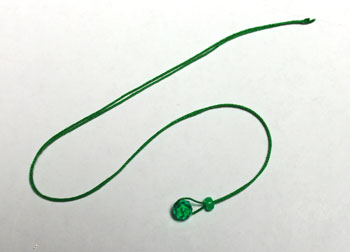
Add the remaining bottom beads alternating between large and small beads.
There should be four large and three small beads on the bottom.
There should be four large and three small beads on the bottom.
Push the yarn through the bottom geometric shape.
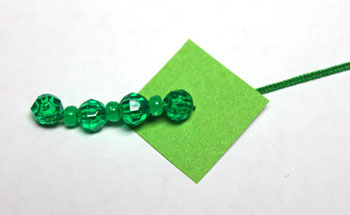
Add four tri-corner beads above the bottom geometric shape.
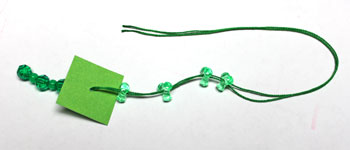
Continue adding the geometric shapes alternated with four tri-corner beads between each shape.
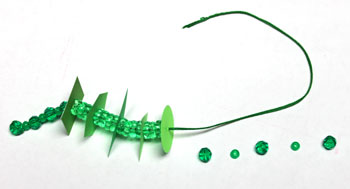
Add the top beads with a large one first then a small bead.
Add the last large bead by pushing each end of the yarn in opposite directions through the hole in the bead.
Add the last large bead by pushing each end of the yarn in opposite directions through the hole in the bead.
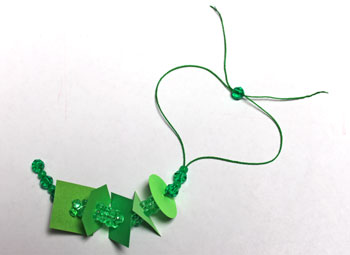
Make the hanging loop by tying a knot in the yarn.
Trim off any excess yarn.
Trim off any excess yarn.

The geometric icicle ornament is finished and ready to display.
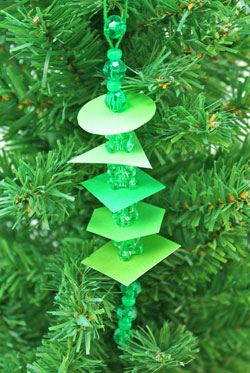
Scraps of paper, beads and yarn turn into an interesting and colorful addition to the holiday decorations.
The alternating geometric designs and colorful beads would make a pretty garland as well.
Have fun!
The Geometric Icicle Ornament is fast, fun and easy and is a great group project to make lots of inexpensive ornaments quickly.
The alternating geometric designs and colorful beads would make a pretty garland as well.
Have fun!
The Geometric Icicle Ornament is fast, fun and easy and is a great group project to make lots of inexpensive ornaments quickly.


funEZcrafts
Welcome
Come on in and stay awhile...

funEZcrafts
Welcome
Come on in and stay awhile...