Easy Christmas Crafts: Button & Yarn Snowman
This Easy Christmas Crafts Button and Yarn Snowman uses white, black and red buttons, a short piece of ribbon and a short piece of yarn.
There's no glue, no sewing, just lots of fun and easy for everyone.
He's oh-so-small, yet he's oh-so-cute, just look.
Mix and match buttons, ribbons and yarns to make unique little snowman ornaments.
Easy Christmas Crafts: Button and Yarn Snowman Materials and Tools:
Seven white buttons in varying sizes - four for the body snow ball and three for the head snow ball (see chart below for sizes)
Three black buttons, one larger and two smaller with the same diameter
One red button the same diameter as the two smaller black buttons
Yarn - 14 inches long
Ribbon - 1/4 inch wide by 6 to 8 inches long
Ruler
Scissors
Toothpick - to help push yarn through the buttons' eyes
The Steps for How to Make the Easy Christmas Crafts: Button and Yarn Snowman:
Arrange the buttons in the order they will be added to form the snowman's shape.
For this little snowman, the buttons measured:
If some of the buttons have a rounded top or bottom, position the rounded side where it will enhance the implied round snowball shape.
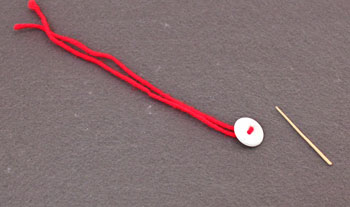
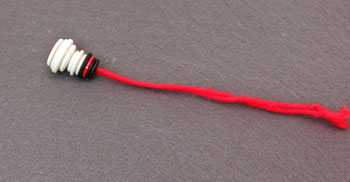
Begin with the bottom button. Insert the yarn through the holes in the button.
A toothpick helps push the yarn through the holes in the button.
For buttons with four holes, push the yarn through two diagonal holes.
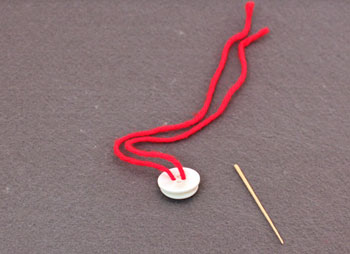
Add the next button on the two strands of yarn.
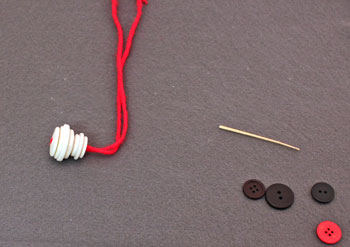
Continue adding the white buttons alternating their shapes to have four buttons for the body and three for the head.
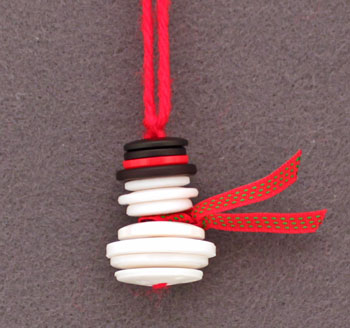
Add the large black button, then the red button for the hat band.
Finish by adding the two smaller black buttons.
The top button is slightly rounded. I put the rounded side up to look like the top of a hat.
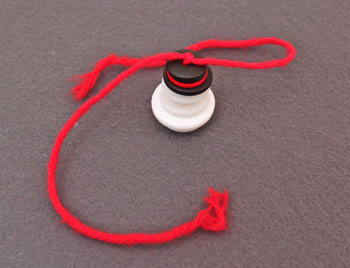
Tie a square (or hard) knot in the two yarn strands at the top of the last button.
Do not pull the yarn tightly before tying the knot.
Allow the buttons to remain loose in order to add the scarf.
Tie a knot in the yarn to form a hanging loop.
Trim the ends of the yarn that became frazzled when pushed through the buttons.
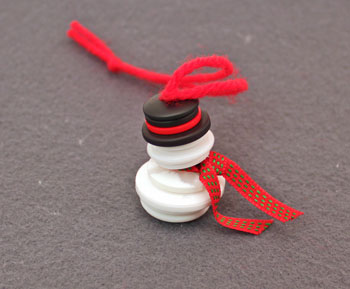
Tie the ribbon scarf loosely between the top three white "head" buttons and the bottom four "body" buttons.
You may need to work with the ribbon and the knot to flatten them between the buttons in order to keep the snowman shape.
Trim the ribbon ends on an angle.
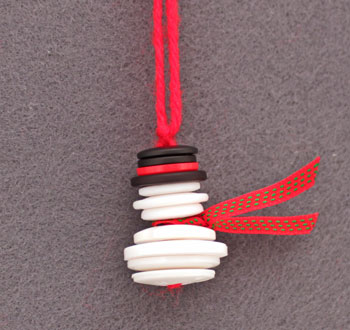
Next, display the small and cute little button and yarn snowman hanging from a cabinet pull, a mirror or anywhere his small size can add a smile.
Inexpensive buttons can be found in craft shops and flea markets.
These fun and cute little ornaments can be made quickly, easily and inexpensively by children or children-at-heart.
Have fun!
A few inexpensive materials and tools makes this Easy Christmas Crafts Button and Yarn Snowman ornament simple, fun, fast and inexpensive for anyone to do.