Easy Christmas Crafts: Felt and Twig Snowman
This Easy Christmas Crafts Felt and Twig Snowman uses glue and scraps of felt, fabric and yarn along with twigs from the garden.
The project is fun, fast and easy to do.
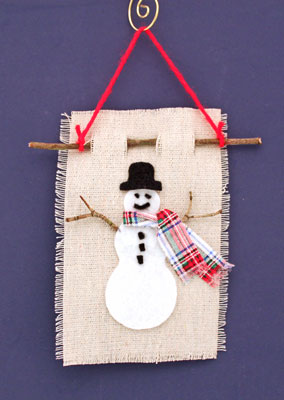
Take a look at this simple, interesting and a little bit rustic Felt and Twig Snowman.
The project is fun, fast and easy to do.
Take a look at this simple, interesting and a little bit rustic Felt and Twig Snowman.
The fun little felt and twig snowman takes just a few scraps of materials and a few simple tools to make.
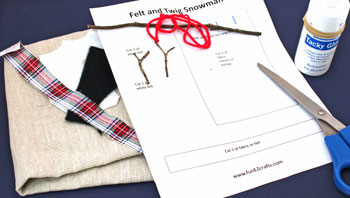
Easy Christmas Crafts: Felt and Twig Snowman Materials and Tools:
Craft felt - white and black
Canvas, burlap or plain fabric for the background
Fabric or felt for the scarf
Yarn - 10 to 12 inches long
Twigs for the arms and larger twig for the hanger
Scissors
Glue - Tacky glue or simple liquid glue
Pattern - Easy Christmas Crafts Felt and Twig Snowman Pattern
Pins (optional, but they help hold the pattern to the felt while cutting)
Take a look at the simple materials and tools shown here.
The Steps for How to Make the Easy Christmas Crafts: Felt and Twig Snowman:
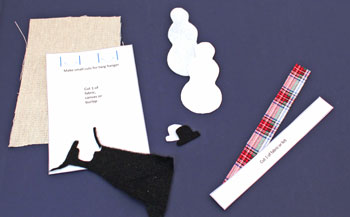
Print the Easy Christmas Crafts Felt and Twig Snowman Pattern and cut out each of the shapes.
Cut one of the snowman shapes from the white felt.
Cut one of the long, thin rectangles for the scarf from fabric or felt.
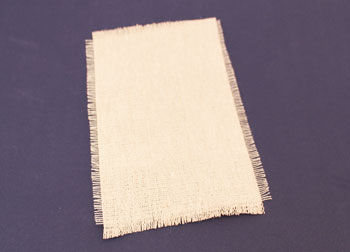
Place the large rectangle on the canvas or fabric.
Make sure the edges of the pattern follow the lengthwise and crosswise threads in the fabric.
Cut one of the large rectangle.
Cut one of the hat shape from the black felt.
Save the small black felt scraps for the buttons and face.
Cut one of the snowman shapes from the white felt.
Cut one of the long, thin rectangles for the scarf from fabric or felt.
Place the large rectangle on the canvas or fabric.
Make sure the edges of the pattern follow the lengthwise and crosswise threads in the fabric.
Cut one of the large rectangle.
Cut one of the hat shape from the black felt.
Save the small black felt scraps for the buttons and face.
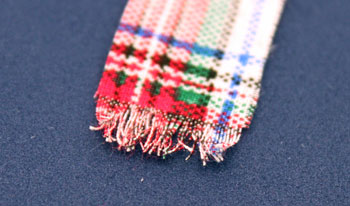
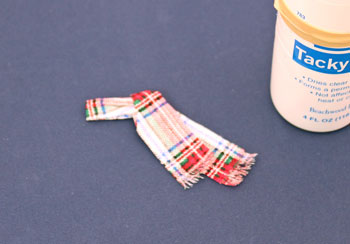
Add fringe to the ends of the scarf.
For a fabric scarf remove several threads from the ends to form the fringe.
For a felt scarf, make narrow clips in the ends of the felt 1/4 inch long.
For a fabric scarf remove several threads from the ends to form the fringe.
For a felt scarf, make narrow clips in the ends of the felt 1/4 inch long.
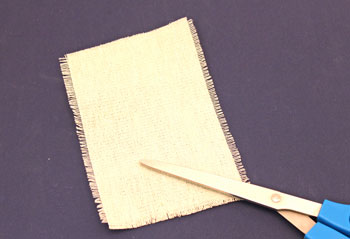
Pull threads from each edge of the background to fringe the edges.
Work enough threads loose to have a 1/4 inch fringe.
Work enough threads loose to have a 1/4 inch fringe.
Trim the fringed edges to straighten.
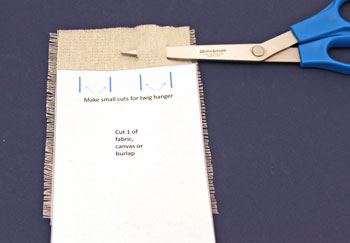
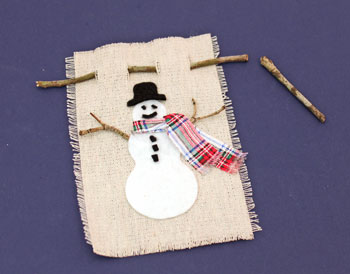
Using the pattern as a guide, make the small cuts in the top of the background fabric to hold the twig hanger.
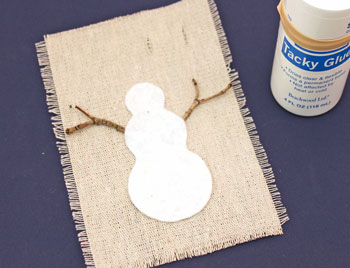
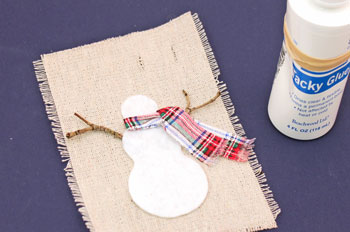
Position the snowman shape on the background fabric.
Center the shape across the fabric and between the cuts for the twig hanger and the bottom edge.
Insert the twigs for arms.
Glue the snowman and the twigs to the background fabric.
Center the shape across the fabric and between the cuts for the twig hanger and the bottom edge.
Insert the twigs for arms.
Glue the snowman and the twigs to the background fabric.
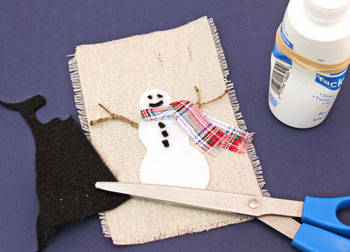
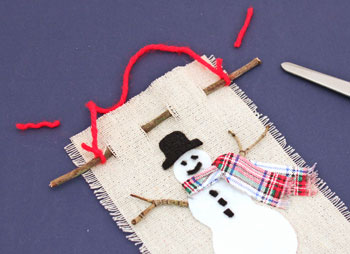
Use a half-knot to tie the scarf to fit across the snowman's neck.
Glue the circle together.
Glue the upper scarf end to the lower piece just below the half-knot.
Glue the circle together.
Glue the upper scarf end to the lower piece just below the half-knot.
Glue the scarf to the snowman.
Cut small pieces of black felt for the snowman's buttons and for his face.
Glue the felt pieces to the snowman.
Glue the felt pieces to the snowman.
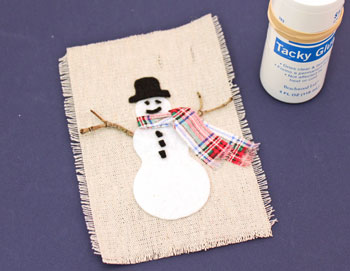
Position the snowman's hat and glue in place.
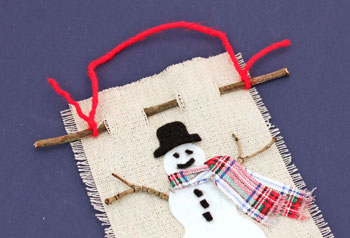
Insert the twig through the cuts in the top of the background fabric.
Cut or break to the desired length.
Cut or break to the desired length.
Tie yarn to each end of the twig.
Trim away any extra yarn.
Hang the simple and rustic, yet interesting, little snowman on a wall or where you want a bit of winter wonderland fun and decoration.
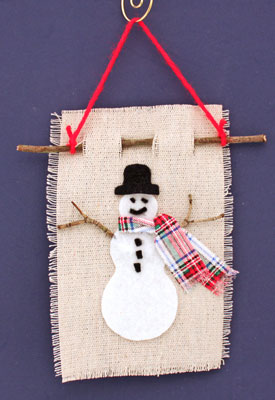
This fun and rustic Easy Christmas Crafts Felt and Twig Snowman can be made quickly, easily and inexpensively.
Larger versions could be made easily, too, without a significant increase in materials.
Have fun making one or many!
A few inexpensive materials and tools makes this Easy Christmas Crafts Felt and Twig Snowman wall hanging simple, fun, fast and inexpensive for anyone to do.
Larger versions could be made easily, too, without a significant increase in materials.
Have fun making one or many!
A few inexpensive materials and tools makes this Easy Christmas Crafts Felt and Twig Snowman wall hanging simple, fun, fast and inexpensive for anyone to do.


funEZcrafts
Welcome
Come on in and stay awhile...

funEZcrafts
Welcome
Come on in and stay awhile...