How To: Sew on a Button
Learn how to sew on a button that does not have a shank.
Through wear and laundry, buttons get loose.
It's easy to fix or replace a button on a shirt, blouse or other clothing.
Let's look at the materials and tools along with the detailed steps for how to sew on a button.
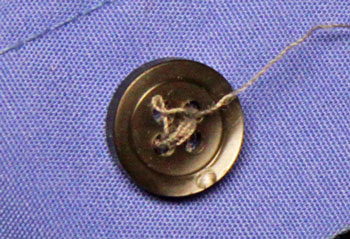
First, here's the shirt button that is still attached but getting closer to falling off.
How to Sew on a Button: Materials and Tools:
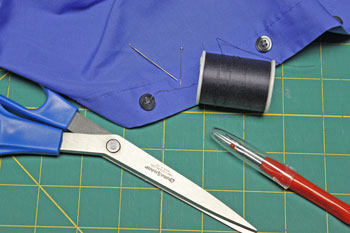
button - original or replacement of the same size and shape
garment (this is a man's shirt)
needle
thread matching the original thread or the button color
pin (or something similar, e.g., a toothpick) to help build a shank
scissors
seam ripper (optional but helpful)
garment (this is a man's shirt)
needle
thread matching the original thread or the button color
pin (or something similar, e.g., a toothpick) to help build a shank
scissors
seam ripper (optional but helpful)
The Steps for How to Sew on a Button:
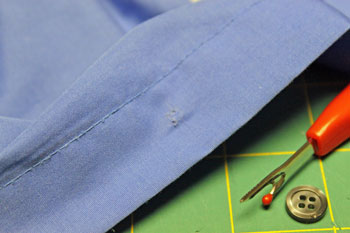
First, remove the button.
Here's where the seam ripper comes in handy.
You can use the scissors, just be careful not to cut the garment.
Here's where the seam ripper comes in handy.
You can use the scissors, just be careful not to cut the garment.
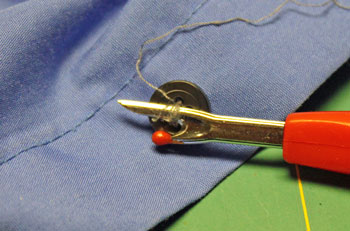
The button easily comes off, but there are loose threads too.
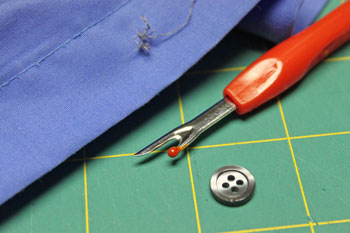
Remove all the loose threads.
This is usually easy, but sometimes there are stubborn pieces.
Remove them all taking care not to damage the garment.
With this shirt, it's easy to tell where the button was even with all of the threads removed.
For your garment, you may want to make a small mark where the button was removed.
If you can't easily tell (for example, the original button is gone), position the portion of the garment with the buttonhole correctly over the side of the garment where the button should be.
Make the mark for the button's placement through the buttonhole.
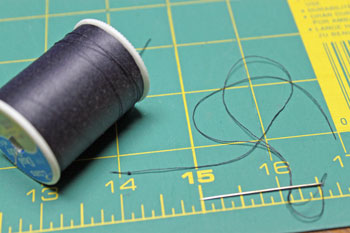
How to sew on a button requires needle and thread.
Cut a piece of thread 10 to 12 inches long.
Thread one end through the eye of the needle.
Tie a knot in the opposite end of the thread.
Trim the thread past the knot being careful not to cut the knot.
Cut a piece of thread 10 to 12 inches long.
Thread one end through the eye of the needle.
Tie a knot in the opposite end of the thread.
Trim the thread past the knot being careful not to cut the knot.
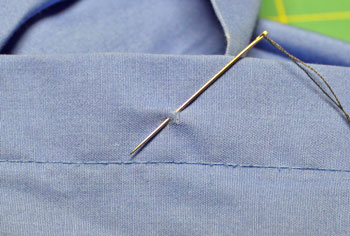
Make the first stitch on the top of the garment.
This will hide the knot under the shirt button.
This will hide the knot under the shirt button.
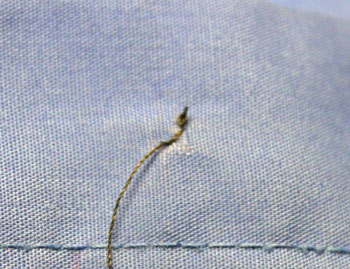
Make another stitch to anchor the thread.
Place the pin (or something similar) over the button and stitch through the holes in the button and over the pin.
The pin allows space between the button and the garment for the buttoned edge to lay flat.
If your garment is thick, use a larger object, like a toothpick, for a bigger gap.
The pin allows space between the button and the garment for the buttoned edge to lay flat.
If your garment is thick, use a larger object, like a toothpick, for a bigger gap.
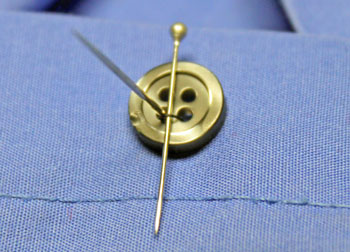
Place eight to ten stitches through each set of holes in the button.
Each stitch should go over the pin.
Each stitch should go over the pin.
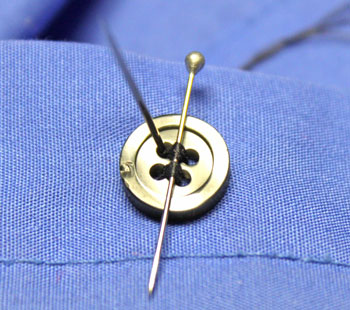
Next, push the needle through one of the button's holes to the back of the button but in front of the garment.
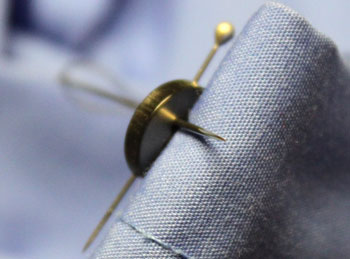
Remove the pin. Wrap the thread two or three times around the back of the button.
This helps make a shank.
This helps make a shank.
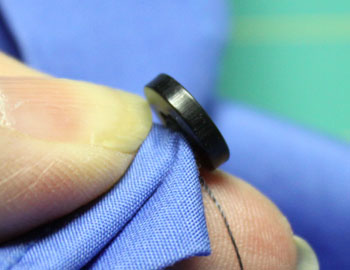
Push the needle through to the back of the garment close to the stitches.
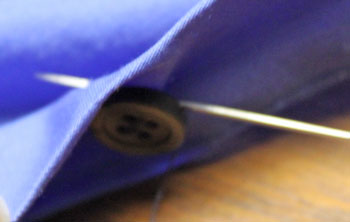
Make a stitch on the back of the garment and pass the needle through the loop.
Pull the thread firmly.
This makes a knot in the thread close to the garment.
Pull the thread firmly.
This makes a knot in the thread close to the garment.
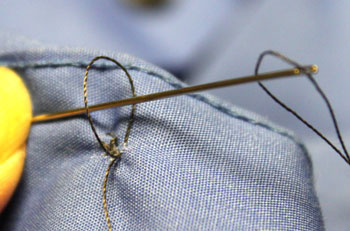
How to sew on a button is almost finished, but not quite.
Under the button, make a couple of tiny stitches on the back of the garment.
Under the button, make a couple of tiny stitches on the back of the garment.
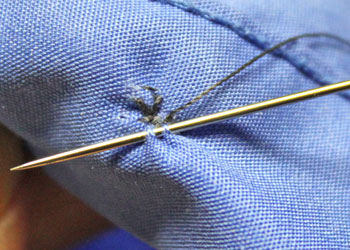
Near the end of the tiny stitches, push the needle between the garment's layers to hide the end of the thread.
This keeps the end from working loose.
This keeps the end from working loose.
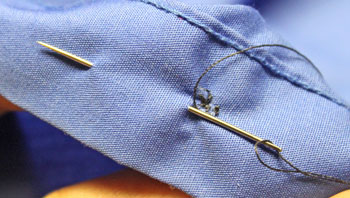
Trim the thread close to the garment.
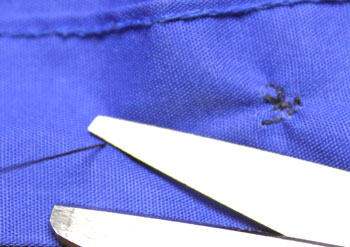
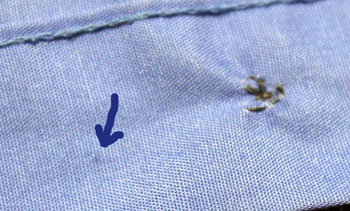
The arrow points to where the thread was cut.
Here's the finished button in our how to sew on a button tutorial.
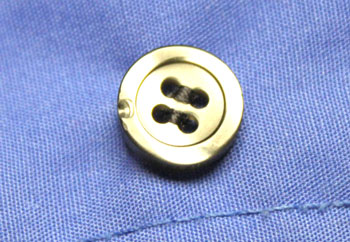
The picture is titled "good as new," but with the how to sew on a button steps, this button is actually sewn better than new.

funEZcrafts
Welcome
Come on in and stay awhile...

funEZcrafts
Welcome
Come on in and stay awhile...
© Copyright funEZcrafts, 2008-2023. All Rights Reserved.
Disclaimer: funEZcrafts includes advertisements and links to advertisement and affiliate sites. These sites use cookies. By clicking through to an affiliate site, you understand that cookies could be placed on your computer. funEZcrafts receives a small stipend from these affiliate and advertisement sites. Thank you! Those funds help with the maintenance and addition of funEZcrafts projects.
Disclaimer: funEZcrafts includes advertisements and links to advertisement and affiliate sites. These sites use cookies. By clicking through to an affiliate site, you understand that cookies could be placed on your computer. funEZcrafts receives a small stipend from these affiliate and advertisement sites. Thank you! Those funds help with the maintenance and addition of funEZcrafts projects.
© Copyright funEZcrafts, 2008-2023. All Rights Reserved.
