Easy Felt Crafts: Notepad Cover #1
Have you seen those notepads with the attached pen? Well, they're fun and easy to make.
This easy felt crafts notepad cover takes an inexpensive notepad and uses inexpensive felt with small pieces of ribbon to become an attractive notepad with an attached pencil or pen.
This is easy sewing. You can find more detail on the stitches in our free e-book on how to sew stitches.
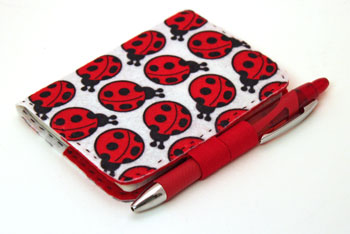
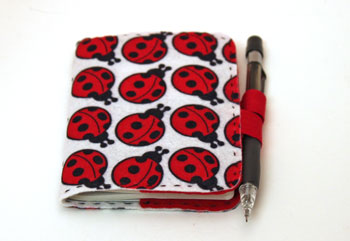
The first picture shows the easy felt crafts notepad cover closed with a red pen:
This easy felt crafts notepad cover takes an inexpensive notepad and uses inexpensive felt with small pieces of ribbon to become an attractive notepad with an attached pencil or pen.
This is easy sewing. You can find more detail on the stitches in our free e-book on how to sew stitches.
The first picture shows the easy felt crafts notepad cover closed with a red pen:
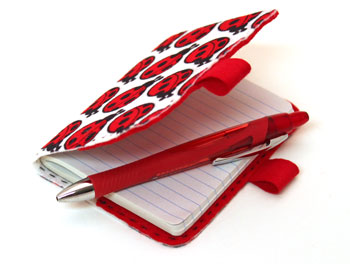
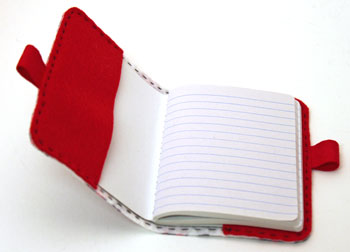
Here, the pen has been removed from the loop closure, and the covered notepad is ready for notes.
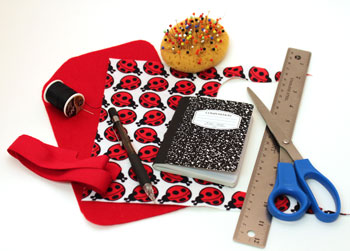
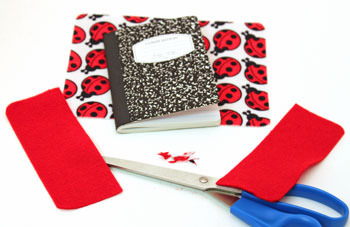
Easy Felt Crafts: Notepad Cover #1 Materials and Tools:
Craft felt (your favorite color) 9 in x 12 in (Depending on the size of your notepad, one piece could be enough. I used two different scraps from earlier projects.)
Ribbon 5/8 to 1 inch wide (Grosgrain or cotton webbing work great.)
Thread (Regular, all purpose thread works just fine. Heavy duty button thread is better if you have it.)
Needle
Pins
Scissors
Ruler
Notepad with a front and back cover thicker than the paper inside
Pencil or pen to use with the notepad
The Steps for How to Make the Easy Felt Crafts: Notepad Cover #1:
Open the notepad.
Measure the width from edge to edge. This notepad is 7 inches wide.
Measure the width from edge to edge. This notepad is 7 inches wide.
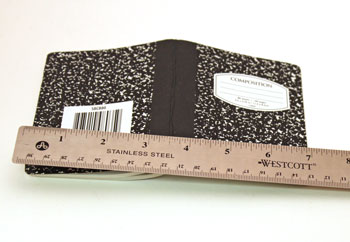
Measure the height of the notepad. This one measures 4 1/2 inches.

For the seams add 1/2 inch to the width and height measurements.
Cut one piece of felt for the outer cover 1/2 inch longer and wider than the measurements.
For this notepad, the outer felt measures 7 1/2 by 5 inches.
The additional 1/2 inch allows for the seam.
Cut two pieces of felt for the inside 2 inches by the notepad's height plus 1/2 inch.
In this case, the two inside pieces are 2 by 5 inches.

Curve the outer corners of the outer felt and the two inner pieces of felt.
You can use the thread spool or other round object as a guide.
If you prefer pointed corners, skip this step.
You can use the thread spool or other round object as a guide.
If you prefer pointed corners, skip this step.
Measure the amount of ribbon by wrapping the ribbon around the largest part of the pencil or pen you want to use with the notepad.
Add 1/4 inch on both ends for the seam.
Add 1/4 inch on both ends for the seam.
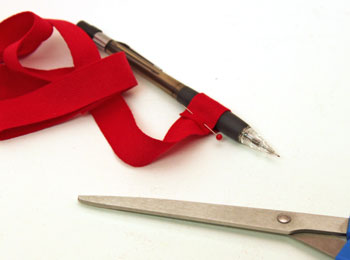
Cut two pieces of the ribbon the measured length.

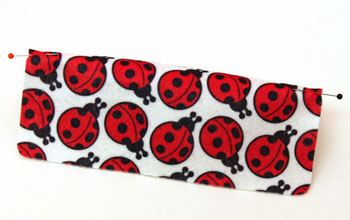
Find the center points on each end of the outer felt.
Fold the felt in half lengthwise.
Mark the fold on each end with pins.
Fold the felt in half lengthwise.
Mark the fold on each end with pins.
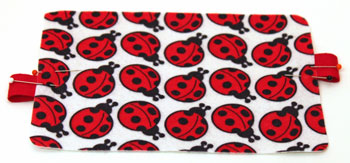
Fold each ribbon in half to form a loop.
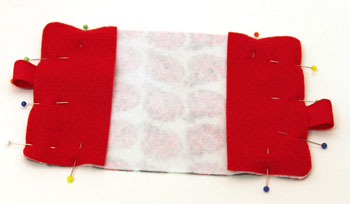
Pin one loop to the inside of the felt on one end above the marked center point.
On the opposite end, pin the second loop below the marked center point.
Pin one loop to the inside of the felt on one end above the marked center point.
On the opposite end, pin the second loop below the marked center point.
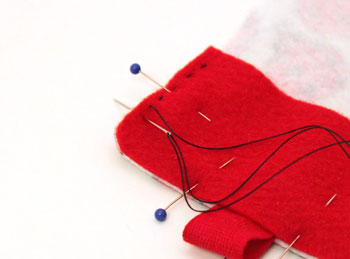
Pin the two inside pieces of felt to the wrong side of the outer cover and over the ribbon ends.
Match the edges of the felt.
Match the edges of the felt.
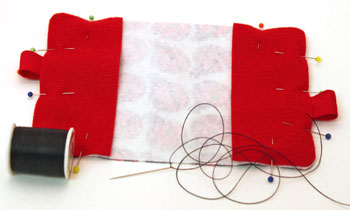
Prepare the needle and thread. For a small project, I use enough thread to go all the way around without having to stop and re-thread.
Pull enough thread off the spool that loosely goes around the project 1 1/2 times.
The extra allows for stitches and enough to tie off at the end.
Thread the needle and knot one end of the thread.
This is easy sewing. For information on the stitches, check out our free e-book on how to sew stitches.
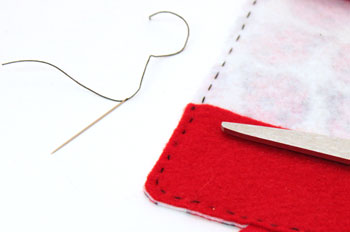
Begin stitching by hiding the knotted end of the thread between the two layers of felt.
I like to use a blanket stitch on felt for the way it finishes the edge.
But, in this case, I used a simple running stitch because of the two ribbon loops.
The running stitch goes in and out of the fabric in equal distances.
But, in this case, I used a simple running stitch because of the two ribbon loops.
The running stitch goes in and out of the fabric in equal distances.
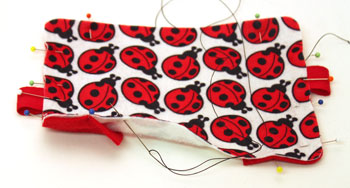
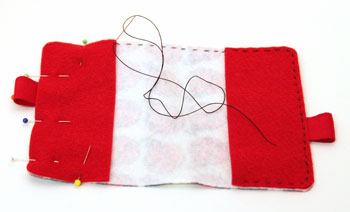
This shows the stitches from the inside.
The running stitches provide a simple and neat finish on both sides of the seam for this easy felt crafts notepad cover.
The running stitches provide a simple and neat finish on both sides of the seam for this easy felt crafts notepad cover.
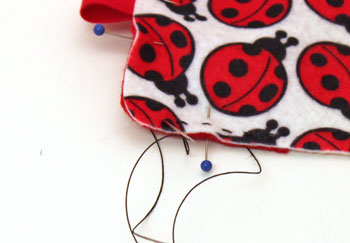
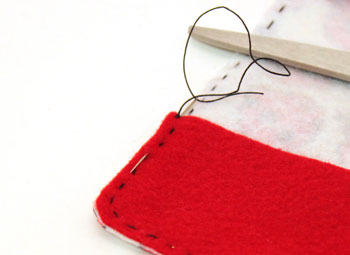
Continue the stitches along the single layer of felt.
This provides a consistent edge all the way around the project.
This provides a consistent edge all the way around the project.
When you return to the starting point, sew a knot in the thread.
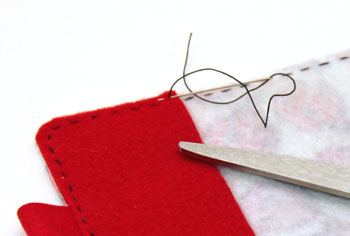
Hide the end of the thread between the layers of felt.
This hides the end thread tail and also helps prevent the knot from coming undone.
This hides the end thread tail and also helps prevent the knot from coming undone.
Clip the thread close to the felt.
Insert the notepad into the cover by placing its front and back covers inside the felt pockets.
The notepad and pencil work together.
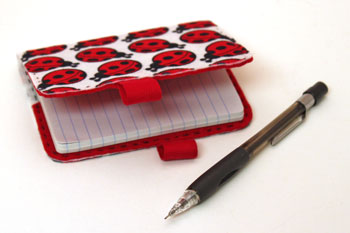
The pencil fits inside the ribbon loops.
The pencil keeps the notepad closed when not in use.
The ribbon loops keep the pencil with the notepad for when you want to make notes.
The pencil keeps the notepad closed when not in use.
The ribbon loops keep the pencil with the notepad for when you want to make notes.
And, if you prefer a pen, this red pen fits nicely into the ribbon loops as well.
The notepad cover is simple and fast to make.
With the variety of fun felt colors and prints, you can make this easy felt crafts notepad cover project to your own unique tastes.
Of course, you can add embellishments as well.
Check out the other Easy Felt Crafts Notepad Cover2 project for a different type of notepad.
Enjoy and have fun making one or more of these easy felt crafts notepad cover projects!


funEZcrafts
Welcome
Come on in and stay awhile...

funEZcrafts
Welcome
Come on in and stay awhile...