Easy Felt Crafts: Notepad Cover #2
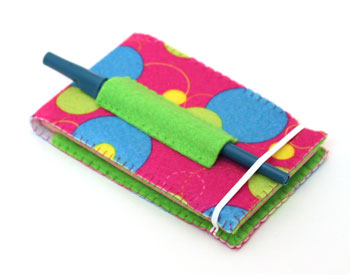
This easy felt crafts notepad cover holds a long notepad and a pen or pencil in the sleeve on the front.
A short piece of elastic holds the cover closed when not in use.
This is a fun, easy and inexpensive project. This is easy sewing. You can find more detail on the stitches in our free e-book on how to sew stitches.
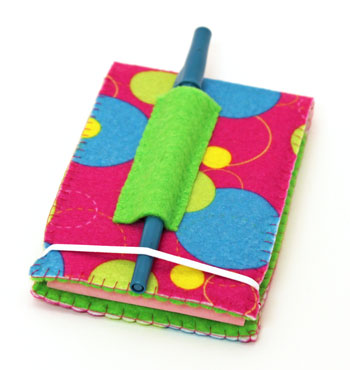
The first picture shows the easy felt crafts notepad cover closed with a blue pen:
A short piece of elastic holds the cover closed when not in use.
This is a fun, easy and inexpensive project. This is easy sewing. You can find more detail on the stitches in our free e-book on how to sew stitches.
The first picture shows the easy felt crafts notepad cover closed with a blue pen:
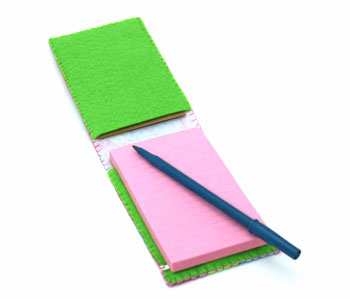
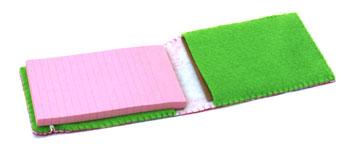
Here, the pen has been removed from its sleeve and the elastic moved from the front.
The covered notepad is ready for notes.
The covered notepad is ready for notes.
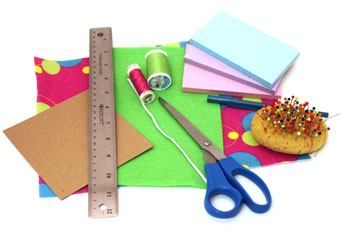
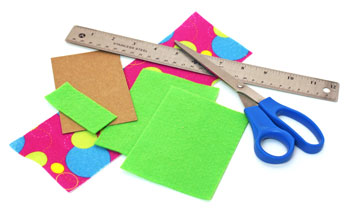
Easy Felt Crafts: Notepad Cover #2 Materials and Tools:
Craft felt (your favorite color) 9 in x 12 in (Depending on the size of your notepad, one piece could be enough. I used one piece with a decorative pattern for the outside and a scrap piece from another project for the pen's sleeve and the inside.)
Cardboard or chipboard to stiffen the front
Elastic - 1/8 inch wide (enough to go around the notebook)
Thread (Regular, all purpose thread works just fine. Heavy duty button thread is better if you have it.)
Needle
Pins
Scissors
Ruler
Notepad with a thick back cover
Pencil or pen to use with the notepad
The Steps for How to Make the Easy Felt Crafts: Notepad Cover #2:
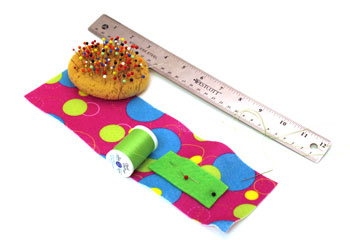
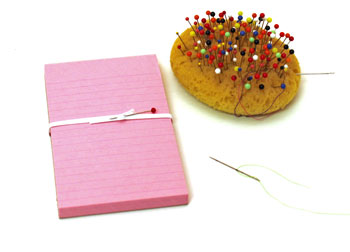
Measure the length of the notepad. This one is 5 inches long.
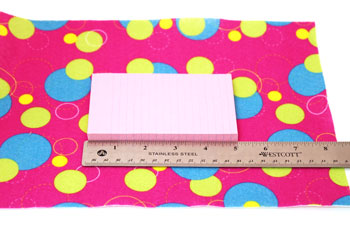
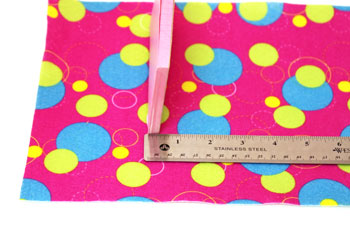
Measure the width of the notepad. This one measures 3 inches wide.
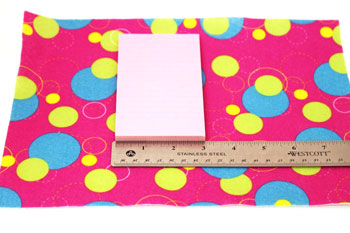
Measure the thickness of the notepad. This one is 3/8 inch thick.
Add two times the length plus the thickness plus extra for the seams (1/4 inch on both ends) for the length of the outer felt.
In this case: 2 times 5 plus 3/8 plus 1/4 plus 1/4 equals 10 7/8 inches.
Add the width plus extra for the seams on each side: 3 plus 1/4 plus 1/4 equals 3 1/2 inches wide.
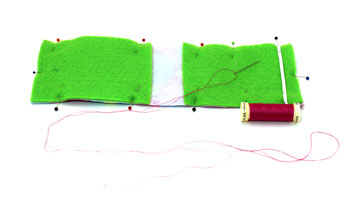
Cut one piece of the decorative outer felt 10 7/8 by 3 1/2 inches.
For the lining of the front and back cut two pieces 3 1/2 by 4 3/4 inches.
For the pocket or sleeve for the pen, cut one piece 1 by 3 inches.
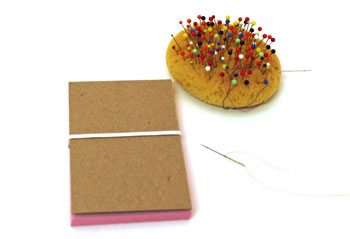
To stabilize the front, cut one piece of cardboard or chipboard 3 by 4 1/2 inches.
In this case: 2 times 5 plus 3/8 plus 1/4 plus 1/4 equals 10 7/8 inches.
Add the width plus extra for the seams on each side: 3 plus 1/4 plus 1/4 equals 3 1/2 inches wide.
Cut one piece of the decorative outer felt 10 7/8 by 3 1/2 inches.
For the lining of the front and back cut two pieces 3 1/2 by 4 3/4 inches.
For the pocket or sleeve for the pen, cut one piece 1 by 3 inches.
To stabilize the front, cut one piece of cardboard or chipboard 3 by 4 1/2 inches.
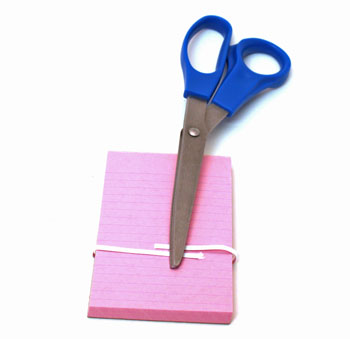
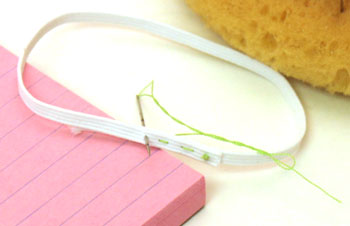
To measure and cut the elastic, wrap it around the notepad loosely and overlap by 1 inch.
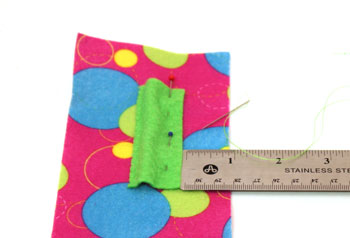
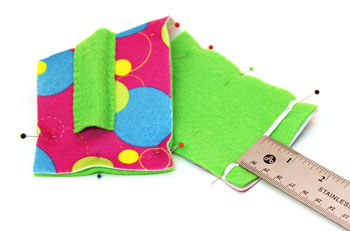
Position and pin the pocket for the pen to the front of the easy felt crafts notepad cover.
Measure 3/4 from the left side and 1 1/4 inch from the bottom.
Make sure the pocket edge is parallel to the edge of the notepad cover.
Measure 3/4 from the left side and 1 1/4 inch from the bottom.
Make sure the pocket edge is parallel to the edge of the notepad cover.
Sew along the edge of the pocket that is the greatest distance from the edge.
I used a simple blanket stitch. (You can find a tutorial on the blanket stitch in our free e-book - How to Sew Stitches.)
I used a simple blanket stitch. (You can find a tutorial on the blanket stitch in our free e-book - How to Sew Stitches.)
At the end of the stitches on the first side of the pocket, knot the thread, hide the thread tail and clip the thread.
Reposition the pocket to be 1 inch from the edge of the notepad cover.
This provides a space for the pen to fit into the pocket.
Reposition the pocket to be 1 inch from the edge of the notepad cover.
This provides a space for the pen to fit into the pocket.
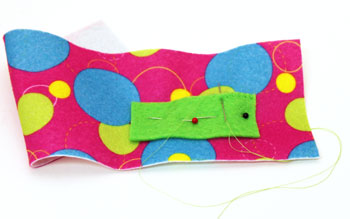
Sew the second side of the pocket the same as the first using the overlay blanket stitch again.
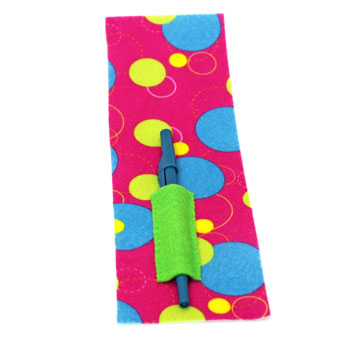
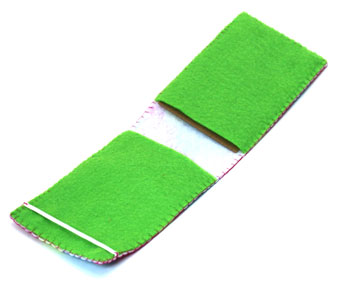
Here, the pen easily fits into the pocket.
Here, the pen easily fits into the pocket.
Wrap the elastic around the notepad until it just fits. Don't stretch the elastic.
Overlap the ends and pin.
Overlap the ends and pin.
Make sure the elastic remains smooth all the way around and does not have any twists.
Sew the overlapped edges of the elastic together with simple running stitches.
Match the edges of the inner pieces of felt to the inside of the felt notepad cover.
Sandwich the sewn portion of the elastic between the two pieces of felt at the back.
Position the elastic 1/2 inch from the bottom edge.
Pin the edges and the elastic in place.
Sandwich the sewn portion of the elastic between the two pieces of felt at the back.
Position the elastic 1/2 inch from the bottom edge.
Pin the edges and the elastic in place.
Prepare the needle and thread.
Stitch around the outer edge using the blanket stitch. (Pictorial details for how to sew the simple blanket stitch can be found in our free e-book - How to Sew Stitches.)

Sew three or four stitches at the elastic on each side for added strength to hold it in place.

Insert the cardboard or chipboard into the front of the easy felt crafts notepad cover.
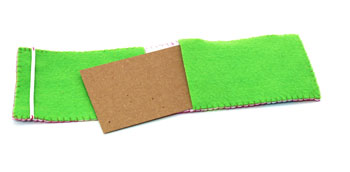
A small amount of the cardboard may show. If you prefer, trim the length of the cardboard such that it does not show.
Insert the back of the notepad into the back of the notepad cover.
Be careful that the back does not pull off of the notepad (voice of experience, here).
If it does, simply glue it to the back page of the notepad.
Be careful that the back does not pull off of the notepad (voice of experience, here).
If it does, simply glue it to the back page of the notepad.
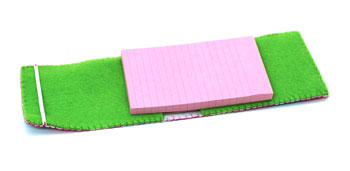
The back of the notepad should go past the elastic at the bottom of the back of the notepad cover.
The finished cover shows the pen in its pocket and the elastic holding the notepad cover closed.
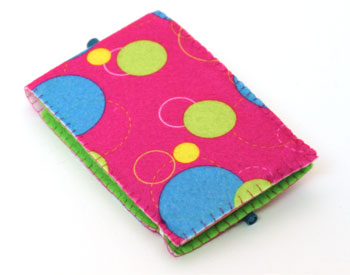
This shows the back of the finished notepad cover with its fun bubbles and polka dots.
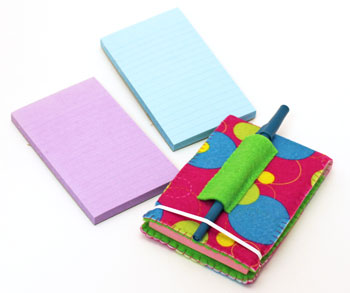
These notepads came in a packet of three, one pink, one blue and one lavender.
Their colors helped decide the decorative felt for the easy felt crafts notepad cover.
The lime green was a fun contrast pulled from the circles on the decorative felt.
Their colors helped decide the decorative felt for the easy felt crafts notepad cover.
The lime green was a fun contrast pulled from the circles on the decorative felt.
This notepad cover is just as fun simple and fast to make as the other Easy Felt Crafts Notepad Cover1.
With the variety of fun felt colors and prints along with the variety of inexpensive notepads, you can make this easy felt crafts notepad cover project to your own unique tastes.
Enjoy and have fun making one or more of these easy felt crafts notepad cover projects!
With the variety of fun felt colors and prints along with the variety of inexpensive notepads, you can make this easy felt crafts notepad cover project to your own unique tastes.
Enjoy and have fun making one or more of these easy felt crafts notepad cover projects!


funEZcrafts
Welcome
Come on in and stay awhile...

funEZcrafts
Welcome
Come on in and stay awhile...