Easy Felt Crafts: Tooth Pillow (Mr. Smiley Tooth)
Do you have young children in your family who will be losing their baby teeth soon?
What about children who are afraid of dentist?
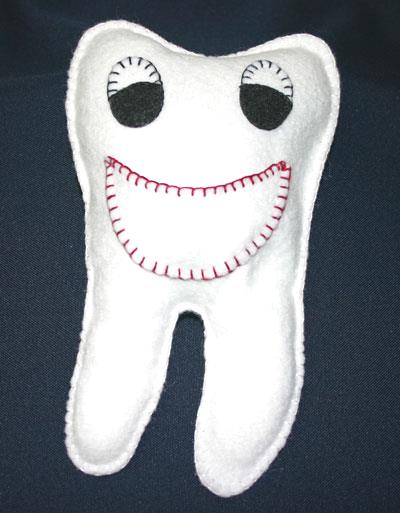
This easy felt crafts project, called Mr. Smiley Tooth, helps children cope with dental visits and contains a pocket to hold teeth for the tooth fairy.
What about children who are afraid of dentist?
This easy felt crafts project, called Mr. Smiley Tooth, helps children cope with dental visits and contains a pocket to hold teeth for the tooth fairy.
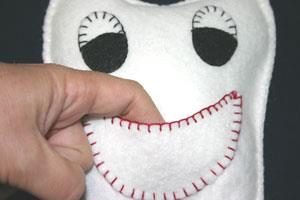
Look, the large pocket also easily holds treasures the tooth fairy brings for the lost tooth.
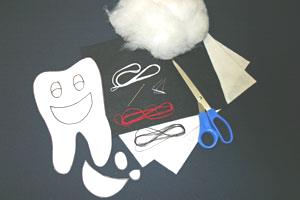
Easy Felt Crafts: Tooth Pillow Materials and Tools:
Craft felt, 9 in x 12 in, two white and one black
Yarn (size 3 or size 10 crochet yarn both work great) in red, black and white
Yarn darner needle (a pack of size 14 to 18 gives you alternatives)
Pins (straight or safety) (optional, but really help)
Polyfiberfil
Scissors
Pattern (Click Easy Felt Crafts Tooth Pillow Mr Smiley Tooth for the pattern.)
The Steps for How to Make the Easy Felt Crafts: Tooth Pillow:
Collect the materials and tools for the Tooth Pillow.
Print the Easy Felt Crafts Tooth Pillow Mr Smiley Tooth pattern on letter size (8.5x11) paper.
Cut out the shapes.
Cut out the shapes.
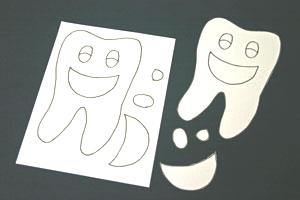
Pin the pattern pieces to the felt and cut out the shapes.
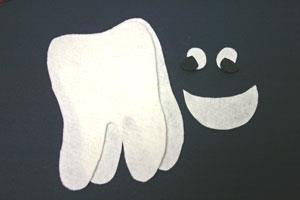
Cut two of the tooth shape, two of the oval shapes and one of the mouth shape out of the white felt.
Cut two of the small shape (pupil of the eye) out of black felt.
Cut two of the tooth shape, two of the oval shapes and one of the mouth shape out of the white felt.
Cut two of the small shape (pupil of the eye) out of black felt.
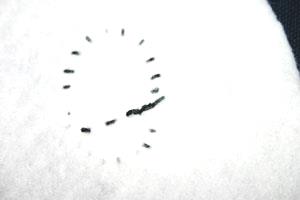
Thread needle with black thread and knot one end of thread.
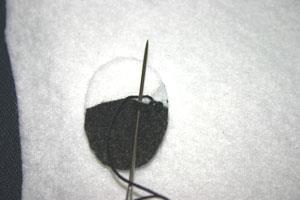
Position the black pupil shape over the bottom of the white oval eye shape.
Use a blanket stitch and begin stitching the black shape to the white oval across the middle. (Pictorial details for how to sew the simple blanket stitch can be found in our free e-book - How to Sew Stitches.)
Make these first stitches prior to placing the eye shape on the tooth shape.
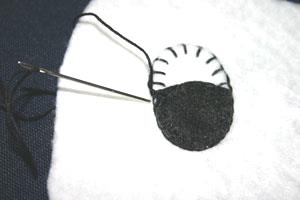
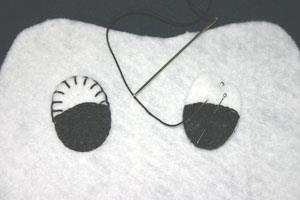
After stitching across the top of the black shape, position the eye on one of the tooth shapes.
Use the pattern as a guide for placement.
Use the pattern as a guide for placement.
With the blanket stitch, work counterclockwise to connect the eye shape to the tooth shape.
After stitching around the shape, push the needle to the back of the piece.
After stitching around the shape, push the needle to the back of the piece.
Knot the thread and make three or four small stitches before clipping the thread.
These stitches help secure the thread.
Make sure they do not show on the front of your work.
These stitches help secure the thread.
Make sure they do not show on the front of your work.
Use the same steps to position and sew the second eye shape.
Thread needle with the red yarn.
Sew blanket stitches across the top of the mouth shape.
Sew blanket stitches across the top of the mouth shape.
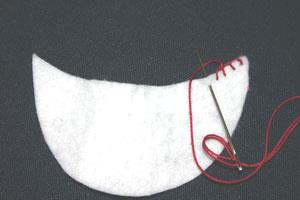
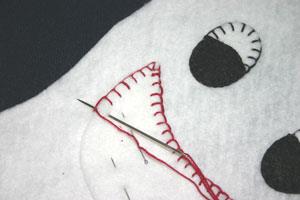
Position the mouth shape on the tooth shape.
Pin the mouth shape in place and continue the blanket stitches around the bottom of the mouth to attach it to the tooth shape.
Add one or two extra stitches at the corners of the mouth to add strength to the stress points.
Add one or two extra stitches at the corners of the mouth to add strength to the stress points.
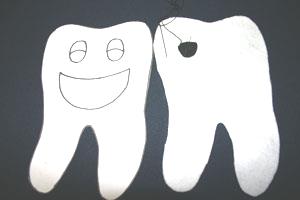
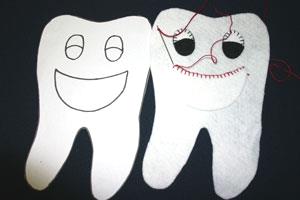
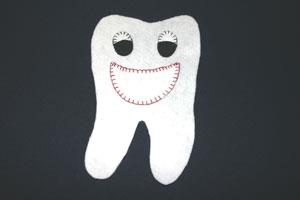
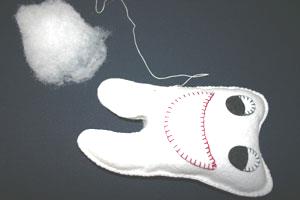
Mr. Smiley Tooth's face is complete.
Match the front and back shapes and pin.
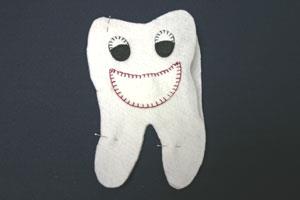
Thread needle with white yarn.
Begin the blanket stitch between the narrow "roots."
This area is unobtrusive for the first stitches and allows you to easily add the polyfiberfil when the stitches are almost complete.
Begin the blanket stitch between the narrow "roots."
This area is unobtrusive for the first stitches and allows you to easily add the polyfiberfil when the stitches are almost complete.
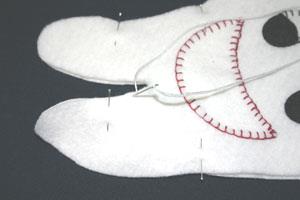
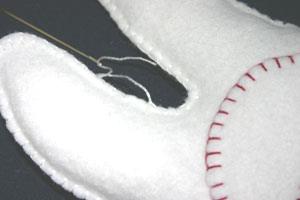
Leave the needle and thread attached and stop to add the polyfiberfil to the first "root" and to the main part of the tooth.

Pin the remainder of the shape and continue stitching.
A small amount of polyfiberfil remains to be added to the second "root" when within only a few stitches of the beginning point.
A small amount of polyfiberfil remains to be added to the second "root" when within only a few stitches of the beginning point.
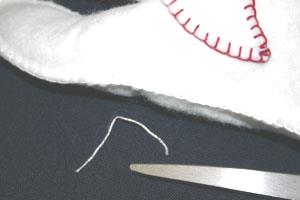
Make the final stitch, knot the thread and push the needle through the middle of the stuffed shape to hide the end of the thread.
Trim the thread close to the pillow shape.
Fluff the pillow to allow the cut end to pull back into the middle of the polyfiberfil.
Fluff the pillow to allow the cut end to pull back into the middle of the polyfiberfil.
Mr. Smiley Tooth - always happy, always smiling - is ready for a child to hold and cuddle.
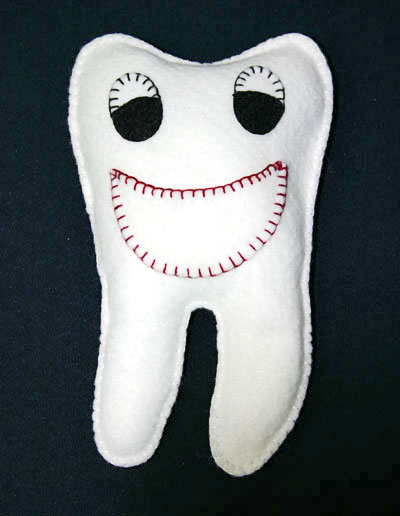
A tooth pillow for dental visits or a tooth fairy pillow for those baby teeth, this easy felt crafts project takes only a few simple and inexpensive materials and tools along with a small amount of time.
Mr. Smiley Tooth is fun to make and fun to give to those little ones.
Have fun!
Mr. Smiley Tooth is fun to make and fun to give to those little ones.
Have fun!


funEZcrafts
Welcome
Come on in and stay awhile...

funEZcrafts
Welcome
Come on in and stay awhile...