Easy Christmas Crafts: Chenille Wire and Straw Star
Just a few simple and inexpensive materials along with commonplace tools quickly become this fun and easy Chenille Wire and Straw Star!
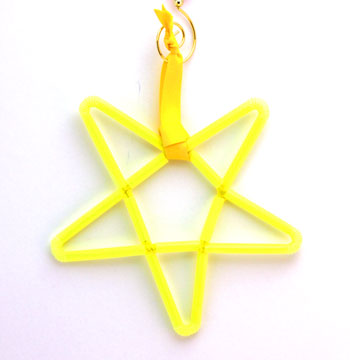
Here is a bright yellow example:
Here is a bright yellow example:
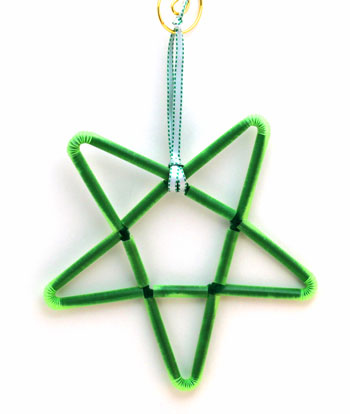
Or, here's a green one:
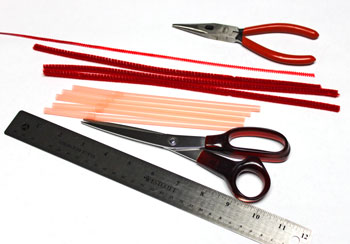
Easy Christmas Crafts: Chenille Wire and Straw Star Materials and Tools:
Straws - Five (5) plastic flexible
Chenille wires - Three (3) 12-inch
Narrow ribbon
Ruler
Scissors
Needle nose pliers (not absolutely needed, but really helpful)
Chenille wires - Three (3) 12-inch
Narrow ribbon
Ruler
Scissors
Needle nose pliers (not absolutely needed, but really helpful)
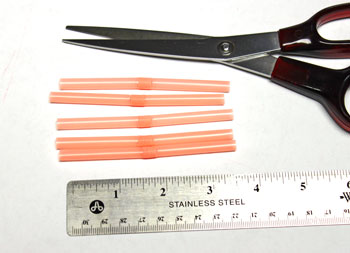
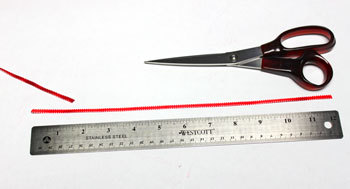
Take a look at the simple materials and tools shown here.
The Steps for How to Make the Easy Christmas Crafts: Chenille Wire and Straw Star:
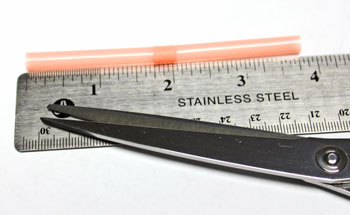
Measure the distance from the top edge of the flexible section to the end of the straw. It should be 1 3/4 inches.
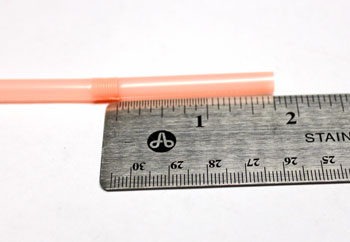
Measure 1 3/4 inches from the bottom edge of the flexible section and cut the straw.
If your straw is slightly less than 1 3/4 inches from the top to the end of the straw, use that same measure from the bottom edge of the flexible section to the cut.
In other words, the straw should be the same length on either side of the flexible portion.
If your straw is slightly less than 1 3/4 inches from the top to the end of the straw, use that same measure from the bottom edge of the flexible section to the cut.
In other words, the straw should be the same length on either side of the flexible portion.
Cut the remaining four straws using the same process.
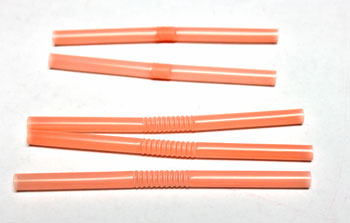
The five pieces should be the same length.
The five pieces should be the same length.
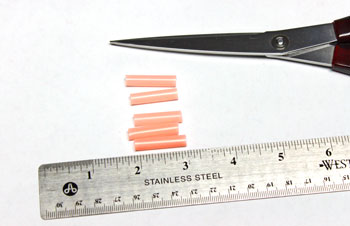
Cut five one-inch sections of straw.
Pull and stretch the flexible sections apart.
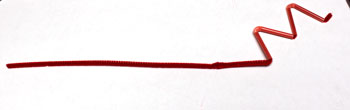
Thread one of the straw sections on one of the chenille wires.
Place a 1/2 inch bend in one end of the chenille wire.
Bend the chenille wire at the flexible portion of the straw.
Add another bend at the end of the straw.
Place a 1/2 inch bend in one end of the chenille wire.
Bend the chenille wire at the flexible portion of the straw.
Add another bend at the end of the straw.
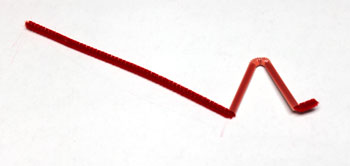
Add a second section of straw to the chenille wire.
Bend the wire at the flexible portion of the straw and at the end of the straw.
Bend the wire at the flexible portion of the straw and at the end of the straw.
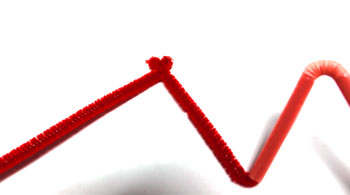
Add a second chenille wire to the end of the first wire.
Twist the ends of the wire together roughly 3/8 inch from the ends.
Twist the ends of the wire together roughly 3/8 inch from the ends.
Bend the wire ends back on each other.
Flatten the wires to form a straight continuation of the chenille wire.
Flatten the wires to form a straight continuation of the chenille wire.
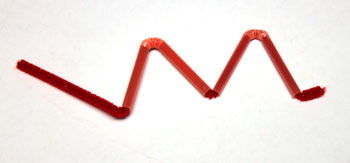
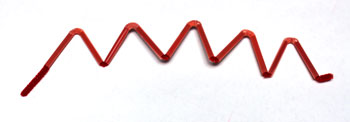
Add the remaining three straw sections to the extended chenille wire.
Bend the chenille wire at each flexible portion and between each straw section.
Bend the chenille wire at each flexible portion and between each straw section.
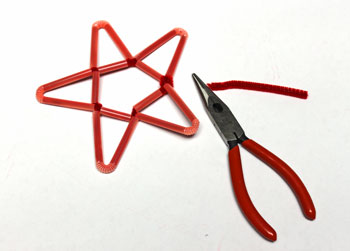
Bring the ends of the chenille wires together and twist to secure.
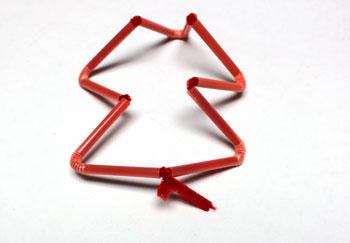
Trim (or break) the ends of the wires roughly 3/8 inch past the twisted wire.
Fold the ends back on the chenille wire and hide them inside the straw sections.
Fold the ends back on the chenille wire and hide them inside the straw sections.
Add the third chenille wire by twisting it around, twice, the previously joined wire ends.
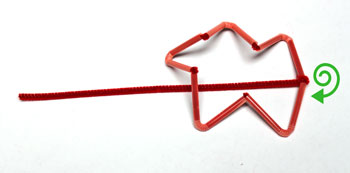
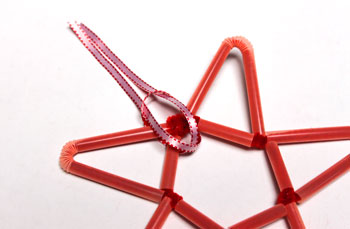
Push the first one-inch piece of straw on the chenille wire.
Put the chenille wire under the shape and pull it over the chenille wire between the adjacent straw sections.
Put the chenille wire under the shape and pull it over the chenille wire between the adjacent straw sections.
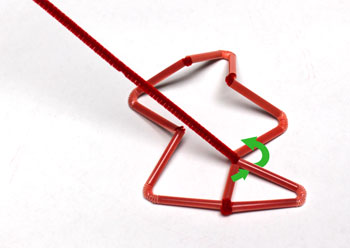
Continue adding the one-inch pieces of straw in the same way to connect the points of the star.
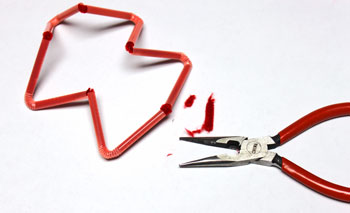
After the last piece is added, wrap the end of the chenille wire around the joint.
Cut (or break) the chenille wire.
Pinch the end tightly on the joint.
After the last piece is added, wrap the end of the chenille wire around the joint.
Cut (or break) the chenille wire.
Pinch the end tightly on the joint.
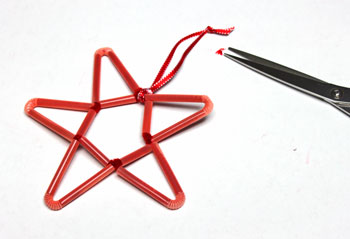
Cut a 12-inch length of narrow ribbon.
Fold the ribbon in half.
Insert it through the star shape below the joined chenille wires.
Insert it through the star shape below the joined chenille wires.
Pull the ribbon ends around the joined chenille wires and push the ribbon ends through the ribbon loop.
Pull the ribbon ends firmly.
Tie a knot in the ribbon ends and trim at an angle.
Tie a knot in the ribbon ends and trim at an angle.
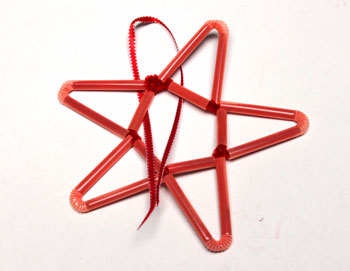
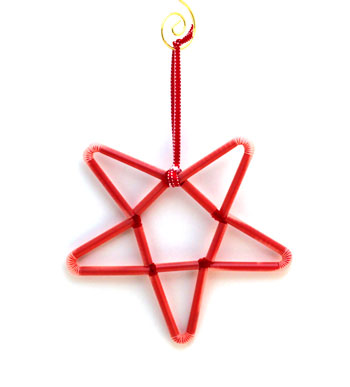
Gently adjust the wires to form the shape of the star.
The Chenille Wire and Straw Star is finished and ready to display.
The Chenille Wire and Straw Star is finished and ready to display.
Five straws, three chenille wires and 12 inches of narrow ribbon quickly become a fun little decoration - almost as quickly as it takes to read the directions - not quite, but almost.
Have fun!
The Chenille Wire and Straw Star is an inexpensive, fast, fun and easy project that can also be a great group activity especially for making lots of ornaments quickly.
Have fun!
The Chenille Wire and Straw Star is an inexpensive, fast, fun and easy project that can also be a great group activity especially for making lots of ornaments quickly.


funEZcrafts
Welcome
Come on in and stay awhile...

funEZcrafts
Welcome
Come on in and stay awhile...