Easy Christmas Crafts: Easy Advent Christmas Tree
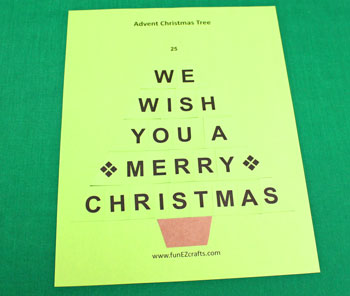
The Easy Advent Christmas Tree counts off the days to the big day with letters that, when finished, provide a wish for the holiday season.
Add the tree to a bulletin board, a refrigerator door or anywhere it can easily be seen to count down the 25 days.
Print the little tree on green paper or print it on regular paper and color the different shapes however you choose.
Add the tree to a bulletin board, a refrigerator door or anywhere it can easily be seen to count down the 25 days.
Print the little tree on green paper or print it on regular paper and color the different shapes however you choose.

Easy Christmas Crafts: Easy Advent Christmas Tree Materials and Tools:
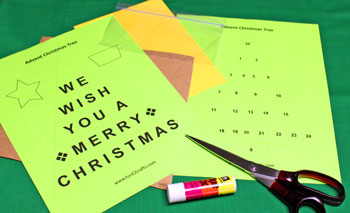
Printed version:
Paper - 2 pieces of green 8 1/2 by 11-inch, brown - small piece, yellow - small piece
Glue
Scissors
Small bag or envelope to hold the pieces
Pattern - Easy Advent Christmas Tree
Glue
Scissors
Small bag or envelope to hold the pieces
Pattern - Easy Advent Christmas Tree
Take a look at the simple materials and tools for the printed version.
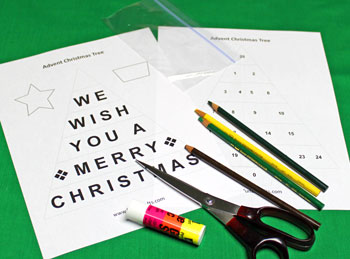
Coloring version:
White paper - 2 pieces of 8 1/2 by 11-inch
Coloring implements - pencils, markers or crayons
Glue
Scissors
Small bag or envelope to hold the pieces
Pattern - Easy Advent Christmas Tree
Coloring implements - pencils, markers or crayons
Glue
Scissors
Small bag or envelope to hold the pieces
Pattern - Easy Advent Christmas Tree
The Steps for How to Make the Easy Christmas Crafts: Easy Advent Christmas Tree:
Printed version:
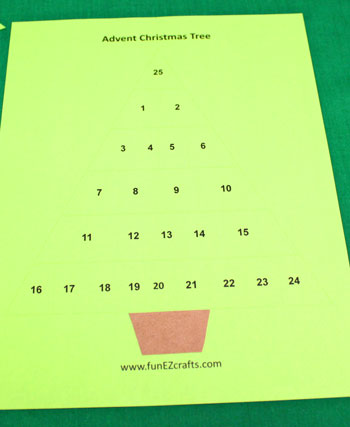
Print the Easy Advent Christmas Tree pattern on green paper.
Cut around the shapes surrounding the letters. (Hint: To keep from losing or mixing up the letters, just cut between the words. Then, cut off the appropriate letter each day.)
Cut around the star and base shapes.
Use these shapes to cut the star out of yellow paper and the base out of brown paper.

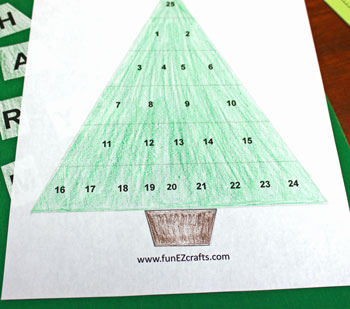
Glue the brown base to the bottom of the numbered tree.
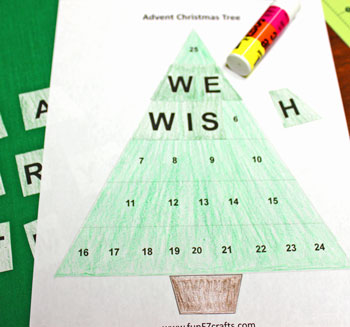
Begin adding the letters - one per day.
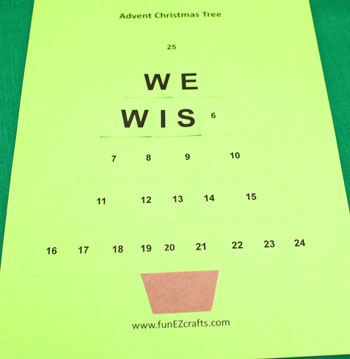
Continue day-by-day adding the letters to form the Christmas wish.
As the last step, glue the star to the top of the tree.
The Easy Advent Christmas Tree is finished on Christmas Day.
The Easy Advent Christmas Tree is finished on Christmas Day.

Coloring version:
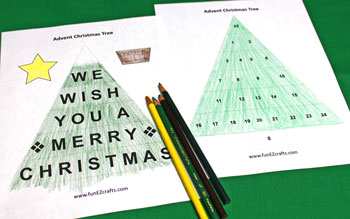
Print the Easy Advent Christmas Tree pattern on white paper.
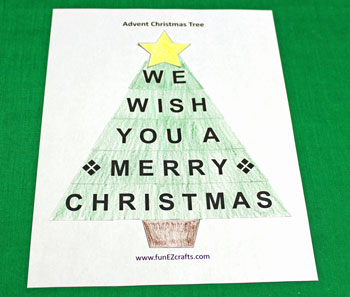
Color each of the shapes.
I used different colors of green for the numbered tree and the lettered tree, yellow for the star and brown for the base.
Print the Easy Advent Christmas Tree pattern on white paper.
Color each of the shapes.
I used different colors of green for the numbered tree and the lettered tree, yellow for the star and brown for the base.
Cut around each of the colored shapes. (Hint: To keep from losing or mixing up the letters, just cut horizontally between the words. Then, cut off the appropriate letter on each day.)

Glue the brown base to the base of the numbered tree.
Begin gluing the letters - one each day.
All of the letters added form a wish for the Christmas season.

Add the star to finish the Easy Advent Christmas Tree on Christmas day.
Make this little tree fast, fun and easy with green paper in the printer.
Or, print the white versions and let children color individual trees for their very own.
Attach the decoration to the refrigerator, a bulletin board, a door, or anywhere for a festive reminder during the holidays.
Have fun!
The Easy Advent Christmas Tree is a fun and easy project to help count down those days during the holiday season.


funEZcrafts
Welcome
Come on in and stay awhile...

funEZcrafts
Welcome
Come on in and stay awhile...