How To: Sew a Blanket Stitch Overlay
We show you how to blanket stitch one design over another where the edges are not even.
In other words, blanket stitches are not just for edges of blankets.
Though if you are sewing edges evenly together, take a look at our how to sew a blanket stitch tutorial.
This how to sew a blanket stitch overlay focuses on sewing one design positioned over another with how-to pictures and easy instructions.
The simple and pretty blanket stitch showcases the edge of the top design.
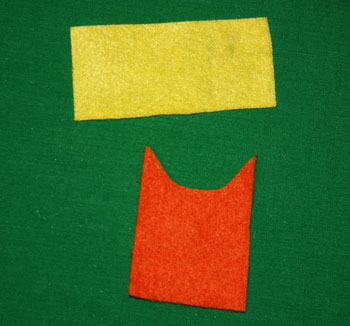
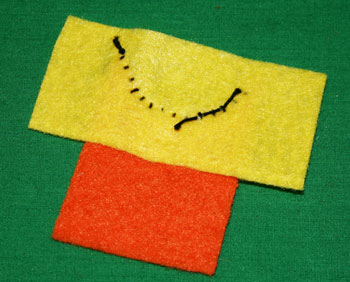
For illustration, we use two pieces of felt - a favorite material.
We attach the orange semicircle over the yellow rectangle.
In other words, blanket stitches are not just for edges of blankets.
Though if you are sewing edges evenly together, take a look at our how to sew a blanket stitch tutorial.
This how to sew a blanket stitch overlay focuses on sewing one design positioned over another with how-to pictures and easy instructions.
The simple and pretty blanket stitch showcases the edge of the top design.
For illustration, we use two pieces of felt - a favorite material.
We attach the orange semicircle over the yellow rectangle.
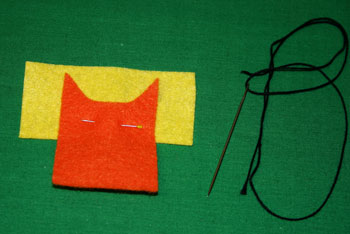
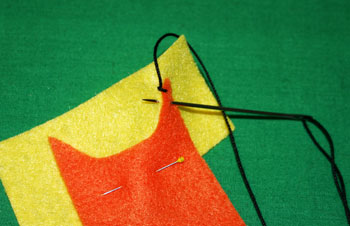
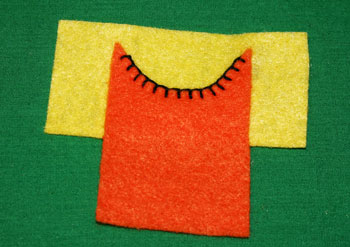
Pin the orange overlay felt in position over the yellow rectangle.
For illustration, a black yarn will contrast and show the stitches.
Place a knot in one end of the yarn.
For illustration, a black yarn will contrast and show the stitches.
Place a knot in one end of the yarn.
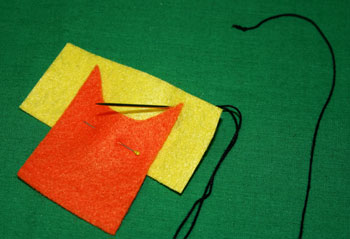
The needle initially comes through from the back of the yellow felt.
The knot hides on the back or wrong side of the yellow felt.
The needle comes through just beside the orange felt near the right end of the semi-circle.
This how to blanket stitch overlay is written for right-handed people.
If you are left handed, reverse the directions.
The knot hides on the back or wrong side of the yellow felt.
The needle comes through just beside the orange felt near the right end of the semi-circle.
This how to blanket stitch overlay is written for right-handed people.
If you are left handed, reverse the directions.
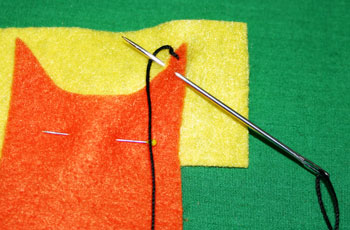
Next, place the needle through the orange felt and catch the yellow felt underneath.
The needle should come back through the yellow felt just beside the orange felt.
The needle should come back through the yellow felt just beside the orange felt.
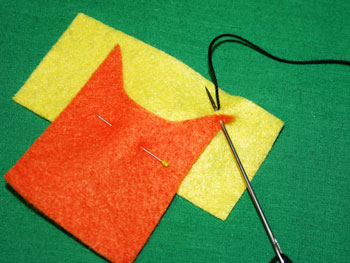
Wrap the yarn under the needle - right to left.
This forms the first visible blanket stitch in our how to blanket stitch overlay tutorial.
This forms the first visible blanket stitch in our how to blanket stitch overlay tutorial.

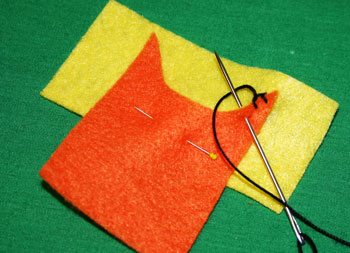
Make the second stitch the same distance from the edge of the orange felt as the first stitch.
The next blanket stitch should be to the left of the first stitch.
The distance between the blanket stitches should be almost the same as the length of the stitches.
The next blanket stitch should be to the left of the first stitch.
The distance between the blanket stitches should be almost the same as the length of the stitches.
While the needle remains in the felt, wrap the yarn under the needle from right to left.
If you have a bulky project, you may need to push the needle through to the back before inserting back up to the front.
If so, just make sure the thread wraps around the needle properly.
If you have a bulky project, you may need to push the needle through to the back before inserting back up to the front.
If so, just make sure the thread wraps around the needle properly.
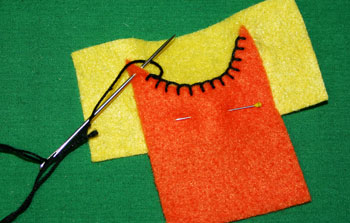
Continue the same stitching steps around the semicircular shape.
Here, the stitches are almost finished.
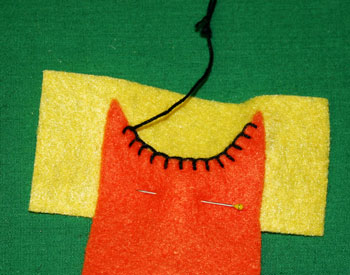
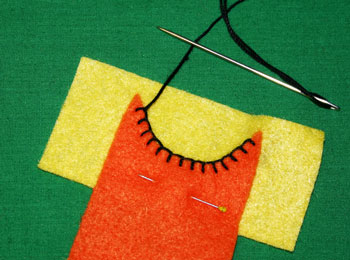
Begin the last stitch the same way as the others - through the orange felt, into the yellow felt and out the yellow felt just at the edge of the orange felt.
Wrap the yarn under the needle from right to left.
Wrap the yarn under the needle from right to left.
Pull the yarn taut but not so tightly that the stitches begin to pucker.
Push the needle through the yellow felt over and to the left of the last stitch.
This anchors the last stitch.
This anchors the last stitch.
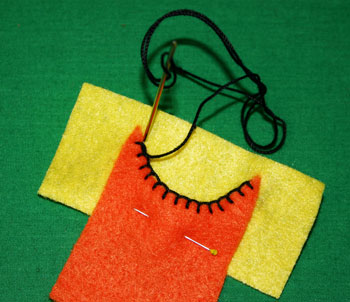
Pull the yarn through to the back or wrong side of the felt.
Here, the view shows how the stitches look on the wrong side of the felt.
Here, the view shows how the stitches look on the wrong side of the felt.
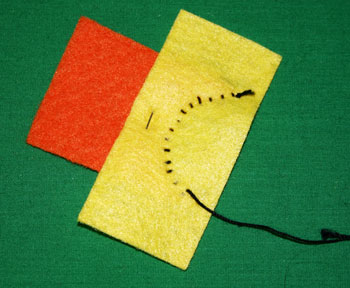
Make a knot in the yarn near the felt.
Weave the needle under two to three stitches on the back.
Be careful not to catch the felt.
Cut the yarn.
Weave the needle under two to three stitches on the back.
Be careful not to catch the felt.
Cut the yarn.
This completes the how to blanket stitch overlay projects.
Visit our companion instructions for how to blanket stitch that shows blanket stitches around outer edges.
From the top, the finished blanket edge outlines the orange felt attached to the yellow felt.
Visit our companion instructions for how to blanket stitch that shows blanket stitches around outer edges.
From the top, the finished blanket edge outlines the orange felt attached to the yellow felt.
Another view displays how the blanket stitch encloses the edge of the orange felt and securely attaches it to the yellow background.
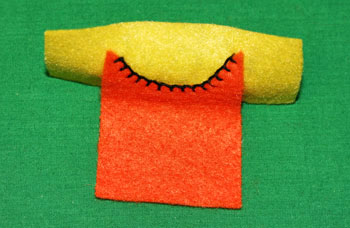
That's easy!
You can use this how to sew a blanket stitch overlay for many different fun projects.
Sign up for our randomly produced newsletter to receive a link to the free How to Sew Stitches e-book..
You can use this how to sew a blanket stitch overlay for many different fun projects.
Sign up for our randomly produced newsletter to receive a link to the free How to Sew Stitches e-book..


funEZcrafts
Welcome
Come on in and stay awhile...

funEZcrafts
Welcome
Come on in and stay awhile...