Easy Christmas Crafts: Yarn Elf Ornament
This fun and easy Yarn Elf Ornament uses two types of yarn and a small piece of along with stiff board and glue to become a cute addition to a holiday display.
Or, it could easily become a playful yarn toy for a child or a fur baby.
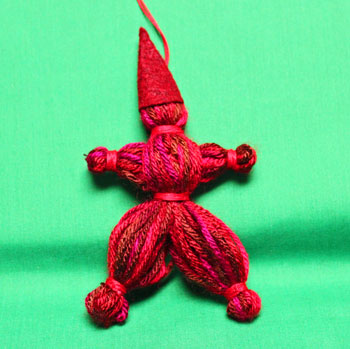
Take a look at this red version.
Or, it could easily become a playful yarn toy for a child or a fur baby.
Take a look at this red version.
Easy Christmas Crafts: Yarn Elf Ornament Materials and Tools:
Yarn - medium knitting weight
Yarn - crochet weight (size 10 for these examples)
Craft felt
Hot glue gun
Regular clear glue (not shown, oops, I forgot)
Scissors
Ruler
Stiff board - (I used corrugated card board scraps)
Optional not shown - yarn needle for sewing body and arms together
Yarn - crochet weight (size 10 for these examples)
Craft felt
Hot glue gun
Regular clear glue (not shown, oops, I forgot)
Scissors
Ruler
Stiff board - (I used corrugated card board scraps)
Optional not shown - yarn needle for sewing body and arms together
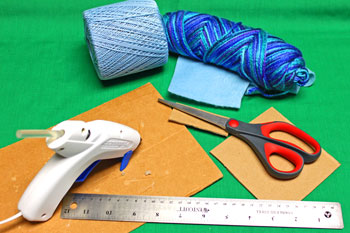
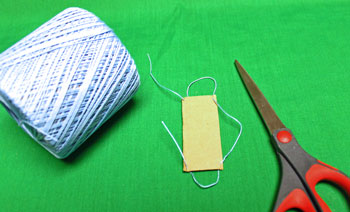
Take a look at the simple materials and tools shown here.
The Steps for How to Make the Easy Christmas Crafts: Yarn Elf Ornament:
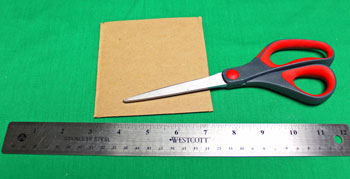
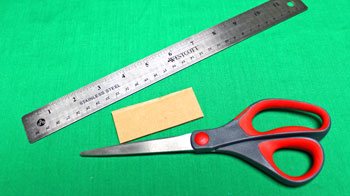
Cut a piece of stiff board 4.5 inches by at least 4 inches.
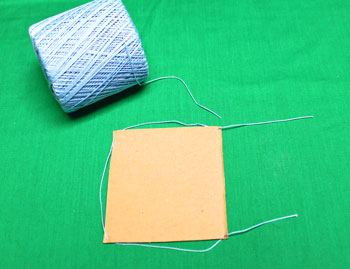
Make small cuts at each of the four corners.
Make small cuts at each of the four corners.
Wrap a piece of the smaller yarn around the perimeter of the stiff board.
Use the small cuts to hold the yarn to the board.
Pull the yarn loosely between each cut to have more overall length.
Use the small cuts to hold the yarn to the board.
Pull the yarn loosely between each cut to have more overall length.
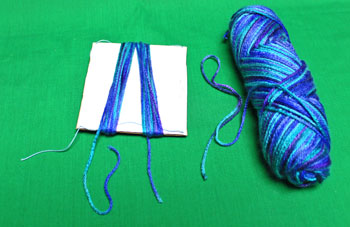
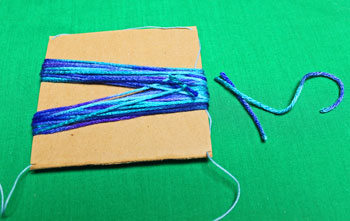
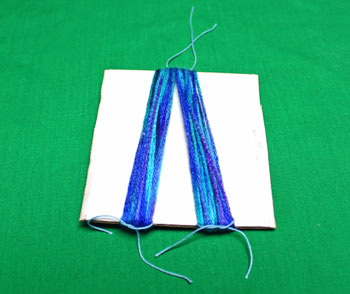
Begin wrapping the larger yarn around the 4.5-inch width of the stiff board for a total of 40 loops.
Alternate the loops to have 20 angling to one side and 20 on the other.
Alternate the loops to have 20 angling to one side and 20 on the other.
Tie the ends of the yarn together firmly.
Trim the ends being careful to not cut too close to the knot. (Voice of experience, my knot came undone at a later step.)
Trim the ends being careful to not cut too close to the knot. (Voice of experience, my knot came undone at a later step.)
Pull the small yarn out of the corners of the stiff board.
Cut the small yarn such that each grouping of the larger yarn has a loop around it.
Cut the small yarn such that each grouping of the larger yarn has a loop around it.
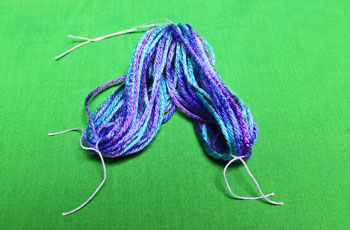
Pull the yarn loops off of the stiff board being careful not to lose the small yarn loops.
Tie the small yarn loops into tight square (hard) knots around the larger yarn bundles.
Tie the small yarn loops into tight square (hard) knots around the larger yarn bundles.
Measure and cut a piece of stiff board 3 inches long by at least an inch wide.
Make small cuts at each of the four corners.
Make small cuts at each of the four corners.
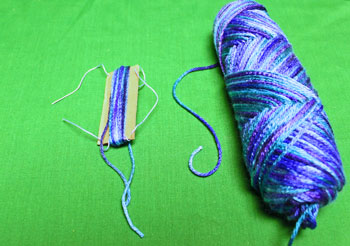
Wrap a piece of the smaller yarn around the perimeter of the small stiff board.
Use the small cuts to hold the yarn to the board.
Pull the yarn loosely between each cut to have more overall length.
Use the small cuts to hold the yarn to the board.
Pull the yarn loosely between each cut to have more overall length.
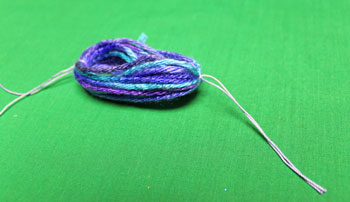
Wrap the larger yarn 15 times around the 3-inch length of the stiff board.
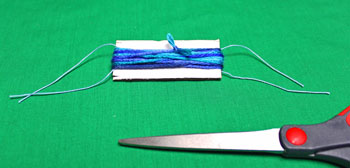
Pull the large yarn ends together and tie in a knot. Trim the ends of the yarn being careful to leave enough yarn that the knot will not come apart.
Cut the perimeter small yarn such that there are pieces at each end of the large yarn circle.
Cut the perimeter small yarn such that there are pieces at each end of the large yarn circle.
Pull the large yarn bundle off the stiff board being careful to keep the small yarn in each end.
Pull the small yarn tight and tie a square (hard) knot around each end of the large yarn bundle.
Pull the small yarn tight and tie a square (hard) knot around each end of the large yarn bundle.
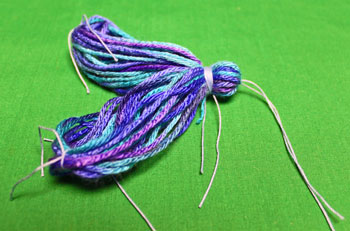
On the first bundle of large yarn, wrap the small yarn 12 times just below the large end to form the head.
Pull the yarn taut and tie the ends into a square (hard) knot.
Pull the yarn taut and tie the ends into a square (hard) knot.
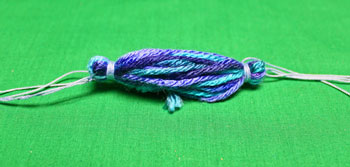
On the small bundle of large yarn, wrap small yarn 5 times near each end to form the hands.
Wrap each end separately.
Tie the ends of the small yarn tightly in a square (hard) knot.
Wrap each end separately.
Tie the ends of the small yarn tightly in a square (hard) knot.
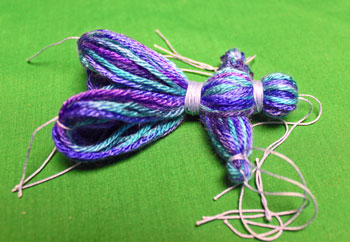
Place the small bundle of large yarn inside the loop of the large bundle just beneath the yarn forming the head and neck. This will form the torso and arms.
Wrap small yarn 20 times around the large bundle of yarn just below the arms to form the waist.
Pull the ends taut and tie into a square (hard) knot.
Wrap small yarn 20 times around the large bundle of yarn just below the arms to form the waist.
Pull the ends taut and tie into a square (hard) knot.
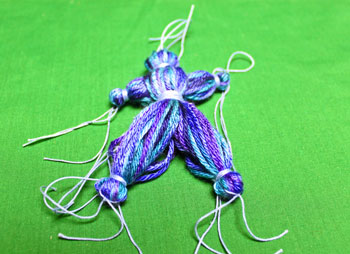
At each end of the separate bundles of yarn forming the legs, wrap the small yarn 5 times separately around each leg.
Pull the ends tight and tie into a square (hard) knot.
Pull the ends tight and tie into a square (hard) knot.
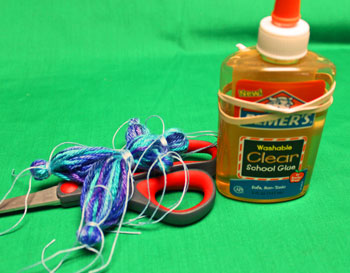
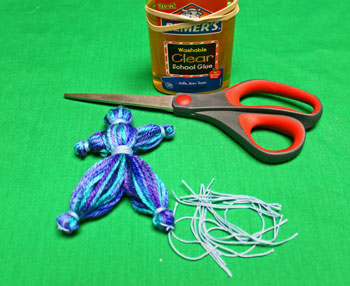
Place a small drop of clear glue on each square knot and let dry.
Trim the ends of the yarn close to the glued knots.
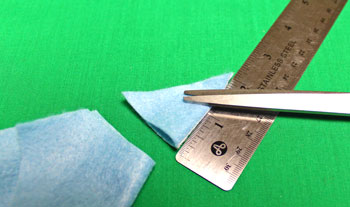
At a 90-degree corner of the craft felt, fold the corner into a triangle.
Measure down 2 inches and cut across to form a triangle.
Measure down 2 inches and cut across to form a triangle.
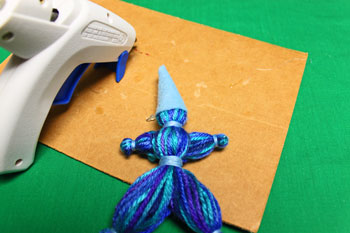
Heat the glue gun.
Place hot glue on the top of the yarn head and wrap the triangle of craft felt around the yarn to form a cap.
Add glue as needed to secure the ends of the felt and to form the pointed cap.
Place hot glue on the top of the yarn head and wrap the triangle of craft felt around the yarn to form a cap.
Add glue as needed to secure the ends of the felt and to form the pointed cap.
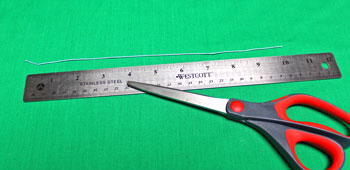
Cut a piece of small yarn eight to ten inches long.
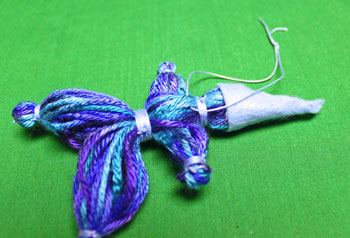
Weave one end of the small yarn under three strands of the large yarn beneath the neck in the back.
Pull the yarn ends even and tie into a knot to form the hanging loop.
Pull the yarn ends even and tie into a knot to form the hanging loop.
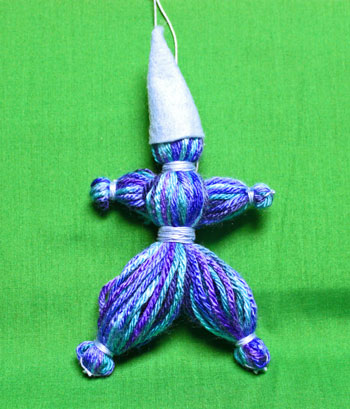
Here's the fun little Yarn Elf Ornament finished and on display.
Optionally, you may want to secure the yarn arms inside the torso of the little elf, especially if it will be used as a toy rather than an ornament.
I did not on the blue elf. For the red one, I used a yarn needle with the same red small yarn and sewed an "X" through the torso and arms.
Or, you could use hot glue to secure the arms within the torso. Just be careful not to get glue (or glue hairs) where it will be visible.
This little elf can be a fun soft doll that fits in a purse as emergency entertainment for a small child.
It could also be amusing for fur children as well.
The little Yarn Elf Ornament takes just a little time and inexpensive materials to become a fun and interesting decoration or toy.

funEZcrafts
Welcome
Come on in and stay awhile...

funEZcrafts
Welcome
Come on in and stay awhile...
